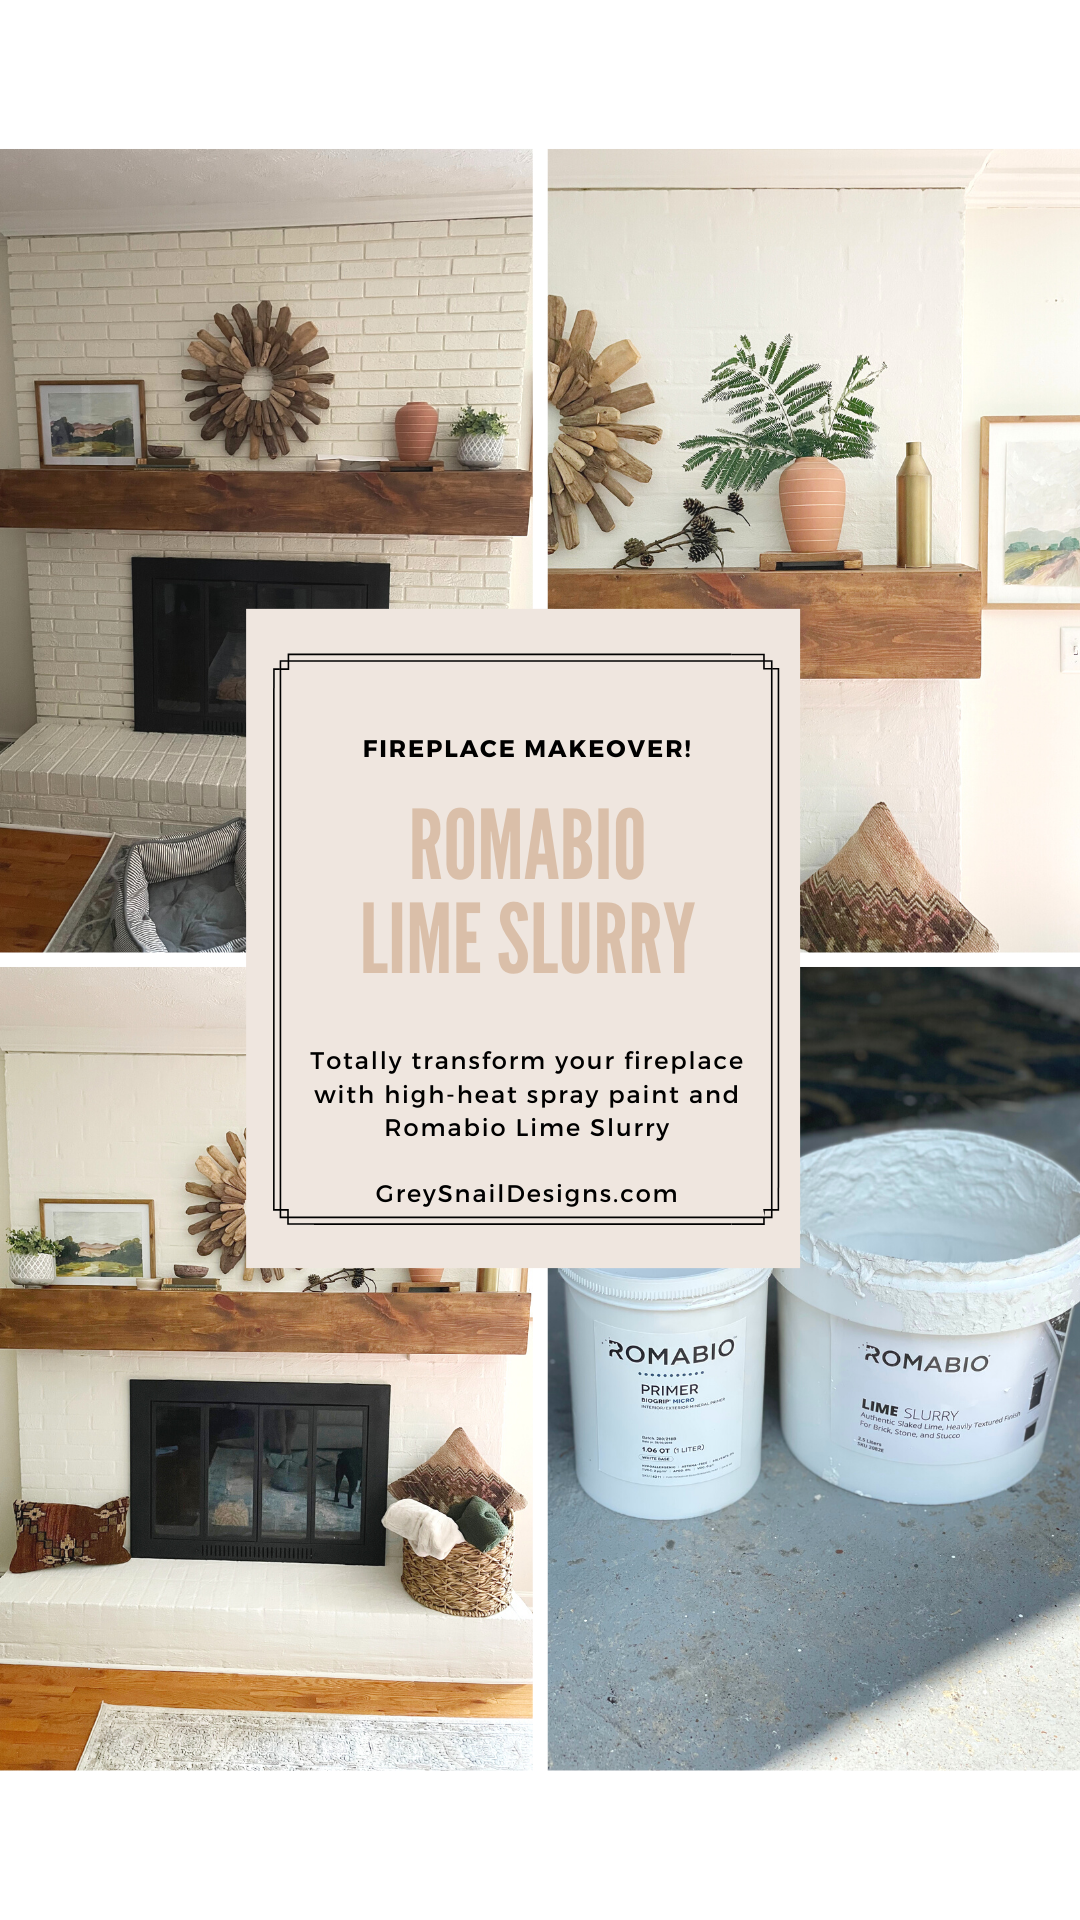
Fireplace Makeover with Romabio Lime Slurry
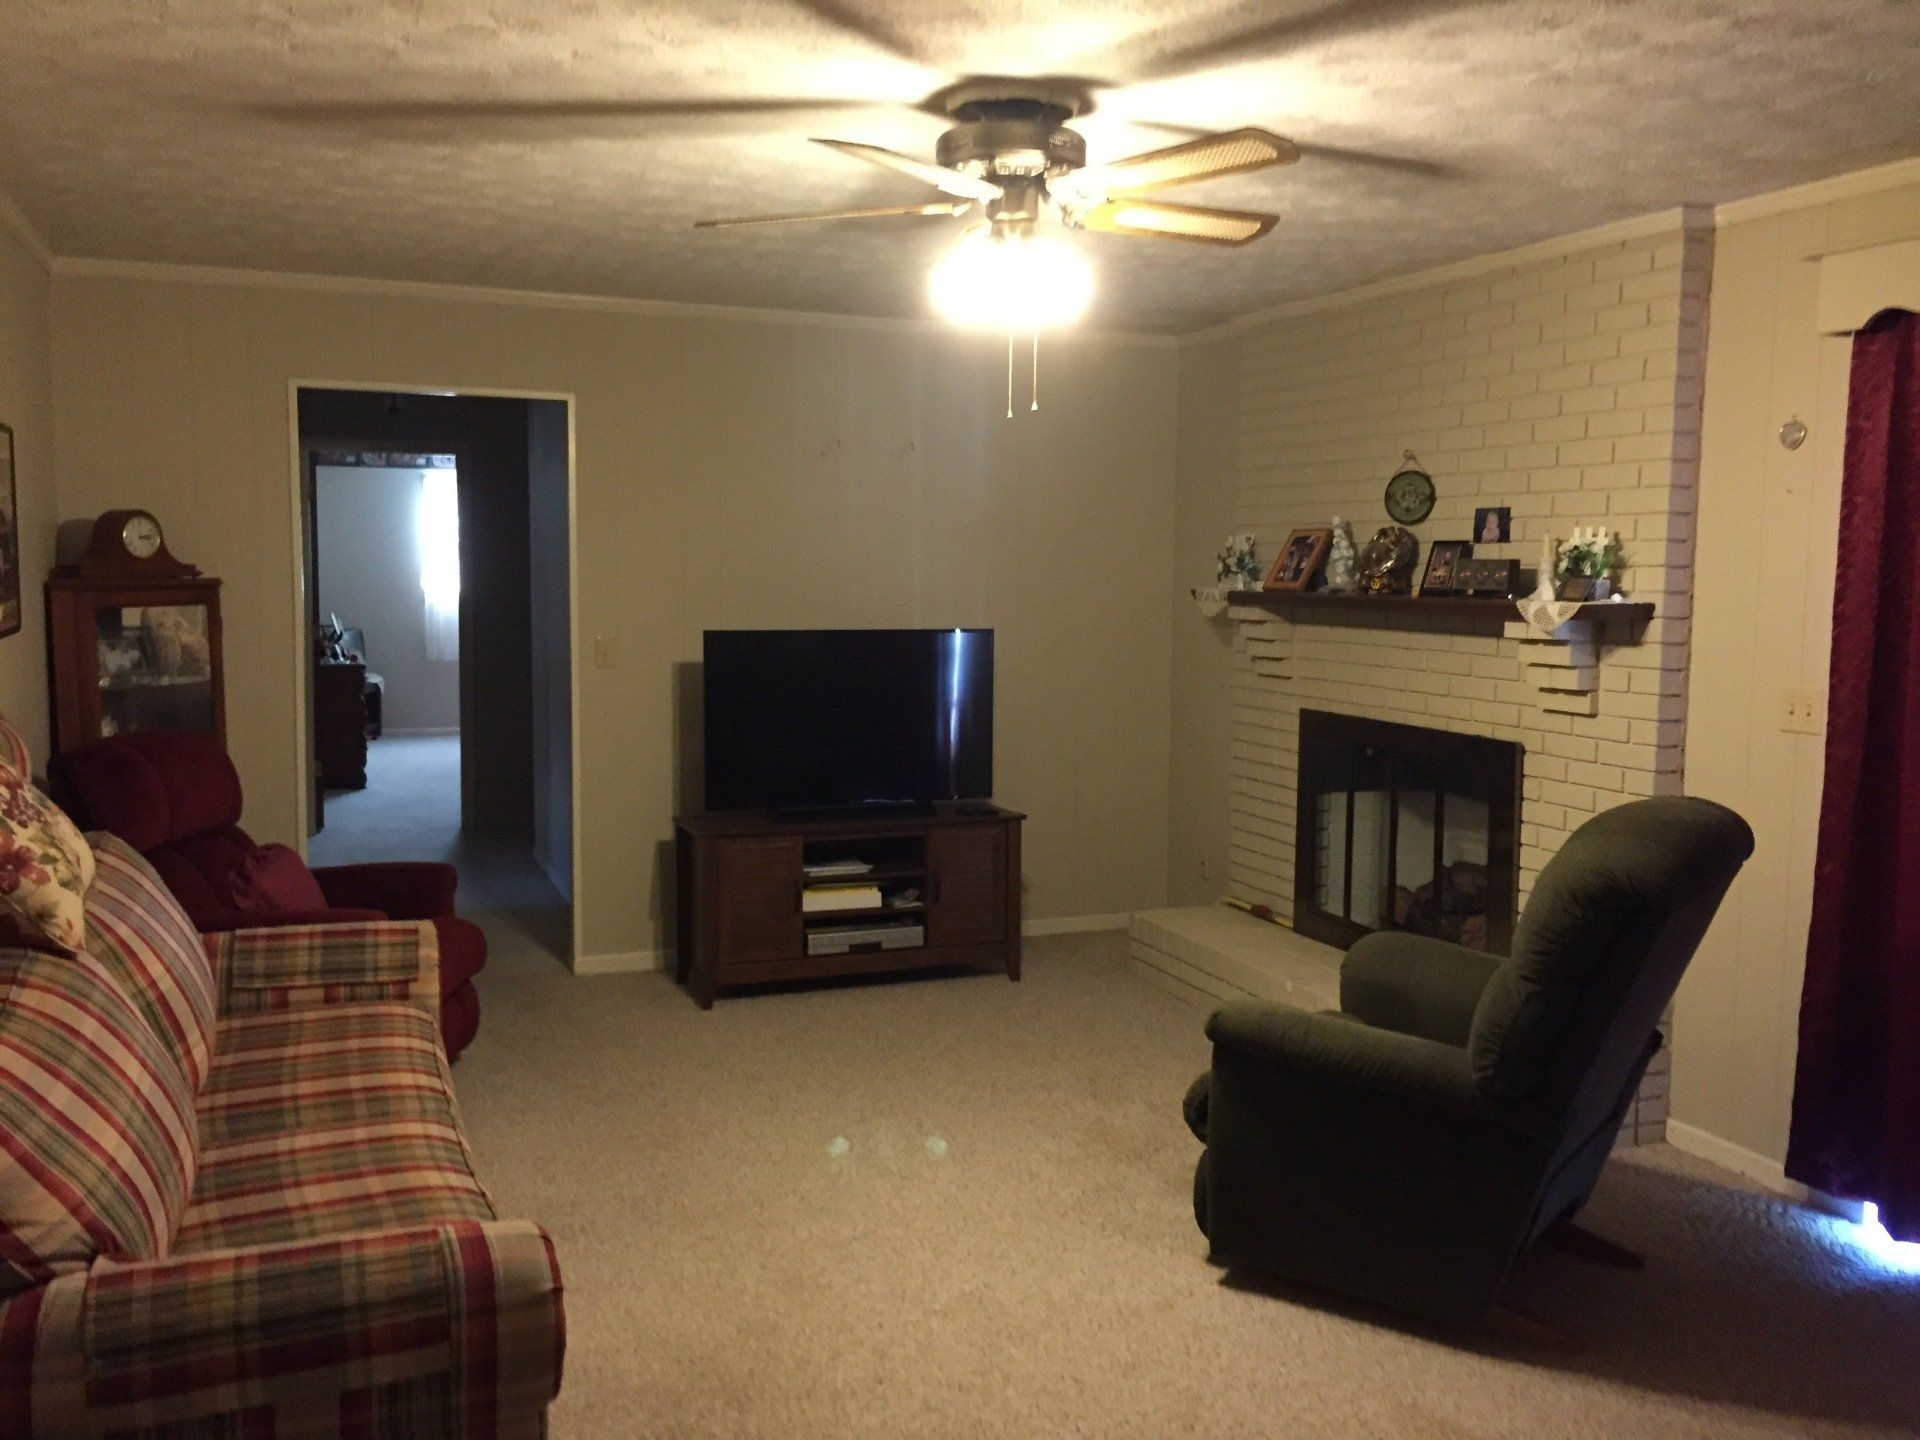
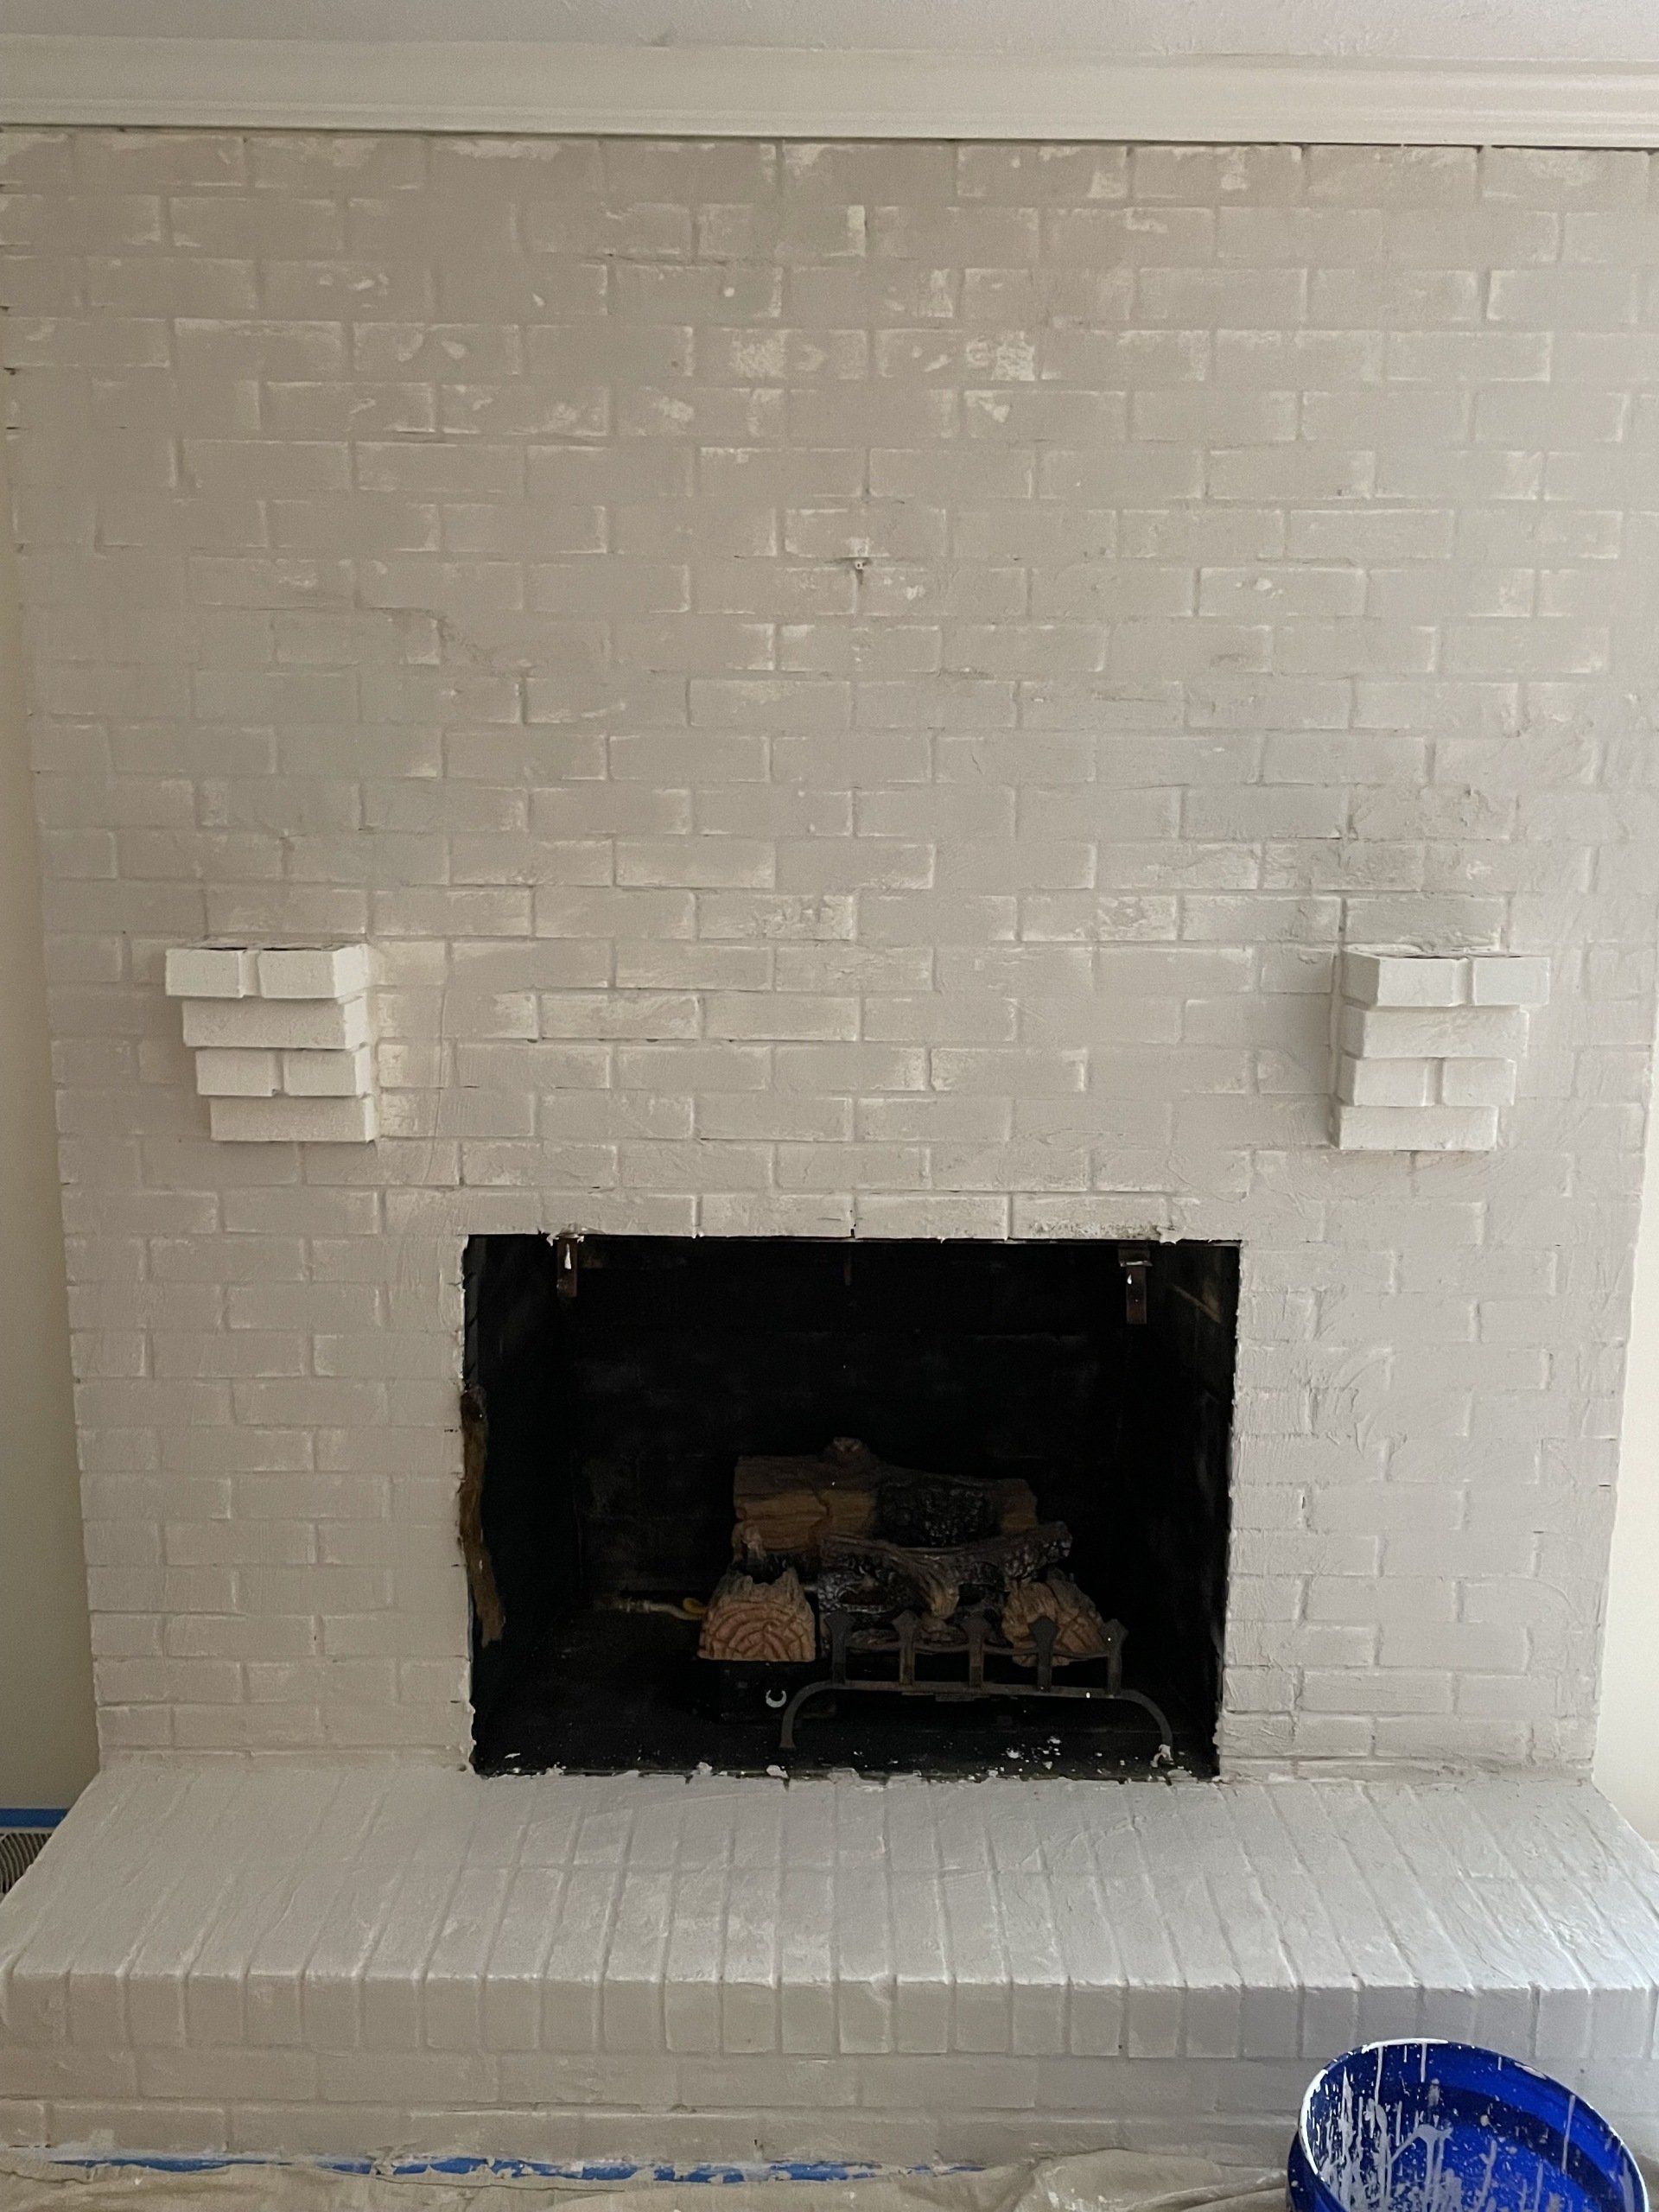
The OLD Old Fireplace
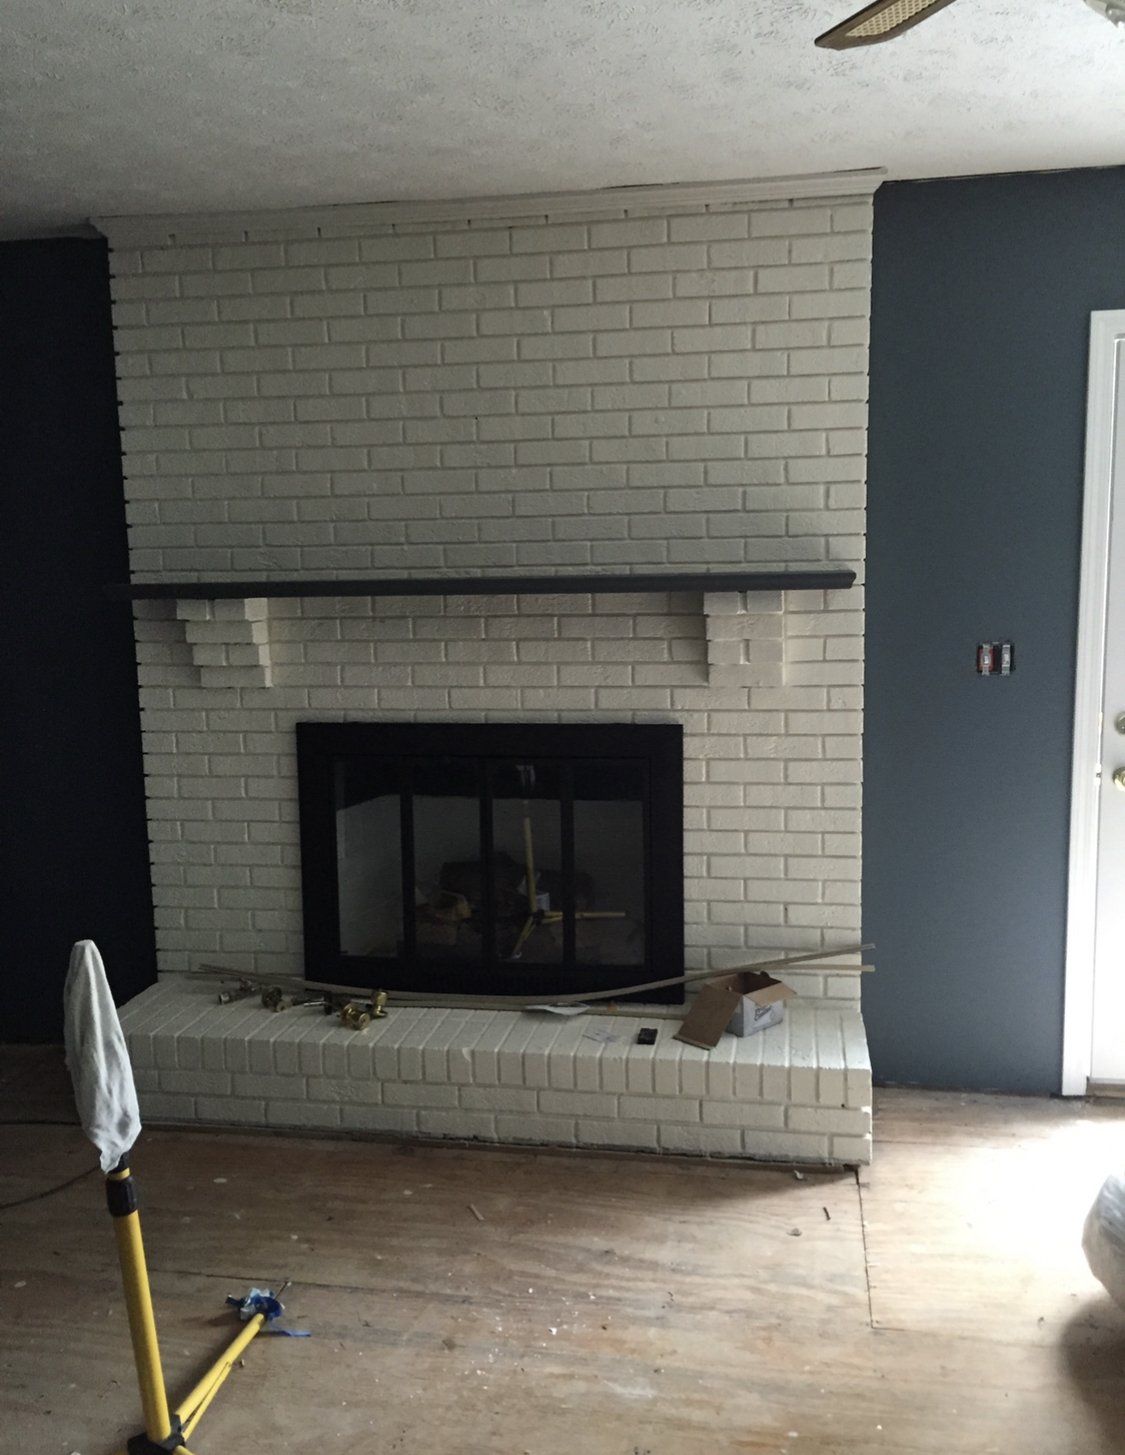
High-Heat Spray Paint
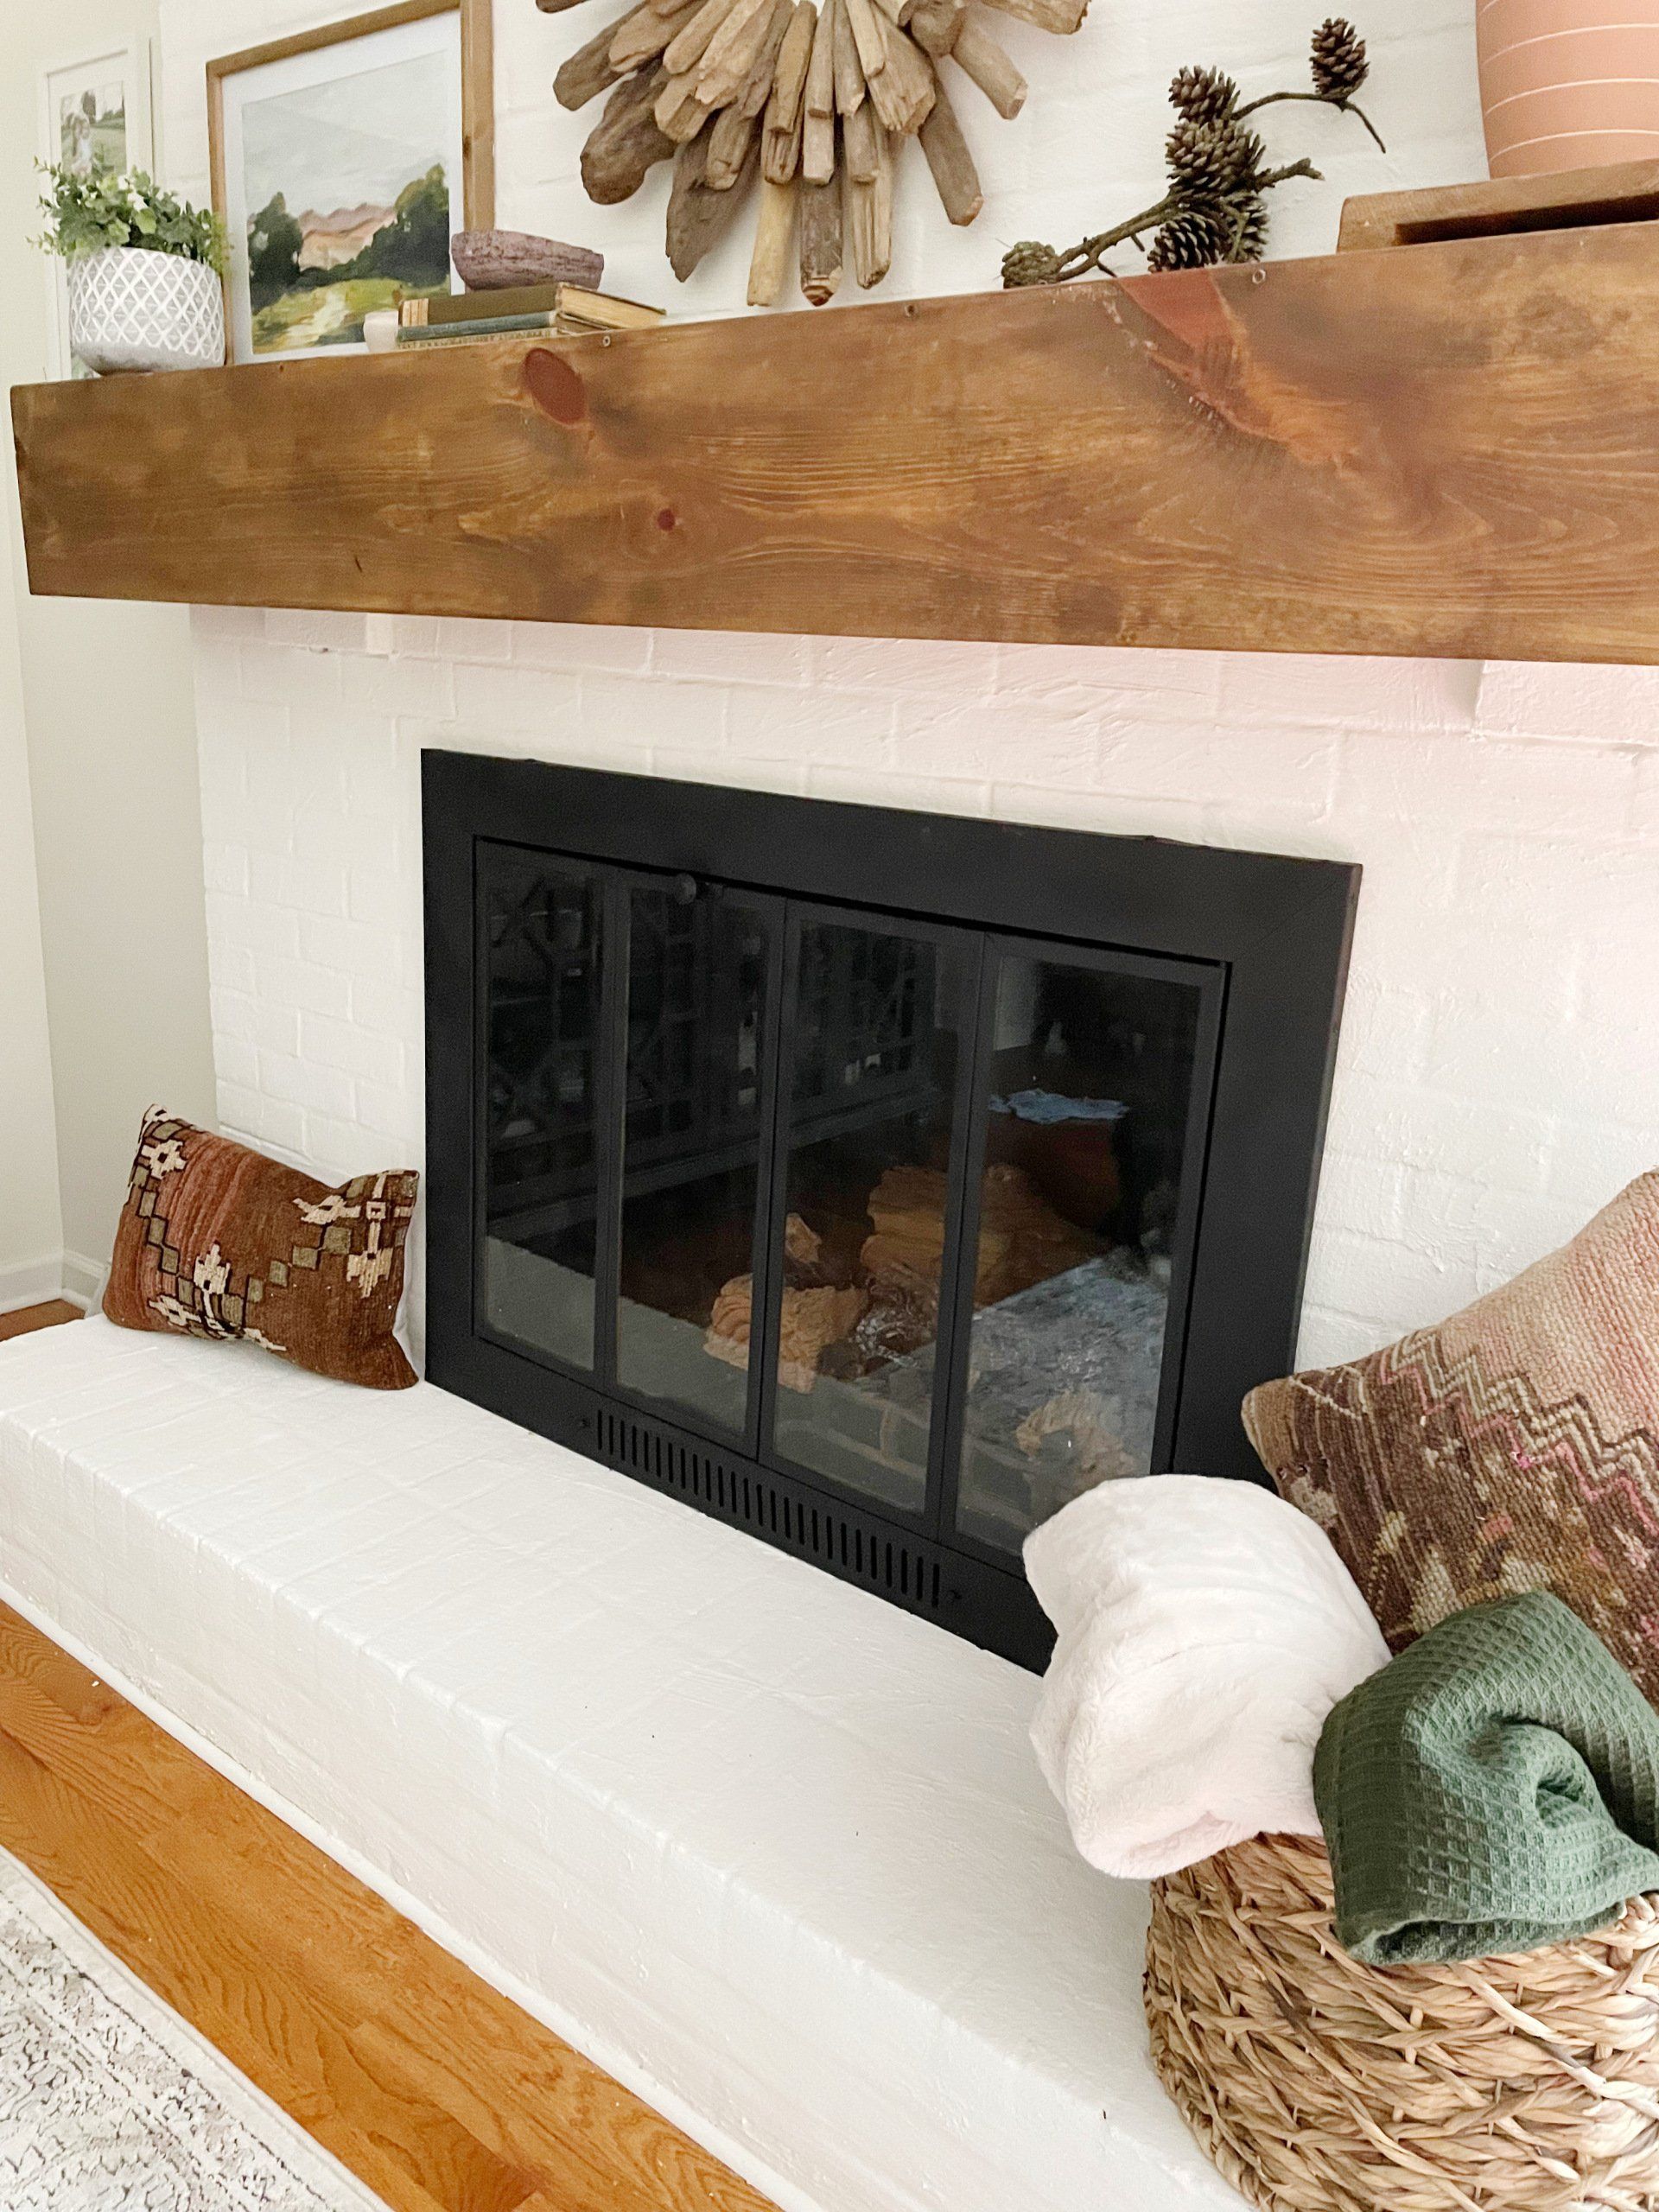
You can see in the photo above, the interior of the firebox was painted white and looked dirty. It's also a good place to see how the black fireplace doors could use touched up. I used a can of Rust-Oleum High-Heat Spray Paint from Home Depot to do both, which you can read about here.
Fireplace Makeover
I'd been itching to do something to our fireplace for a while, but struggled with what I could do to make it more modern. I love the cement-look fireplace surrounds, and found a product by Portola Paints that could make it happen, but I could only use it on a smooth surface like drywall, so I'd have to find someone to hang it. Also, the hearth perplexed me, since I didn't think drywall would stand the test of time on a horizontal surface. I finally found what I was looking for when I saw share about their fireplace transformation on Instagram.
Prep
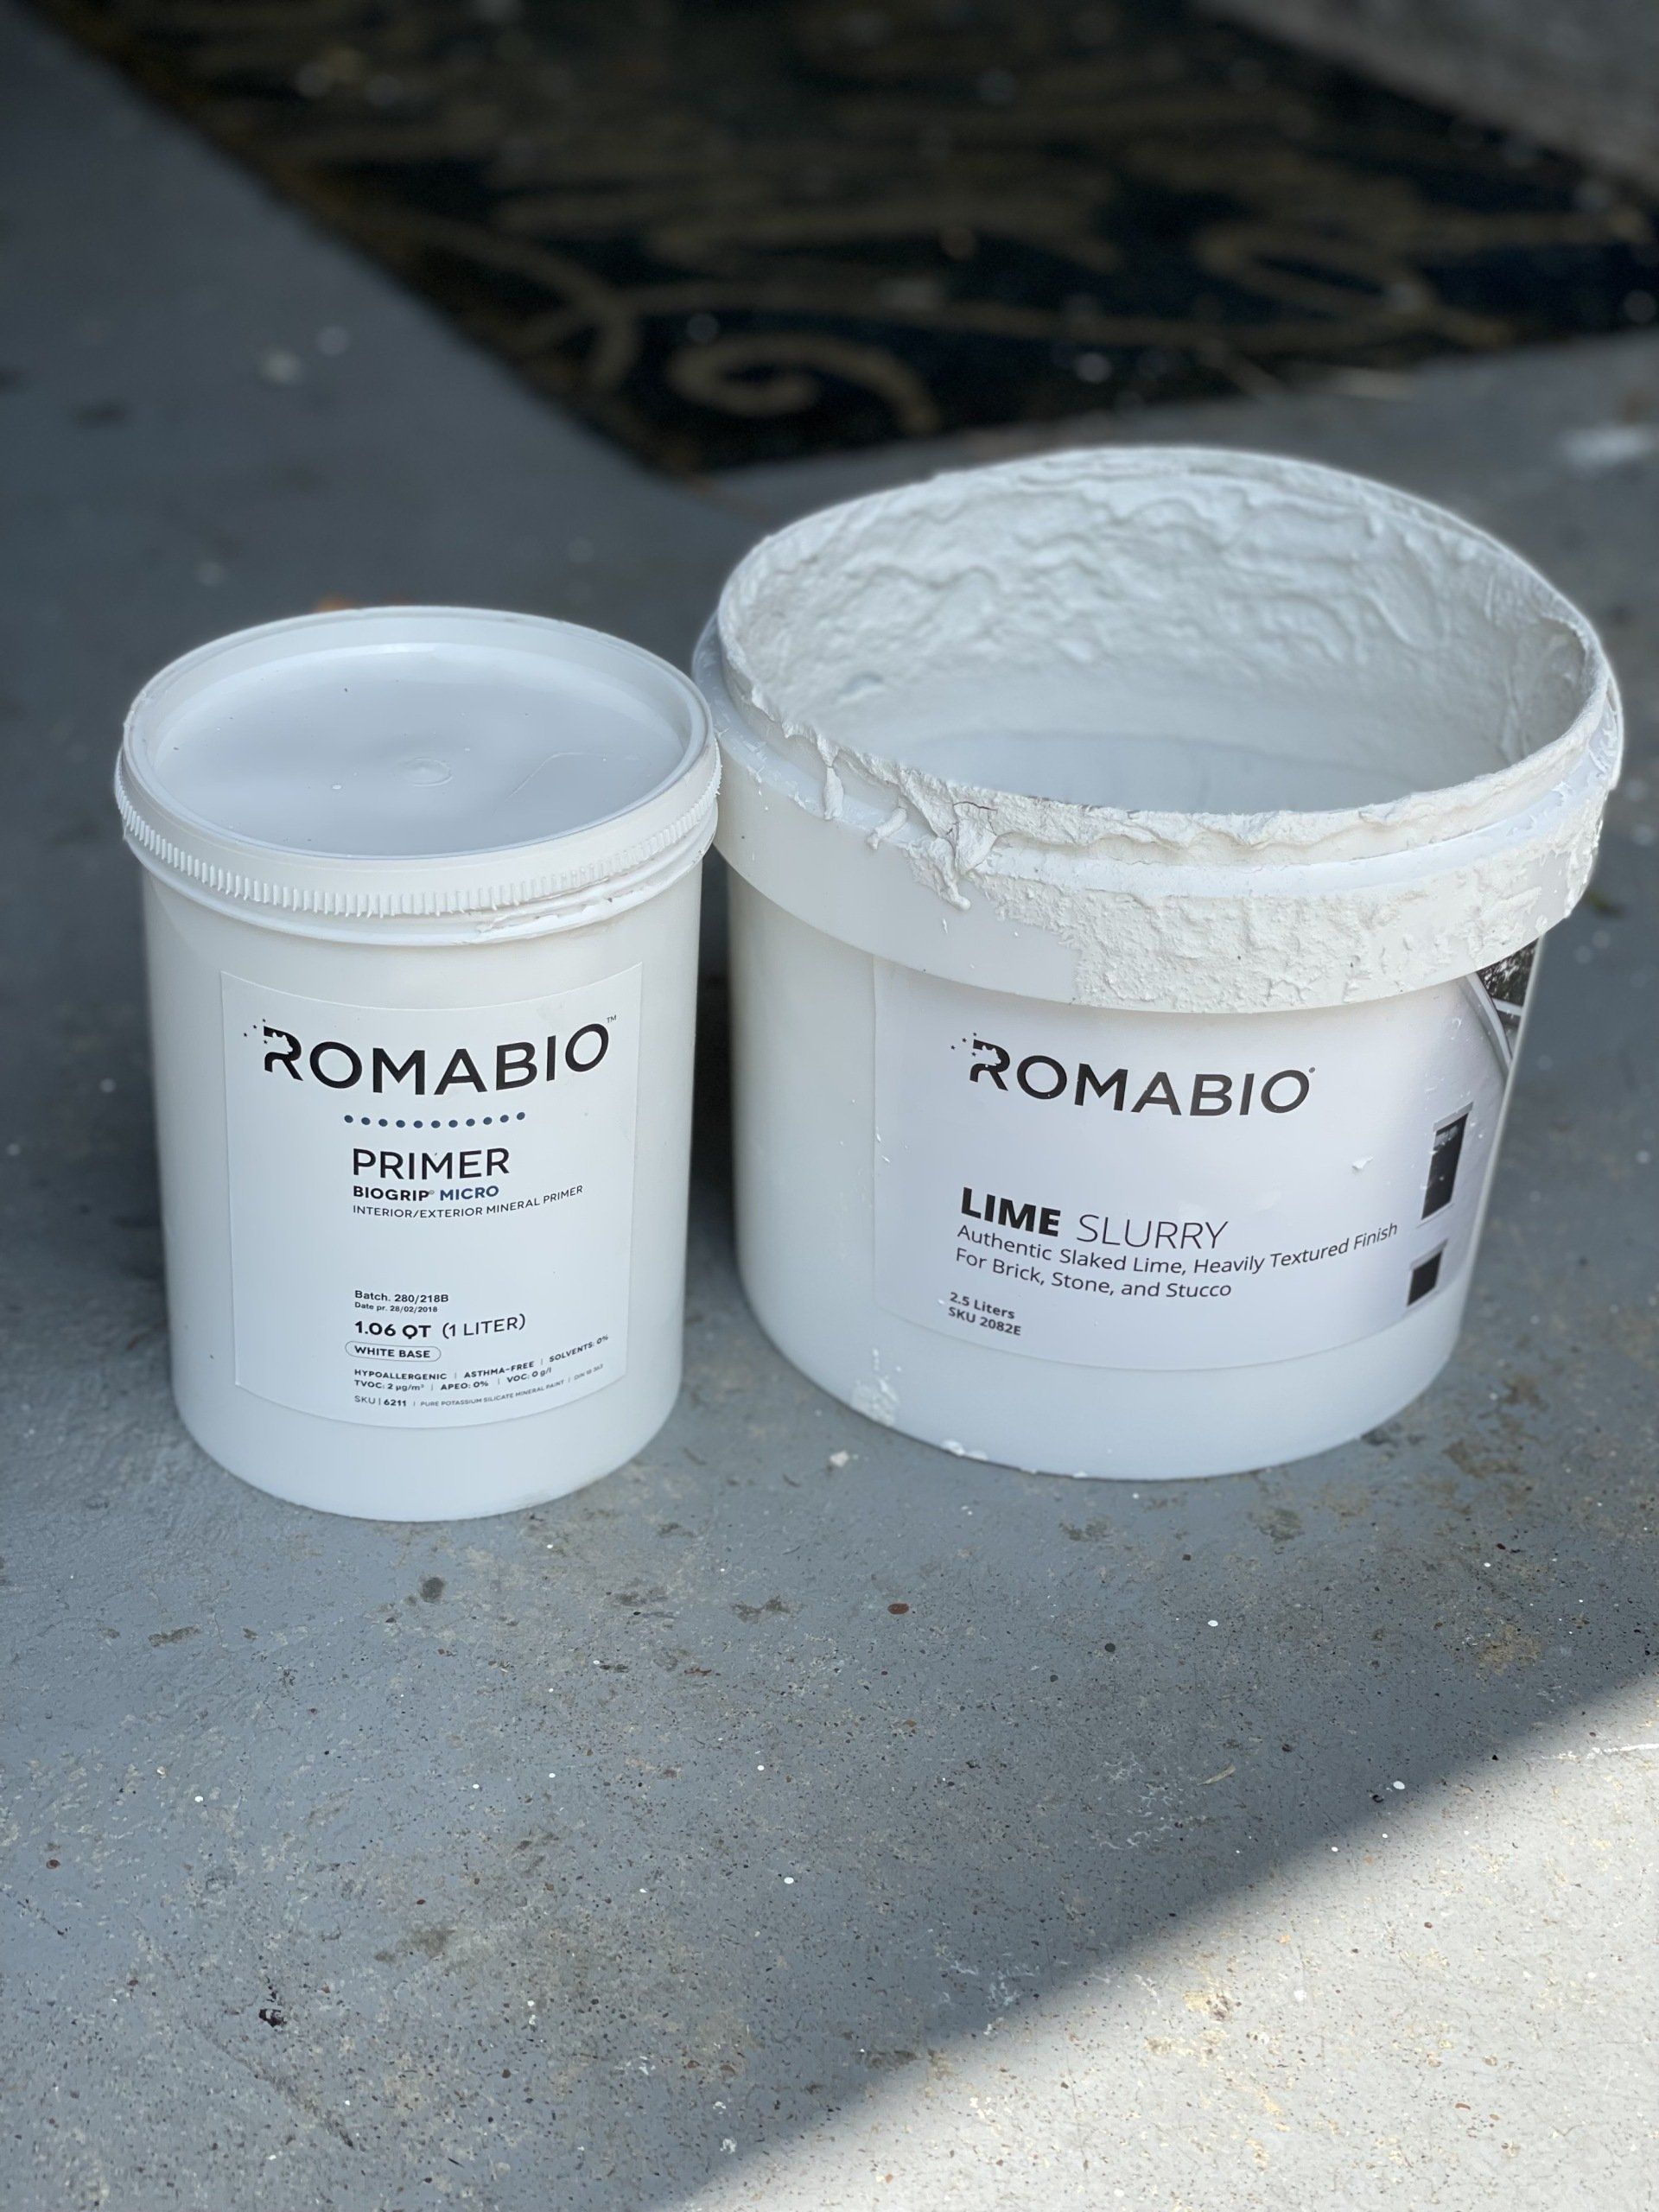
I wanted to fill in some of the mortar gaps between the bricks so they weren't so deep. It would be easy enough to do with mortar, but mortar will not stick to painted brick. We already had latex paint on our bricks, but no worries, Romabio makes a Mineral Primer you can use over painted surfaces so the mortar (or lime product) will stick. It only took a 1L container to cover the bricks with one coat. I used my Romabio brush to apply it and it was super easy to do. The primer creates a finished that feels a little chalky to the touch. The perfect canvas for applying the mortar.
Premixed Mortar
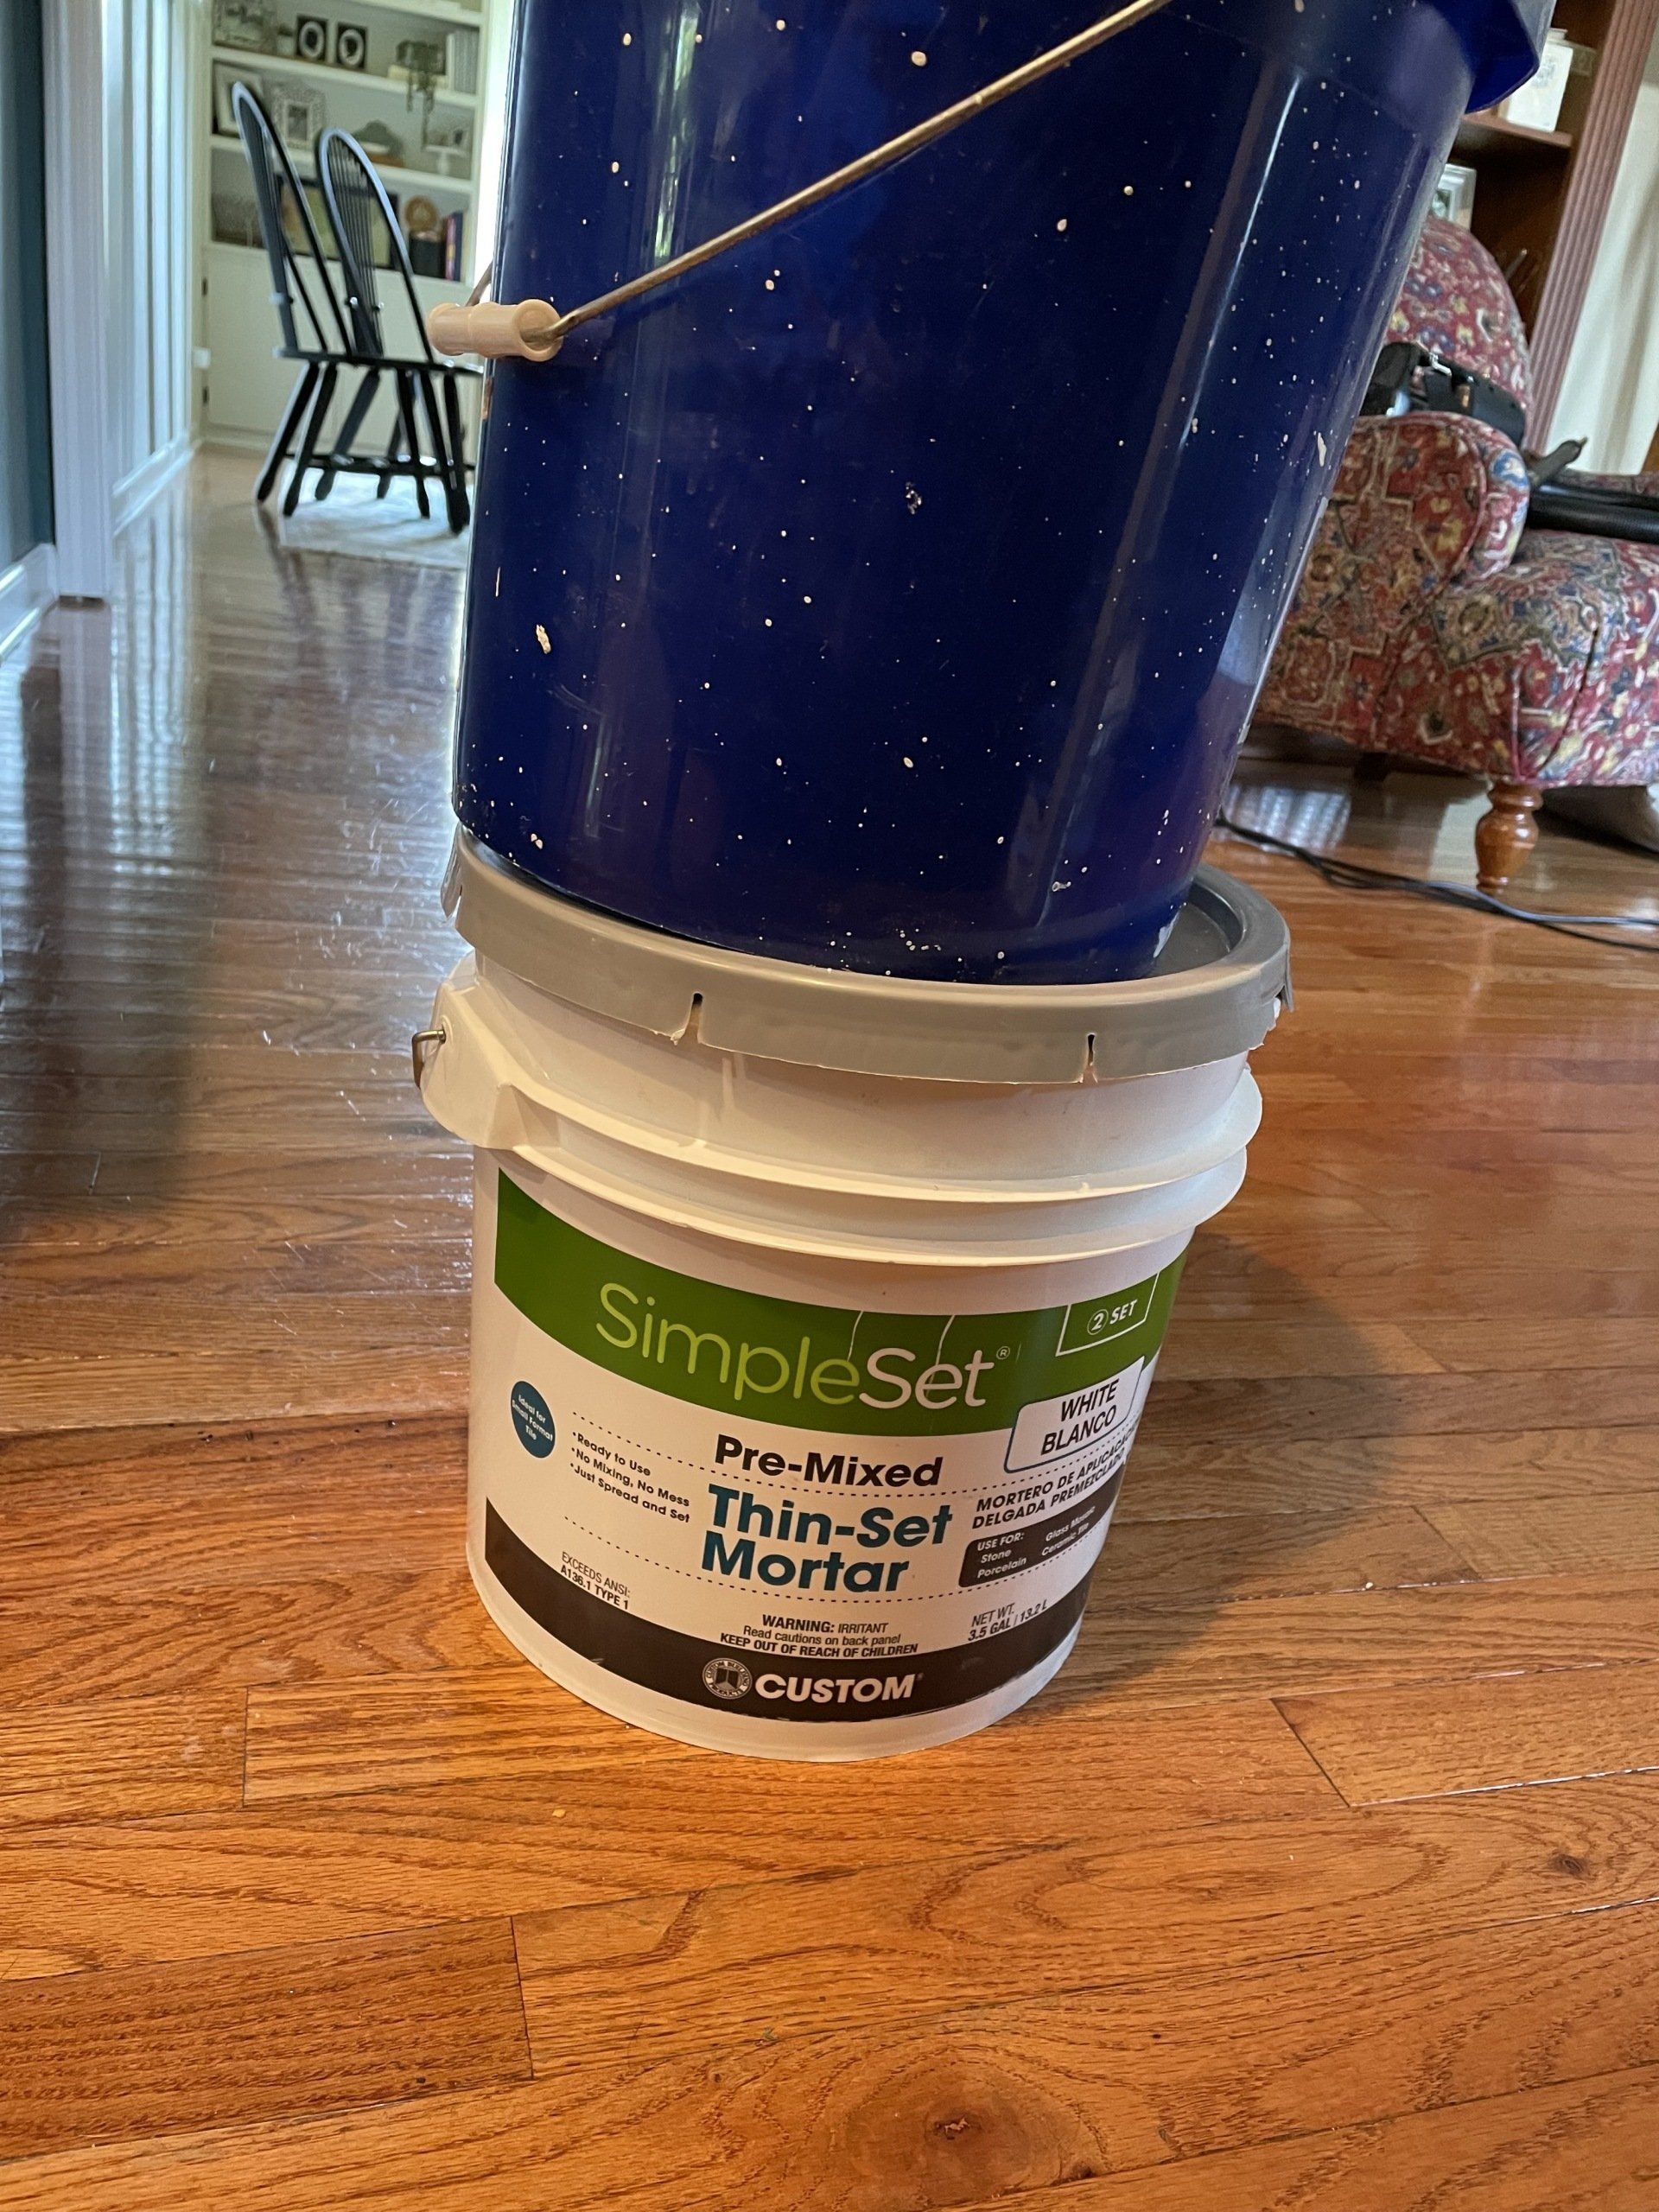
I originally bought the smaller 1 gallon tub of mortar, but it didn't go far, at all, so I sent my husband back to Home Depot to get the larger bucket. That was plenty. Applying the mortar was the most challenging (and messiest) part. I used premixed mortar and applied it with a wide putty knife, slapping it onto the bricks. I worked in small areas from top to bottom, slapping and smoothing it out with the putty knife, kind of like you're icing a cake.
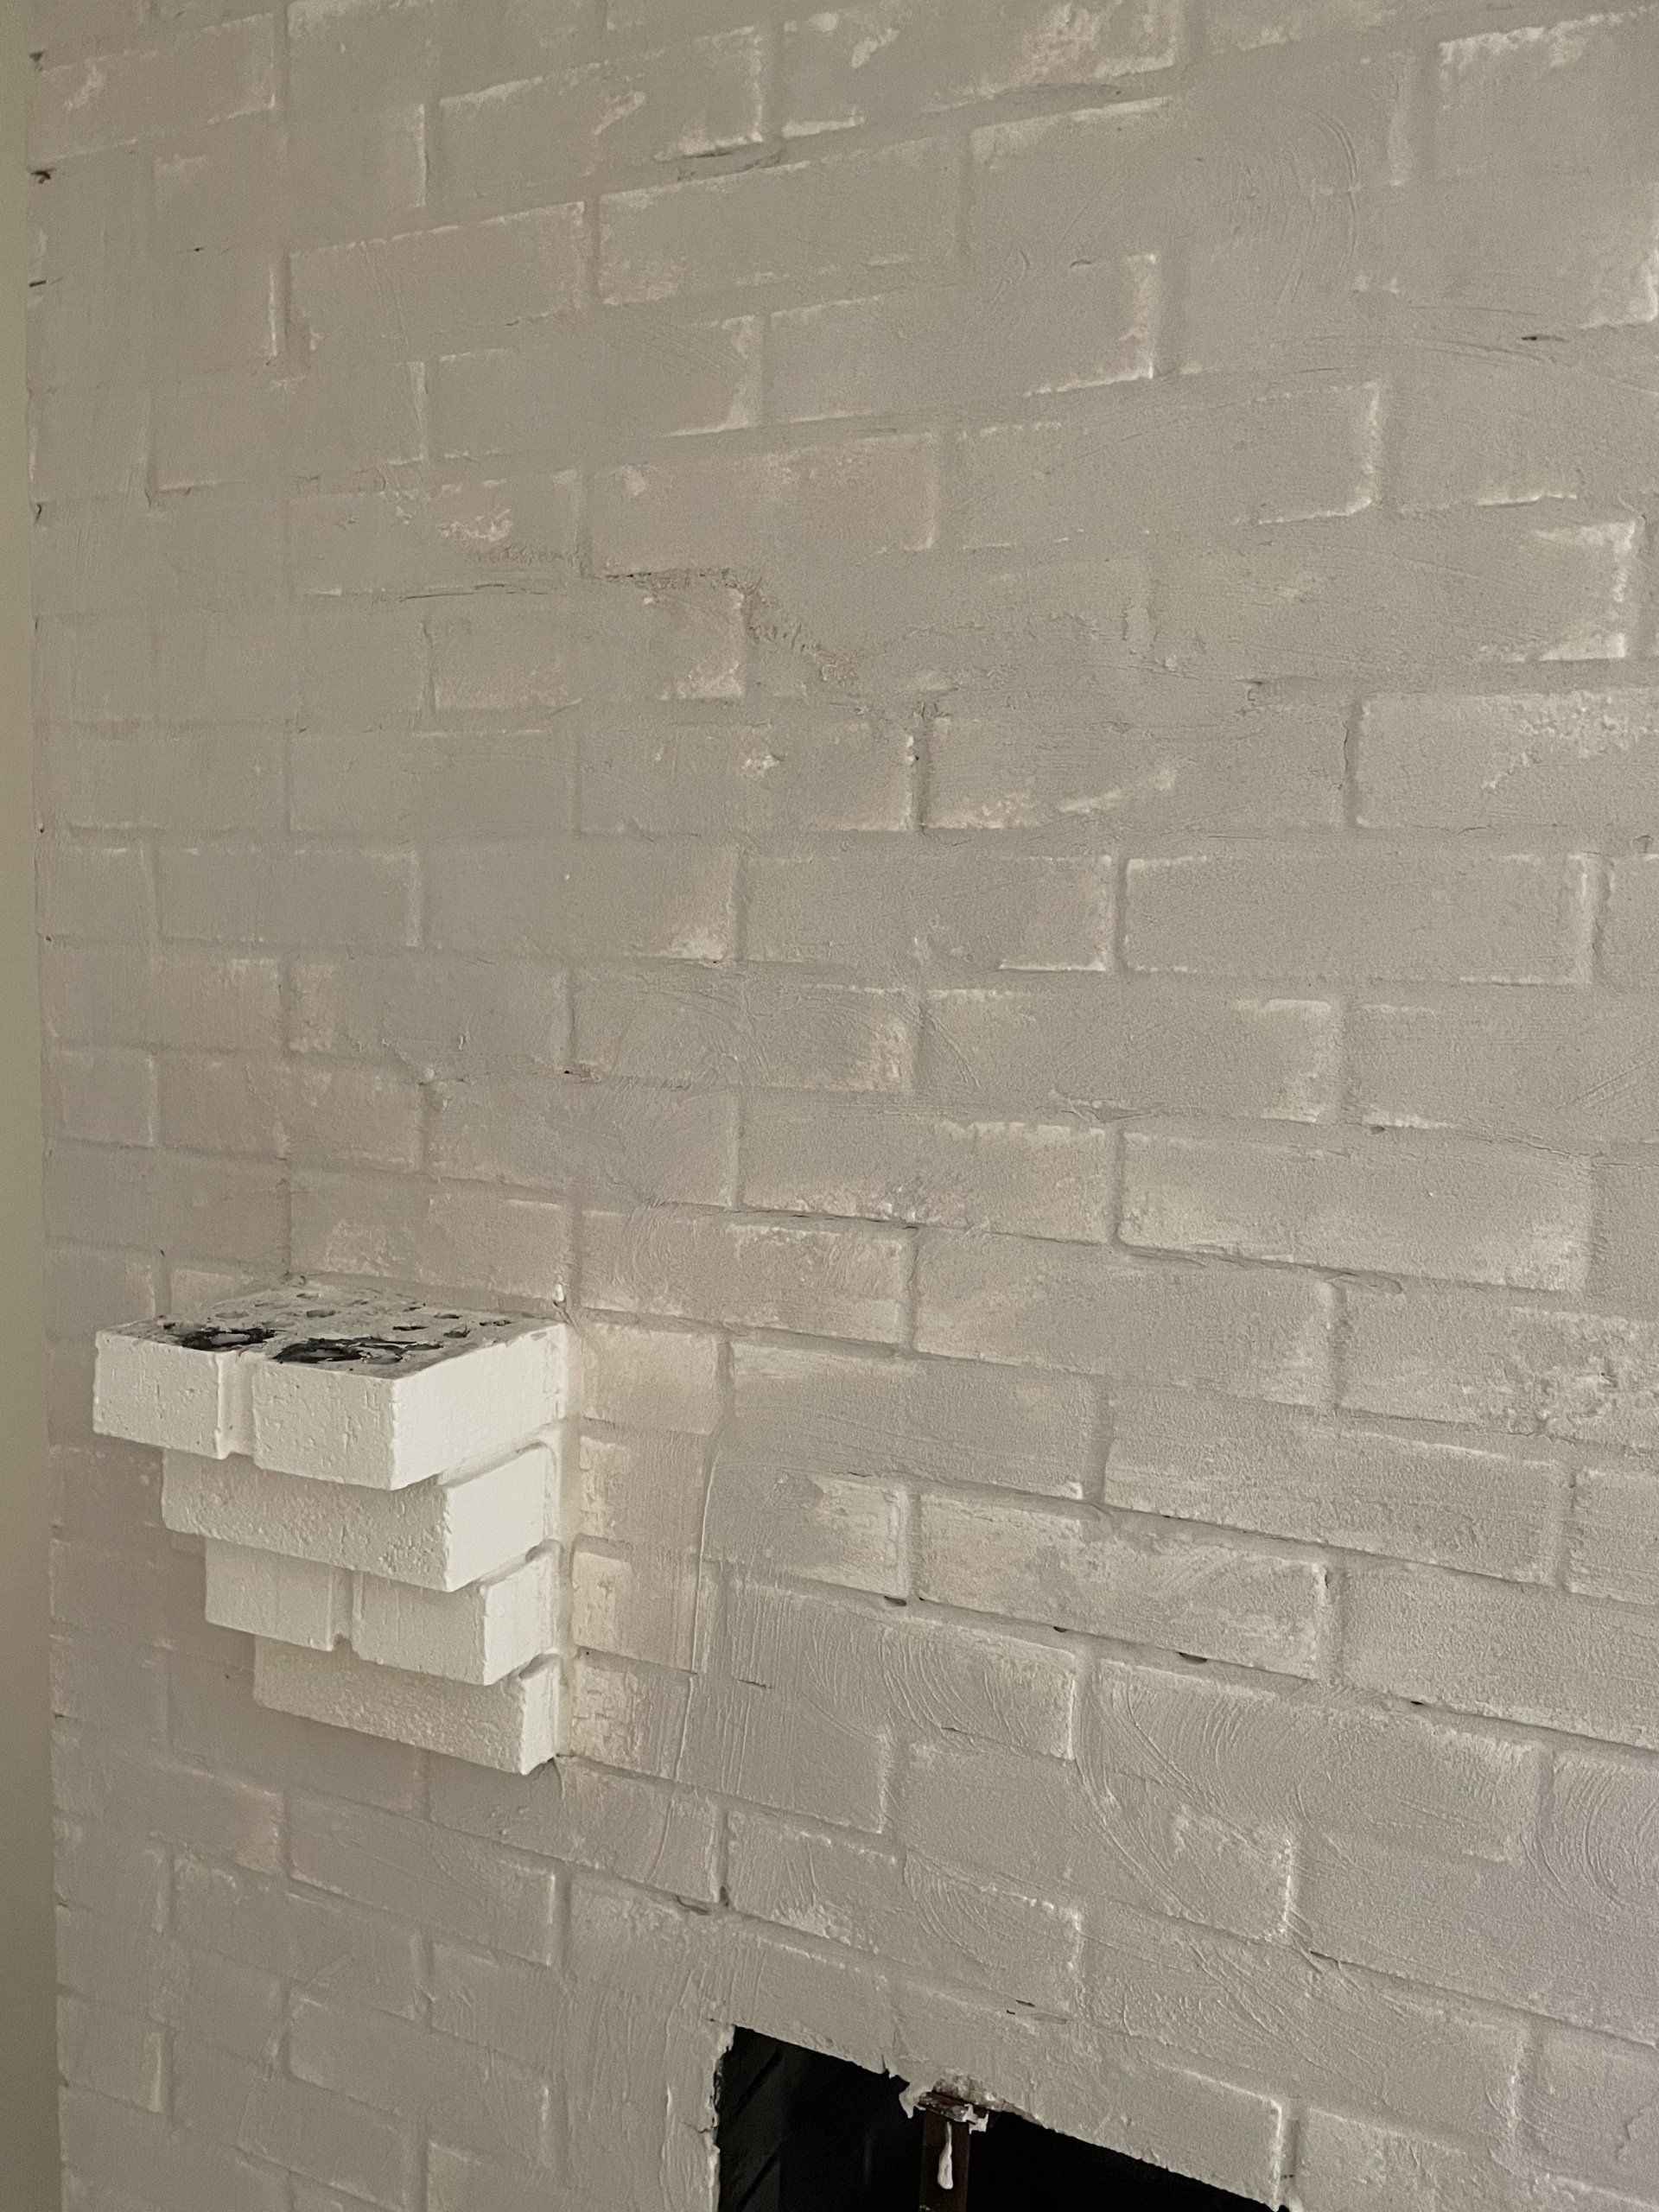
Once it was in all the joints, I took a wet sponge and smoothed it all out. This was kind of fun and made it possible to even it out. The goal here wasn't to eliminate all the gaps within the brick; I just wanted to soften them for a fluffier look. I turned on the ceiling fan in the room and let it dry overnight.
Romabio Lime Slurry

Romabio makes one of my very favorite products I recommend to just about everyone--Classico Limewash. It's what I used on our house a few years ago to totally transform the outside. It's something I am complimented on constantly.
I was pumped to find another product by Romabio that could help me transform the fireplace! I ordered Romabio Lime Slurry through Ring's End. It in Connecticut and shipping was really fast--almost like Prime!
It comes in a concentrate (like a thick paste) and you add a small amount of water and mix it up to the perfect consistency. I used the paddle attachment on my drill, but for this small amount, I could have easily done it with a paint stirrer.
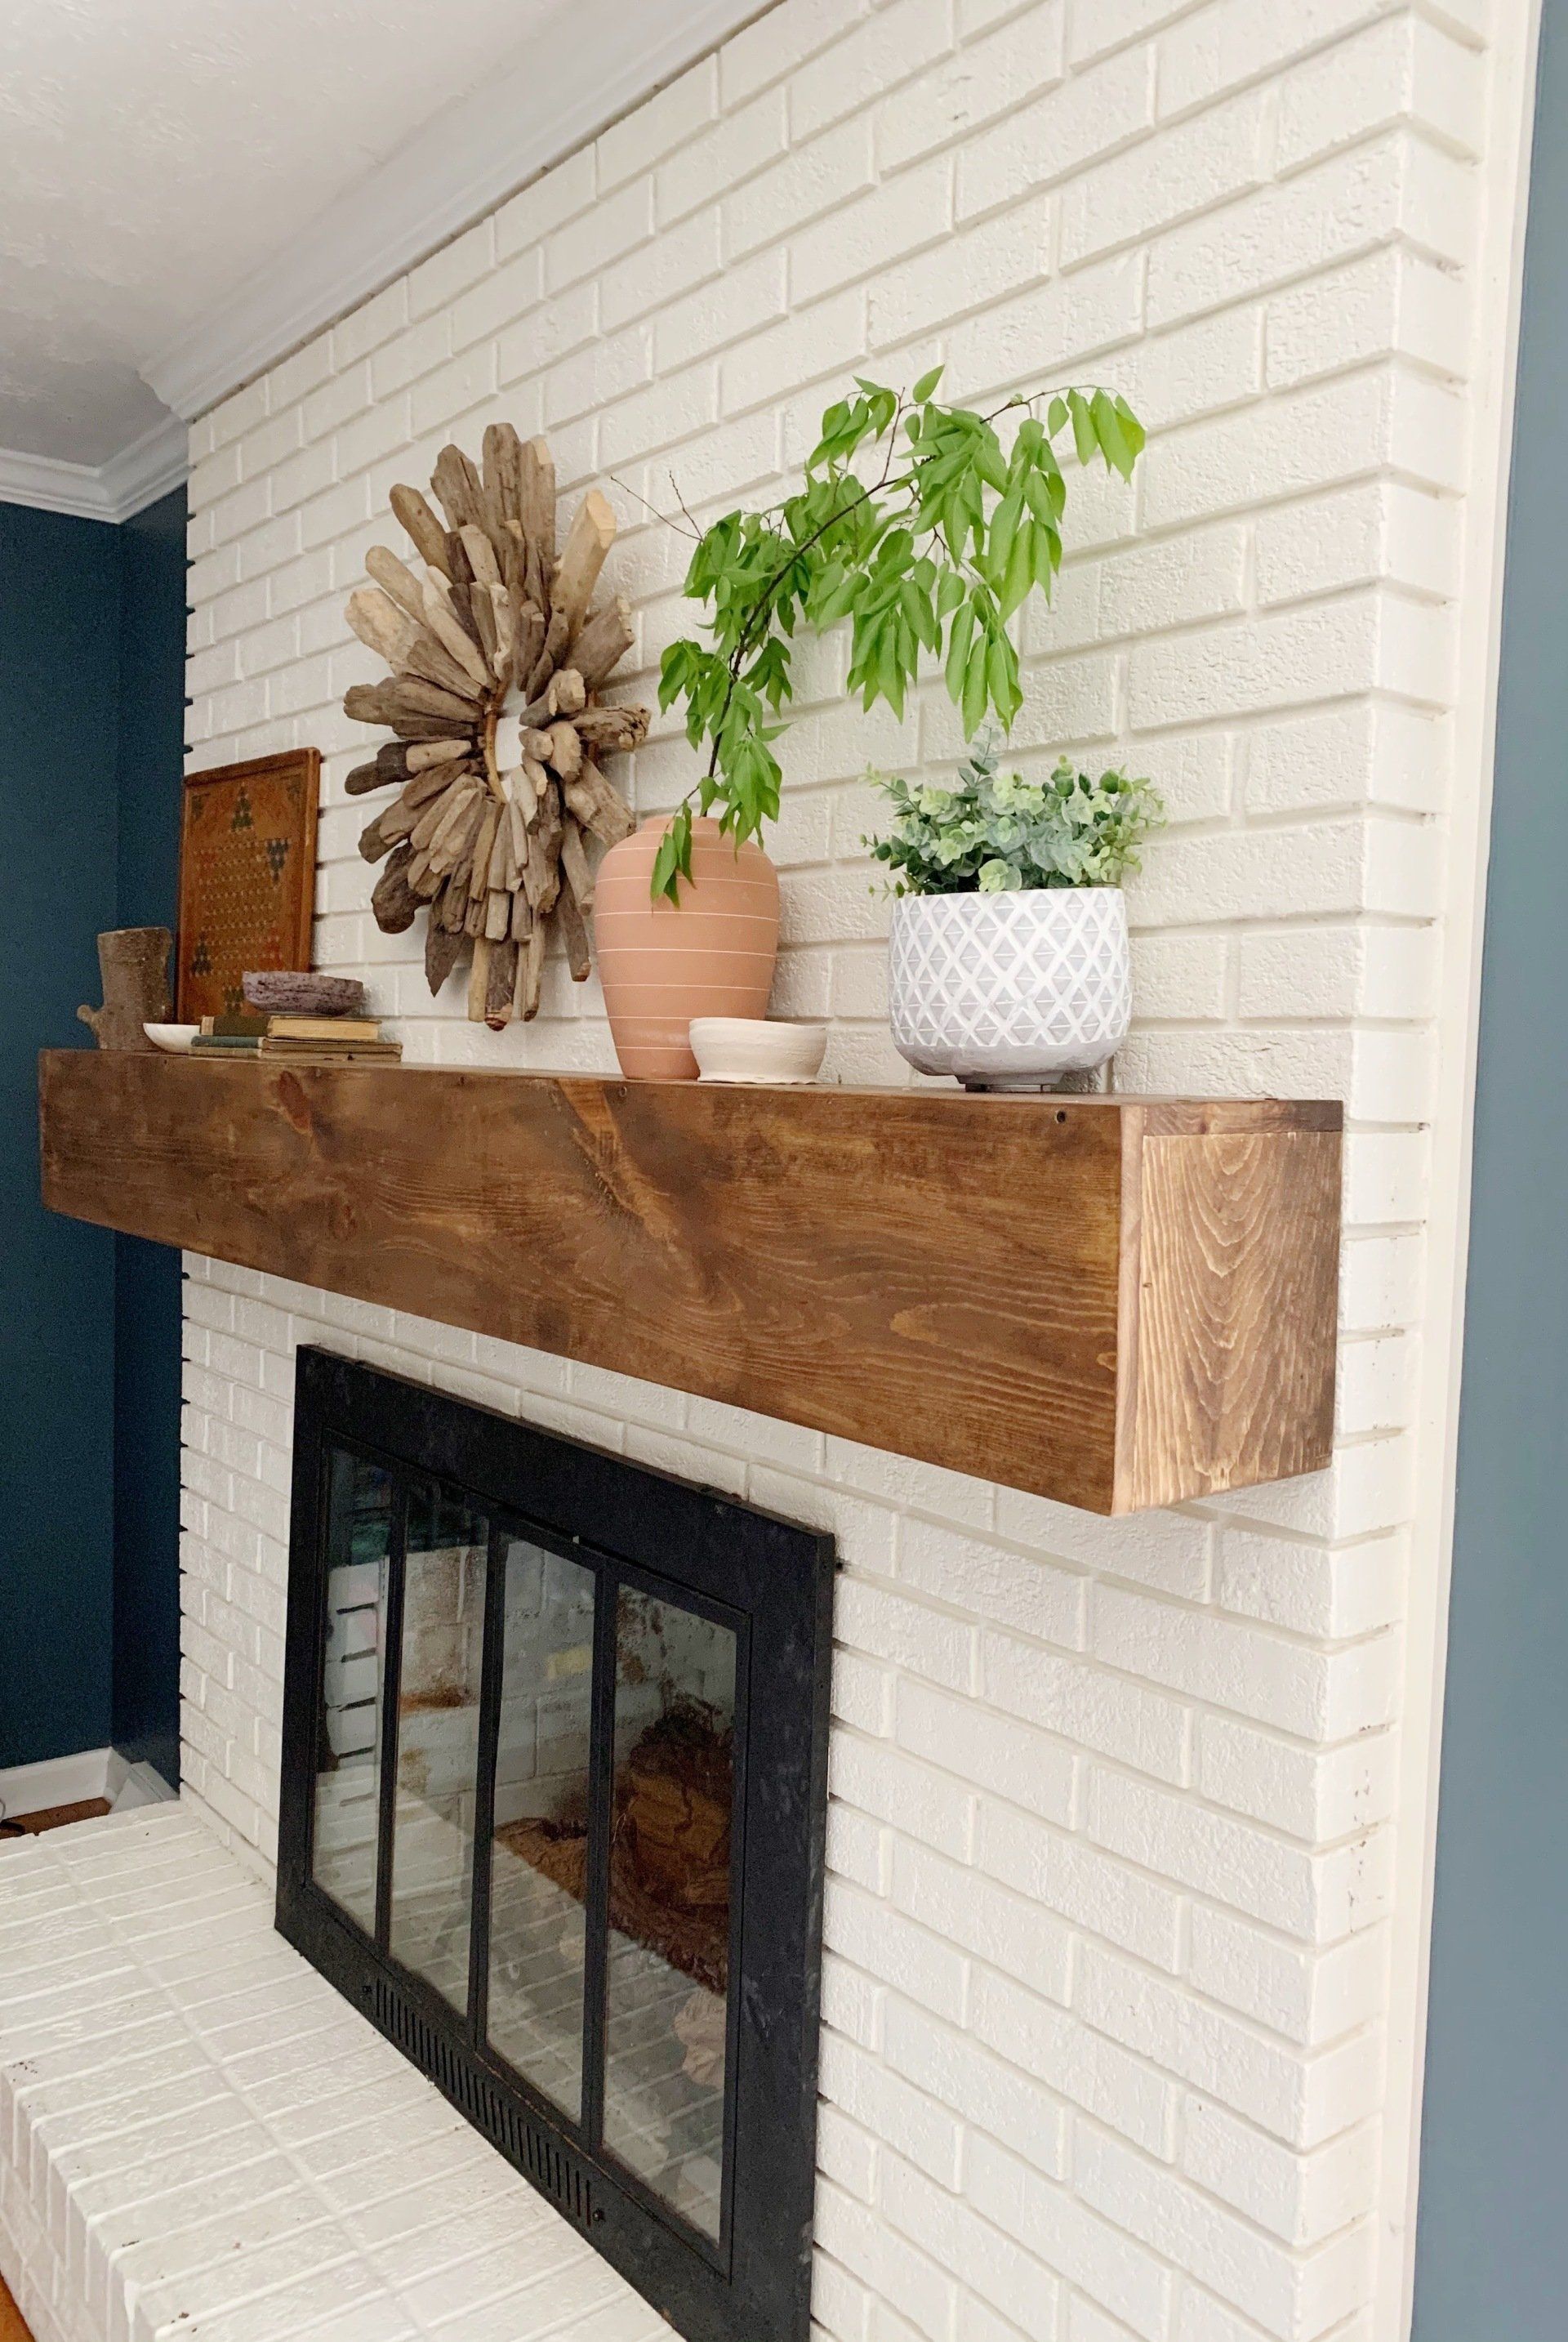
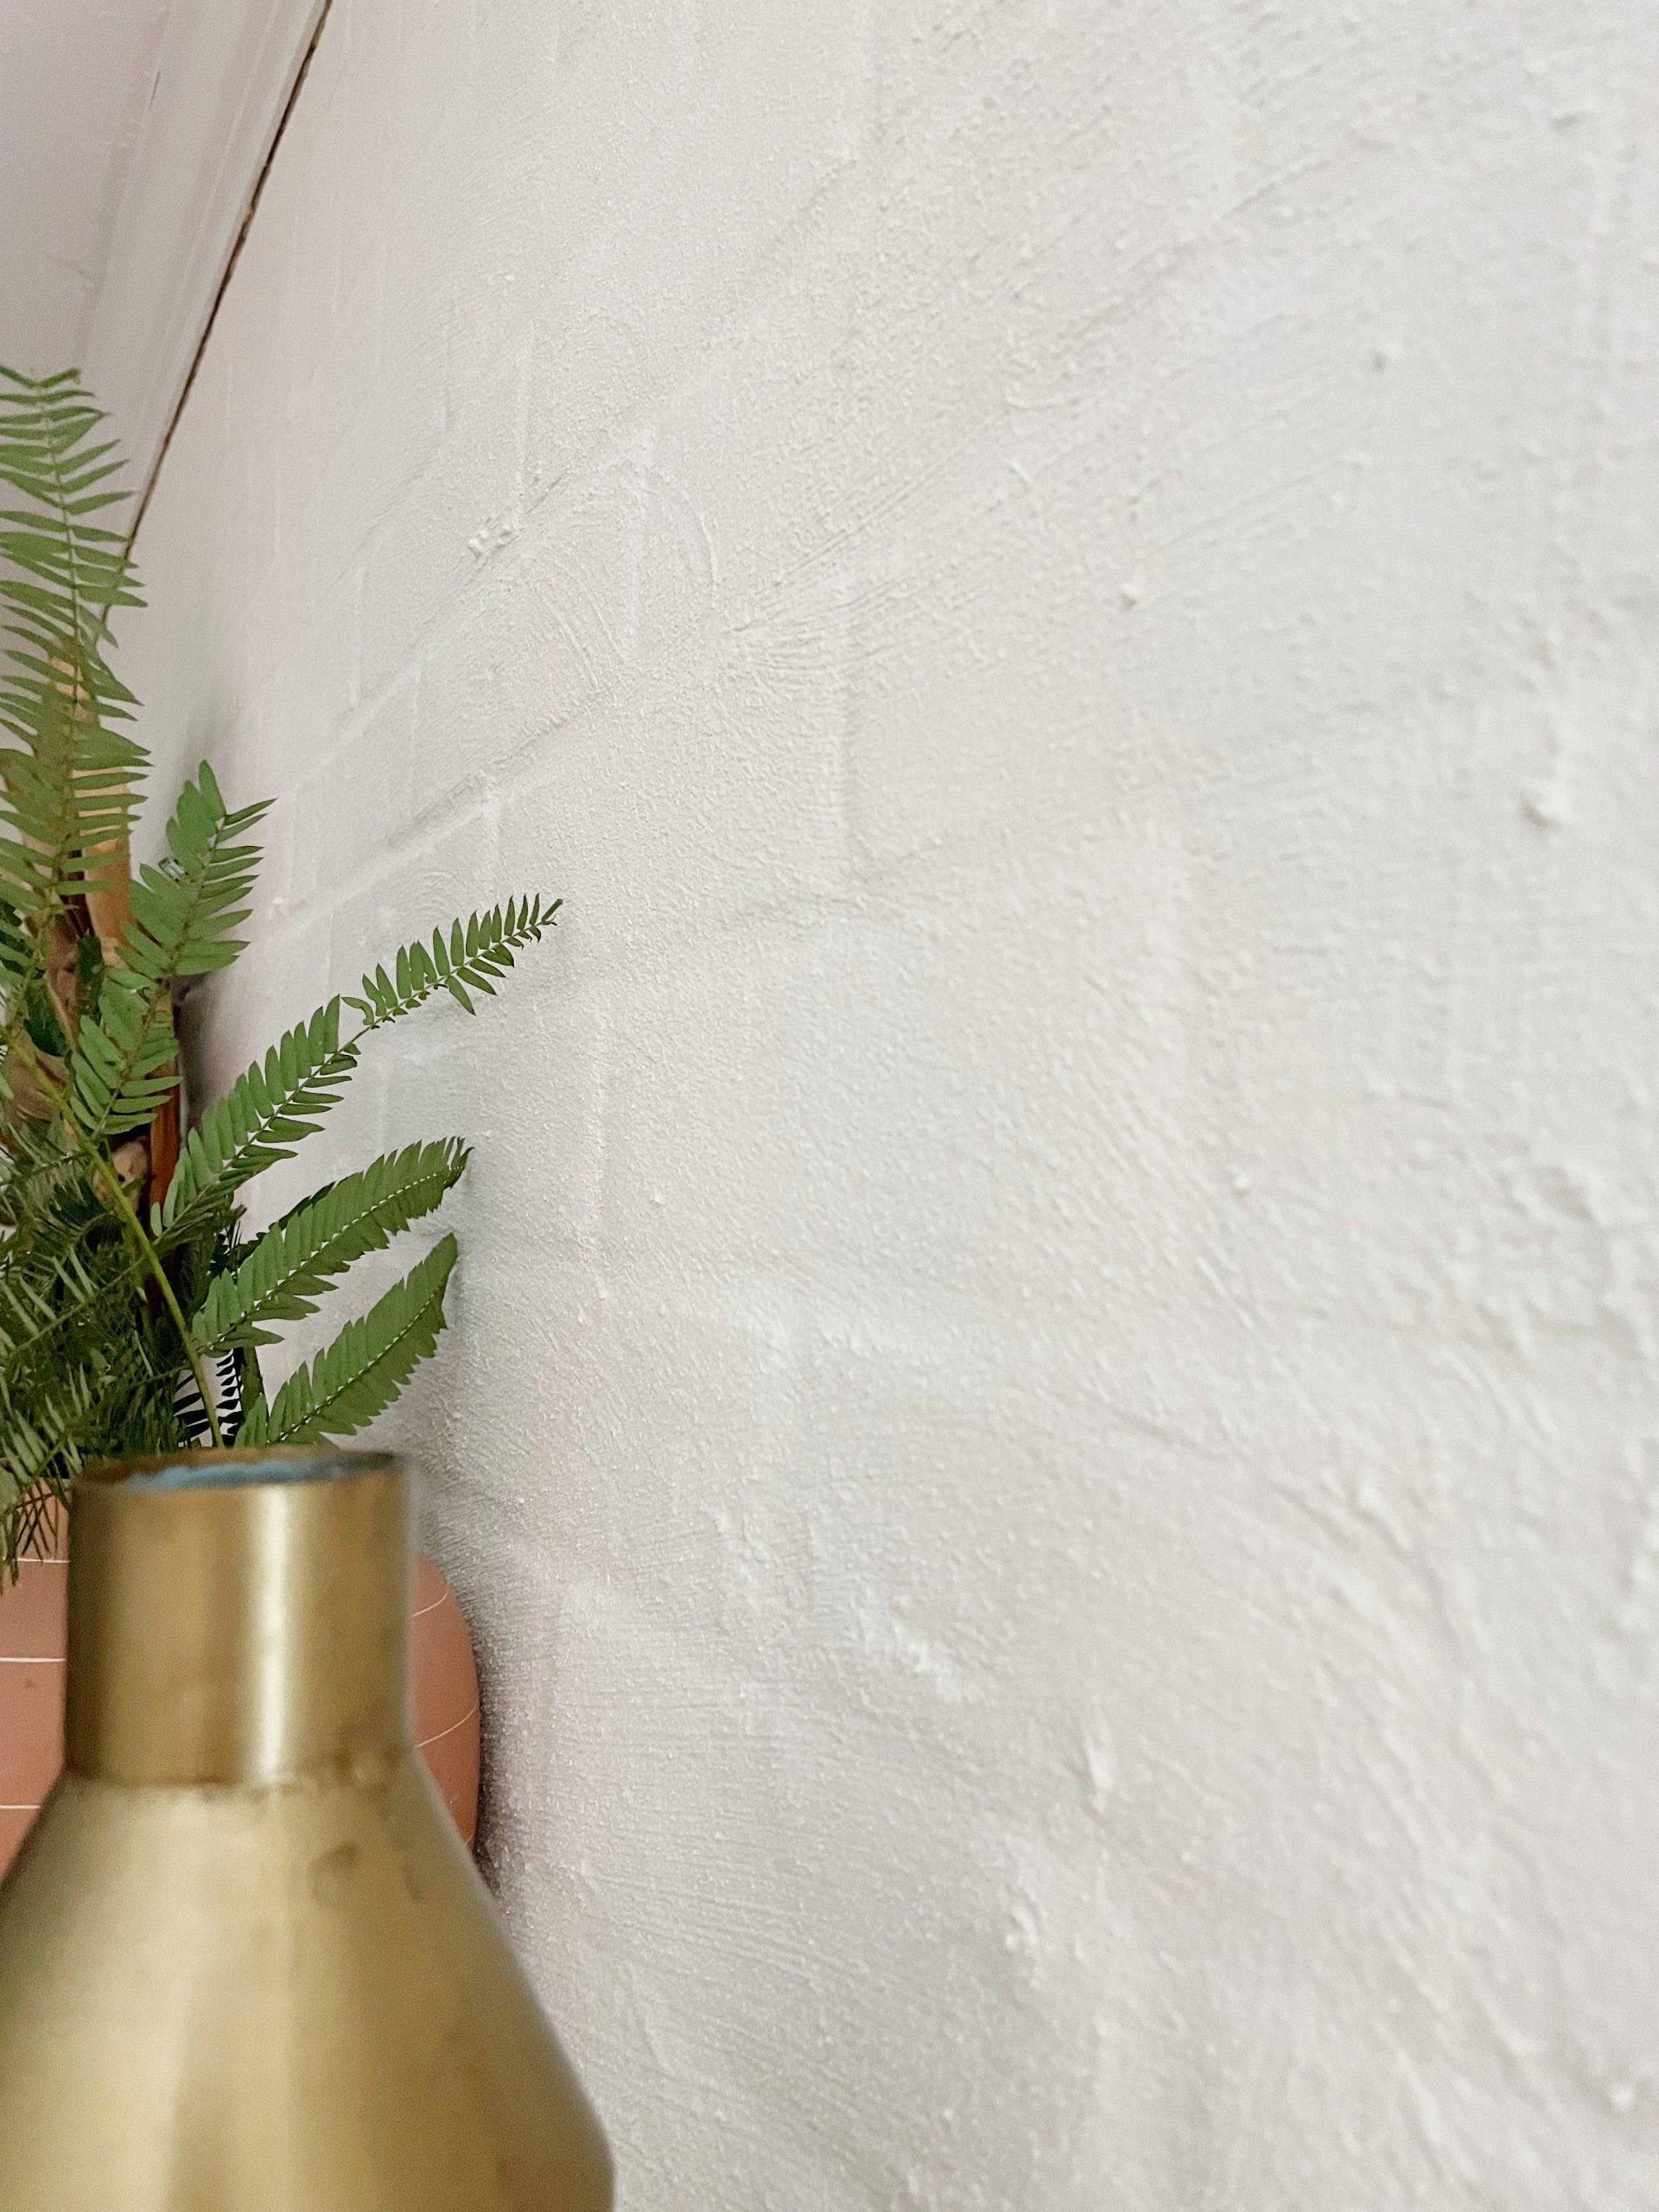
Lime Slurry is a thicker, more textured version of limewash. You can use it on the exterior of your brick, stone or stucco home for an old-world look. It's an authentic, Italian lime paint that creates a beautiful textured finish. I would describe it as almost a little sandy in texture. I used the color Avioro White for our fireplace, which is in between bright white and cream. It dries lighter, because I was a little worried when I started, but it's just perfect now.
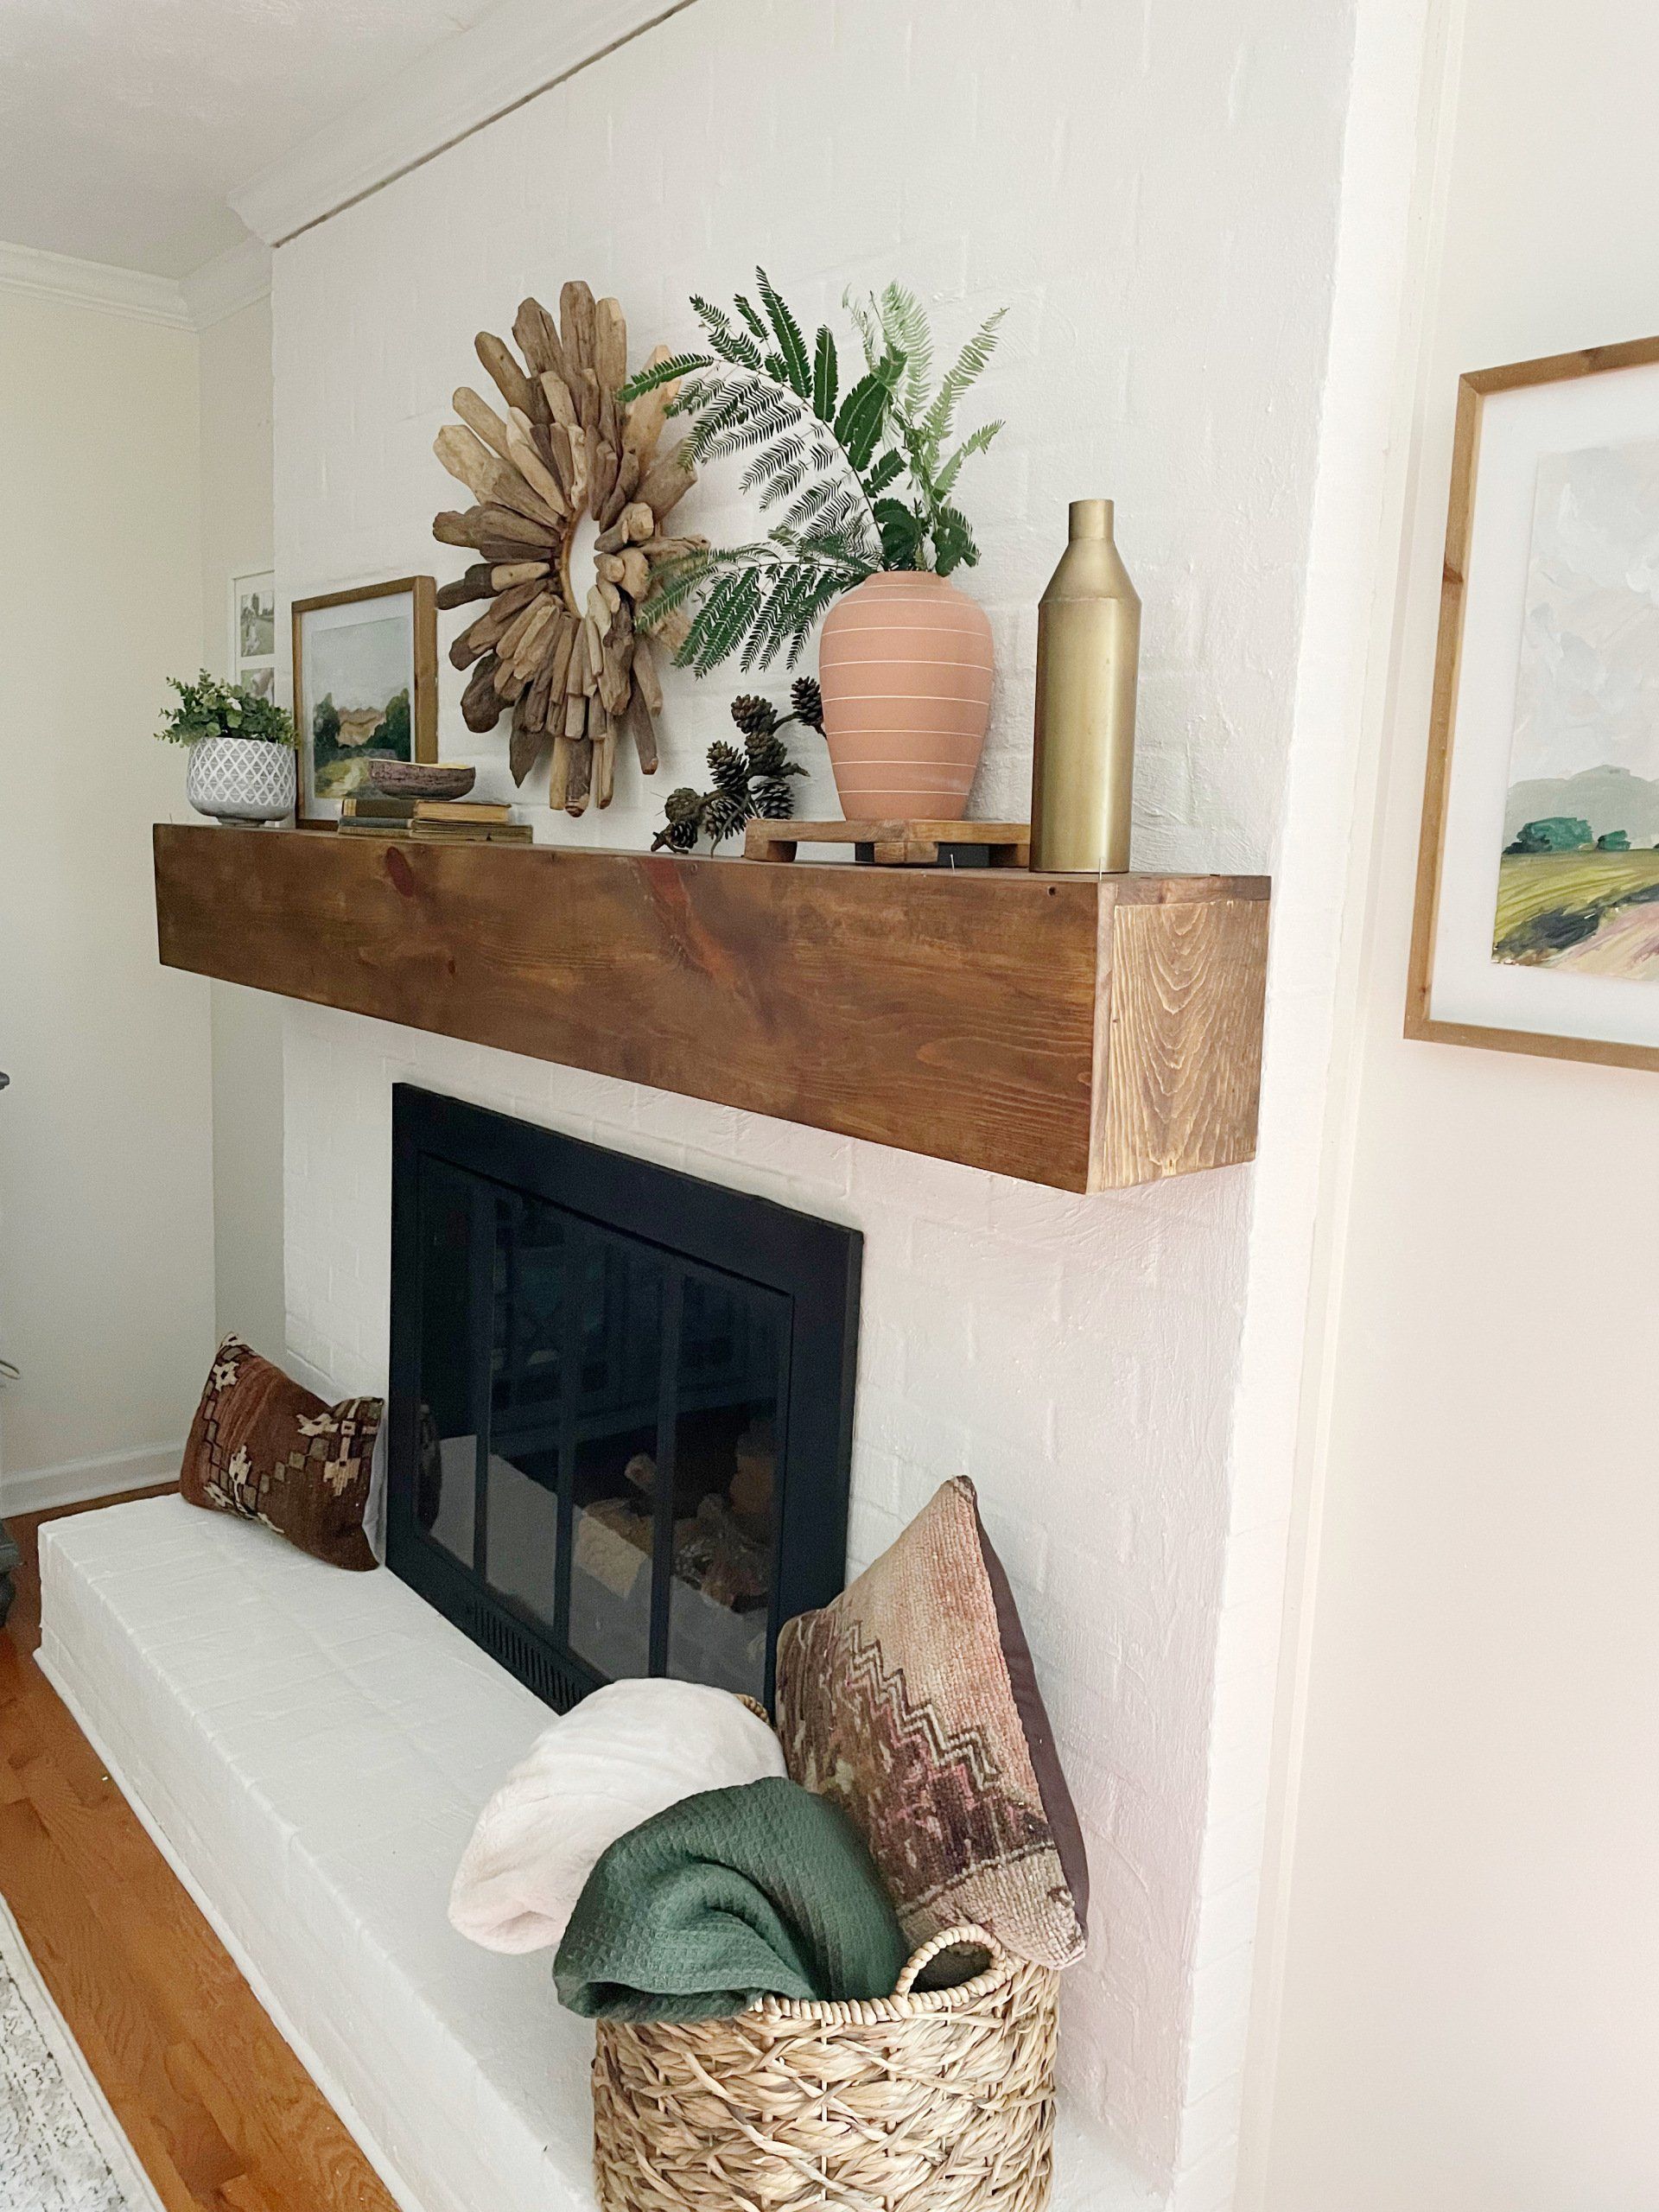
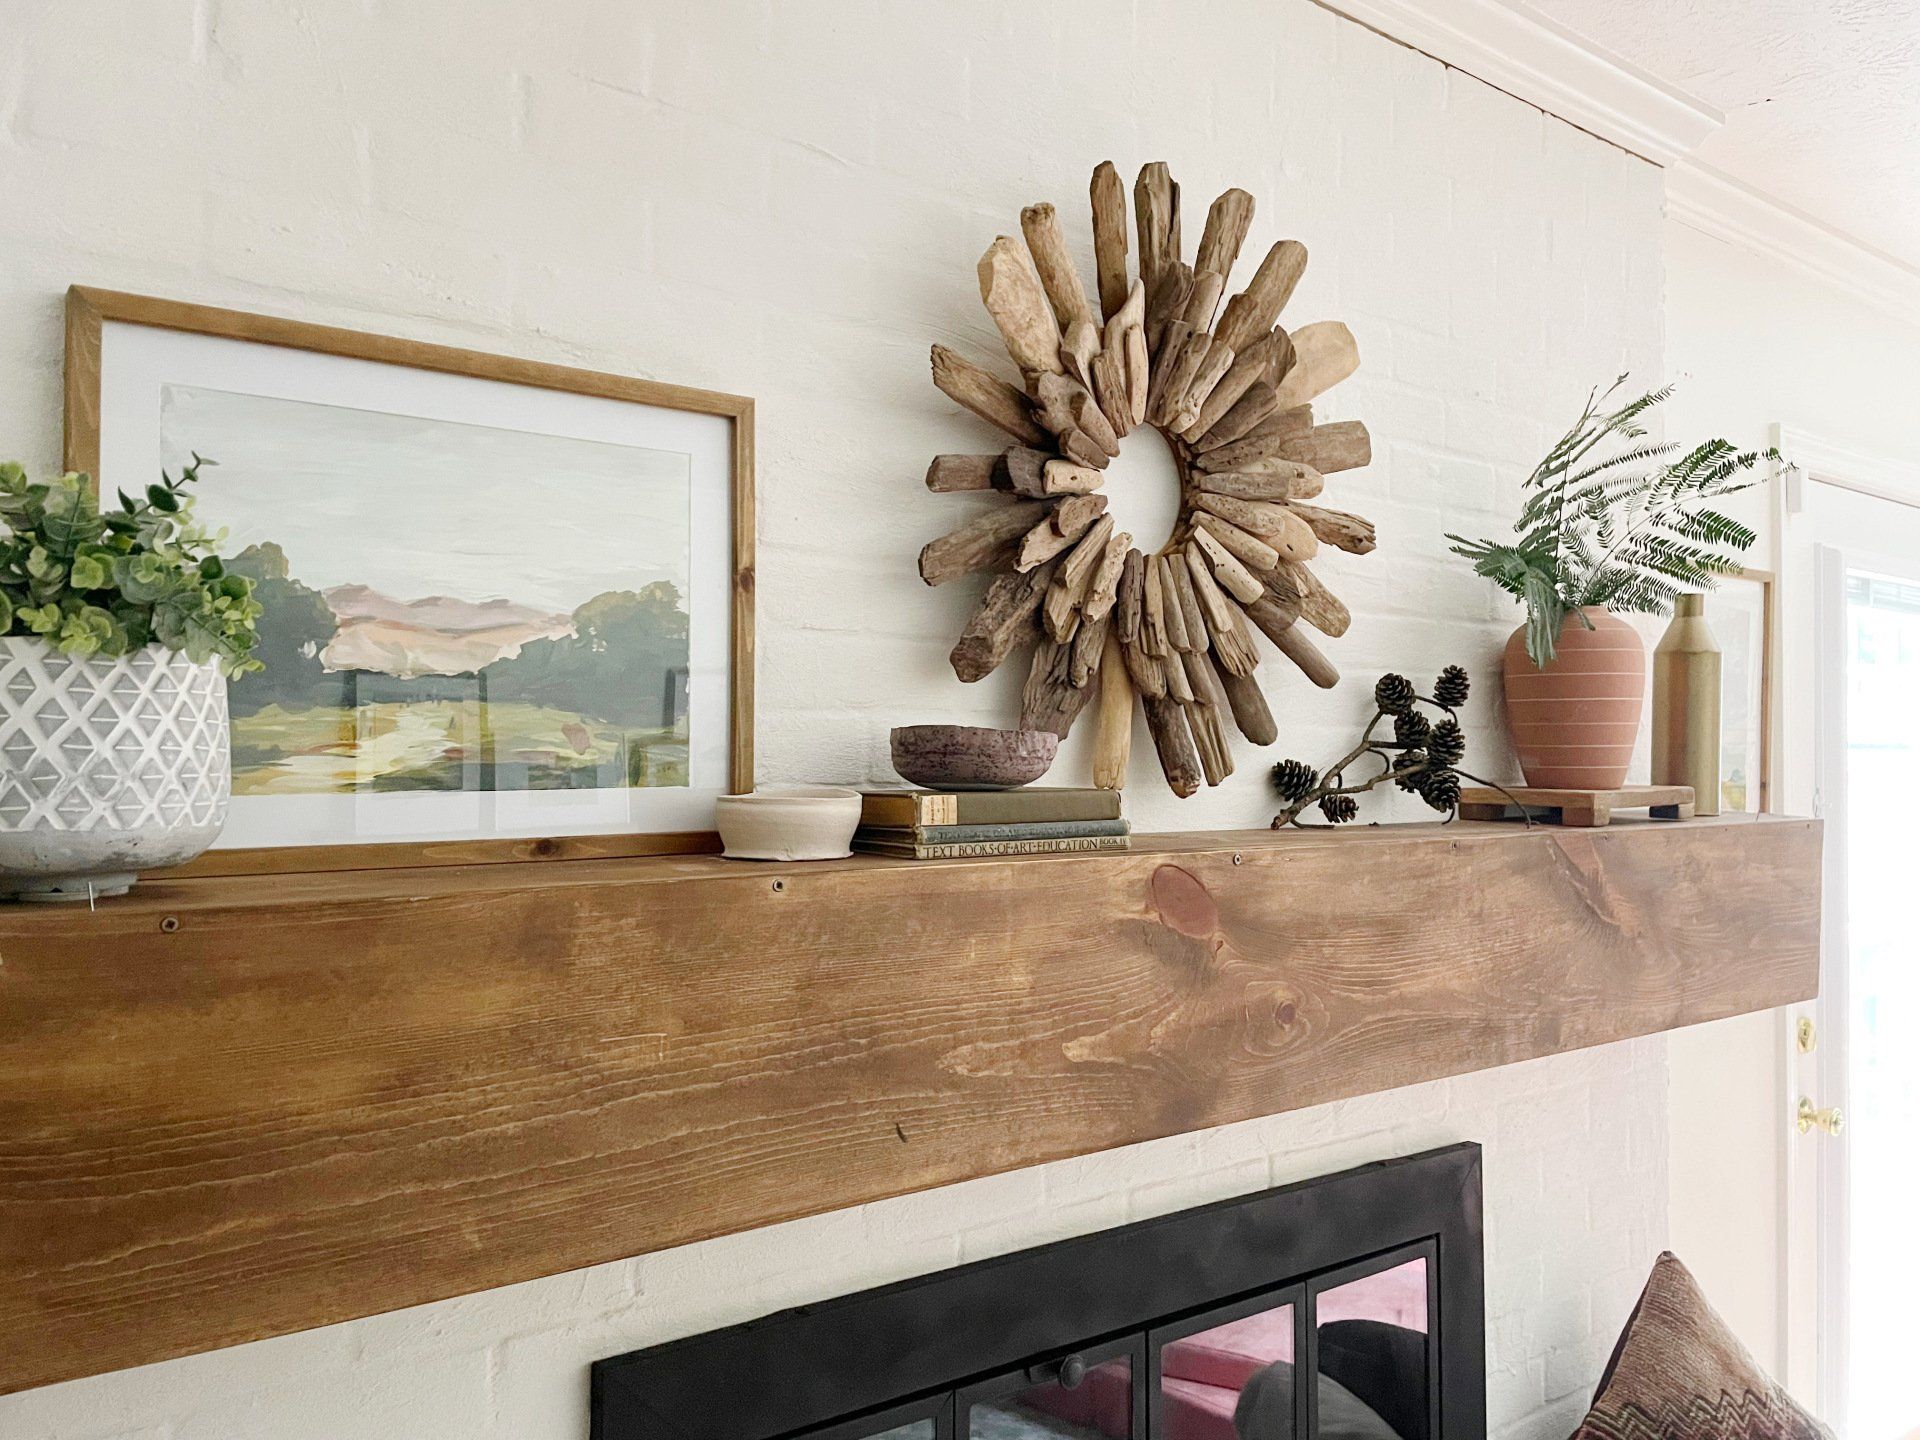
I brushed it on with my Romabio large masonry brush in about half an hour. One coat was plenty and it took a couple hours to dry. This makeover really softened the look of our fireplace, and now the brick doesn't look so busy. It's now a beautiful backdrop for decor. I love how it totally transformed our fireplace with relative ease and without breaking the bank!

Pin for Later!