
Limewash your Brick House
Jenni Jarvis • March 1, 2020
Limewash your Brick House
Hmm, I have an idea!
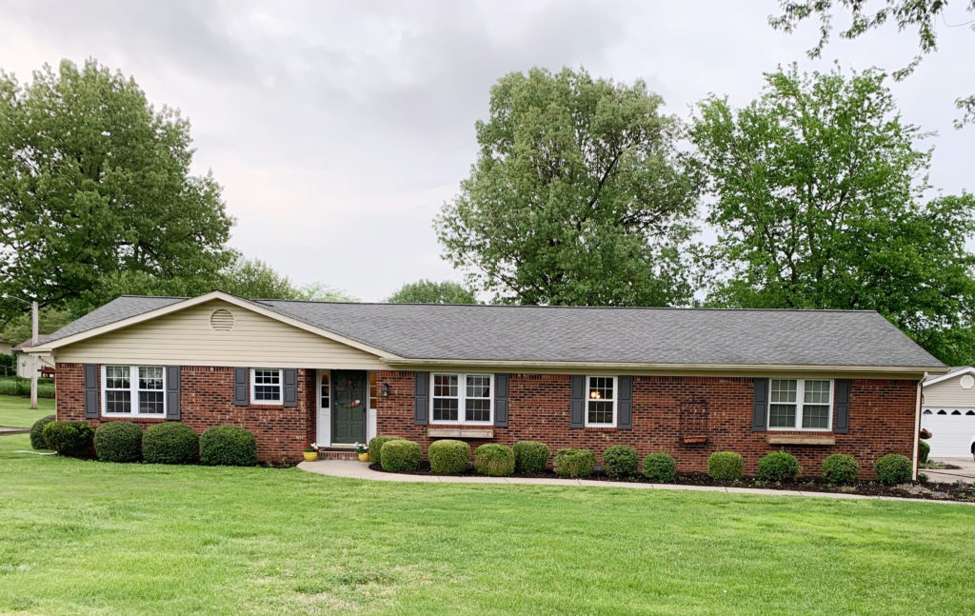
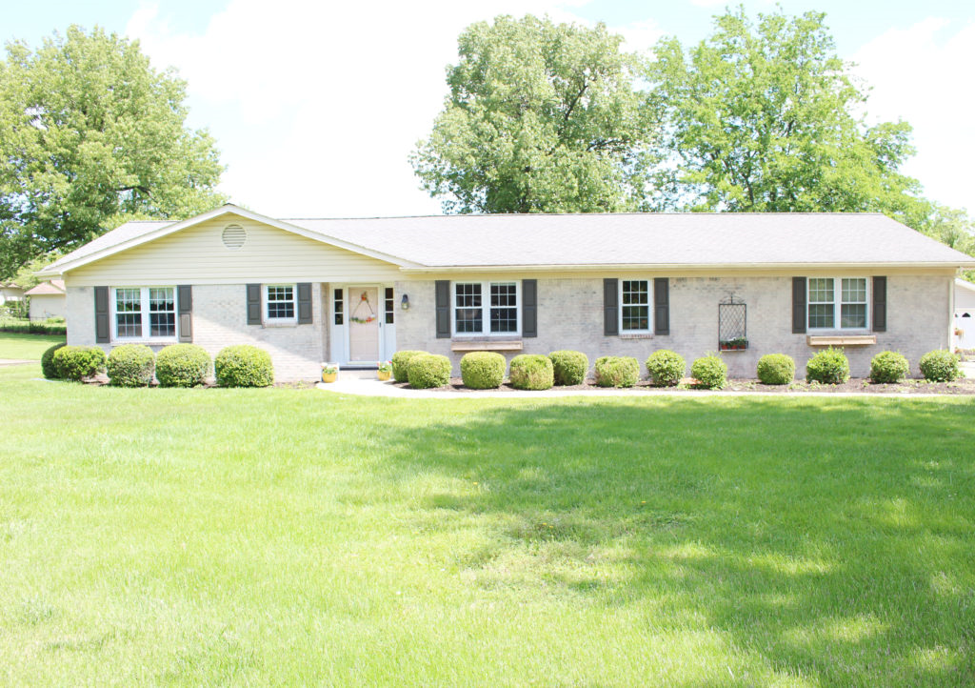
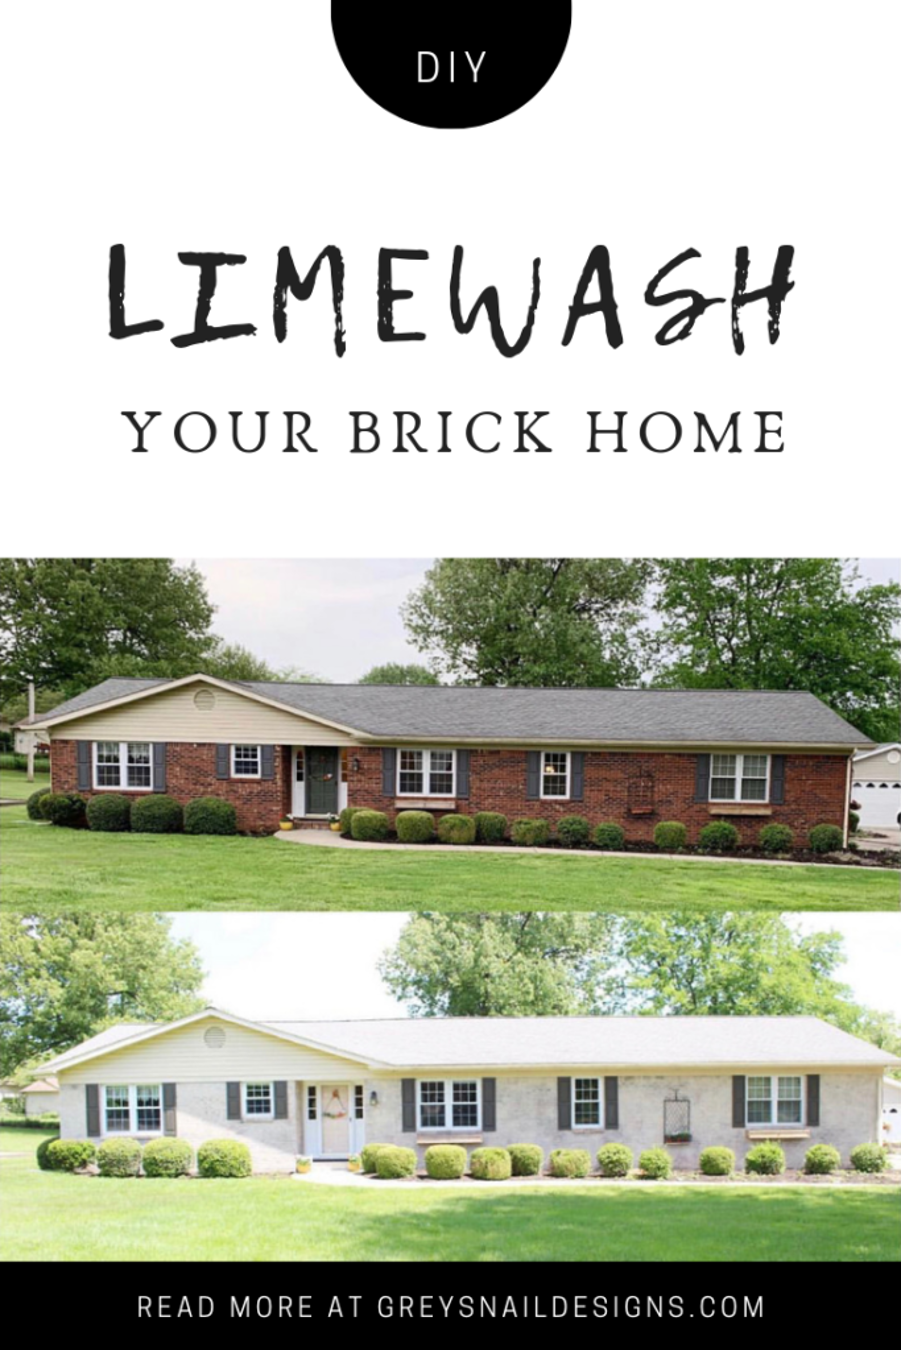
Have you ever wanted to limewash your brick house? I have frequently admired painted brick homes, but never wanted the maintenance or expense of having our brick house painted, and I sure didn’t think I could do it MYSELF. I’d just say, our brick is fine, just not something I would have personally picked out. We added window boxes, painted the shutters, but nothing made me crazy about that brick. My most disliked feature was the yellow patches all over the brick. I kept seeing our brick on other older buildings around town, and the final straw was after I discovered we had the same brick as our 1970s Wendy’s.
I love following Young House Love and listening to their podcast. They had a big discussion about whether or not they should paint their brick colonial home white. Long story short, they used this special masonry paint by Romabio and painted it white. And it looks great. Still, I thought it wasn’t for us. UNTIL I saw a Romabio post on Instagram talking about their Classico Limewash product.
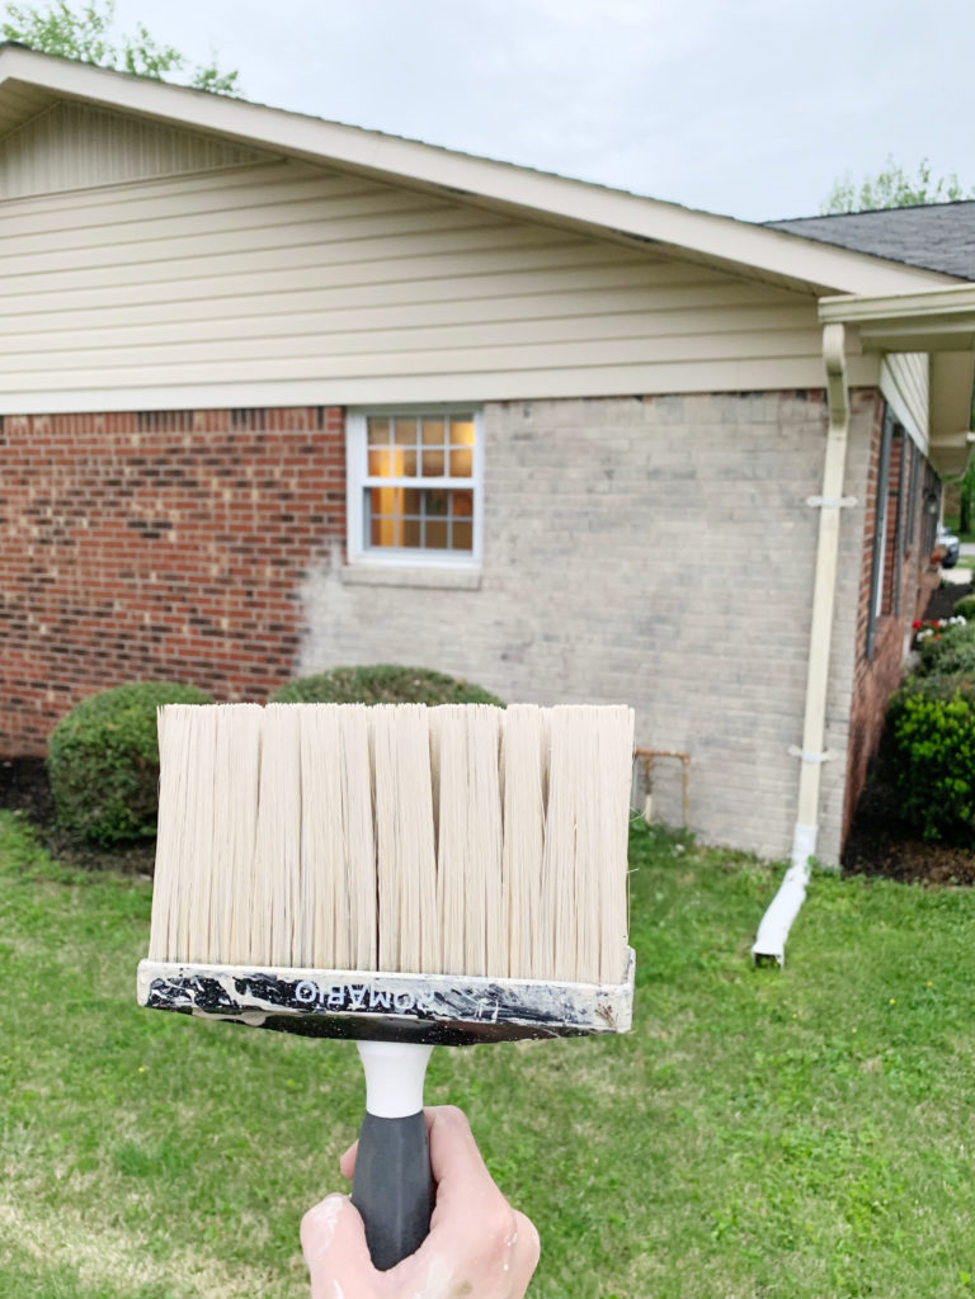
Romabio Classico Limewash
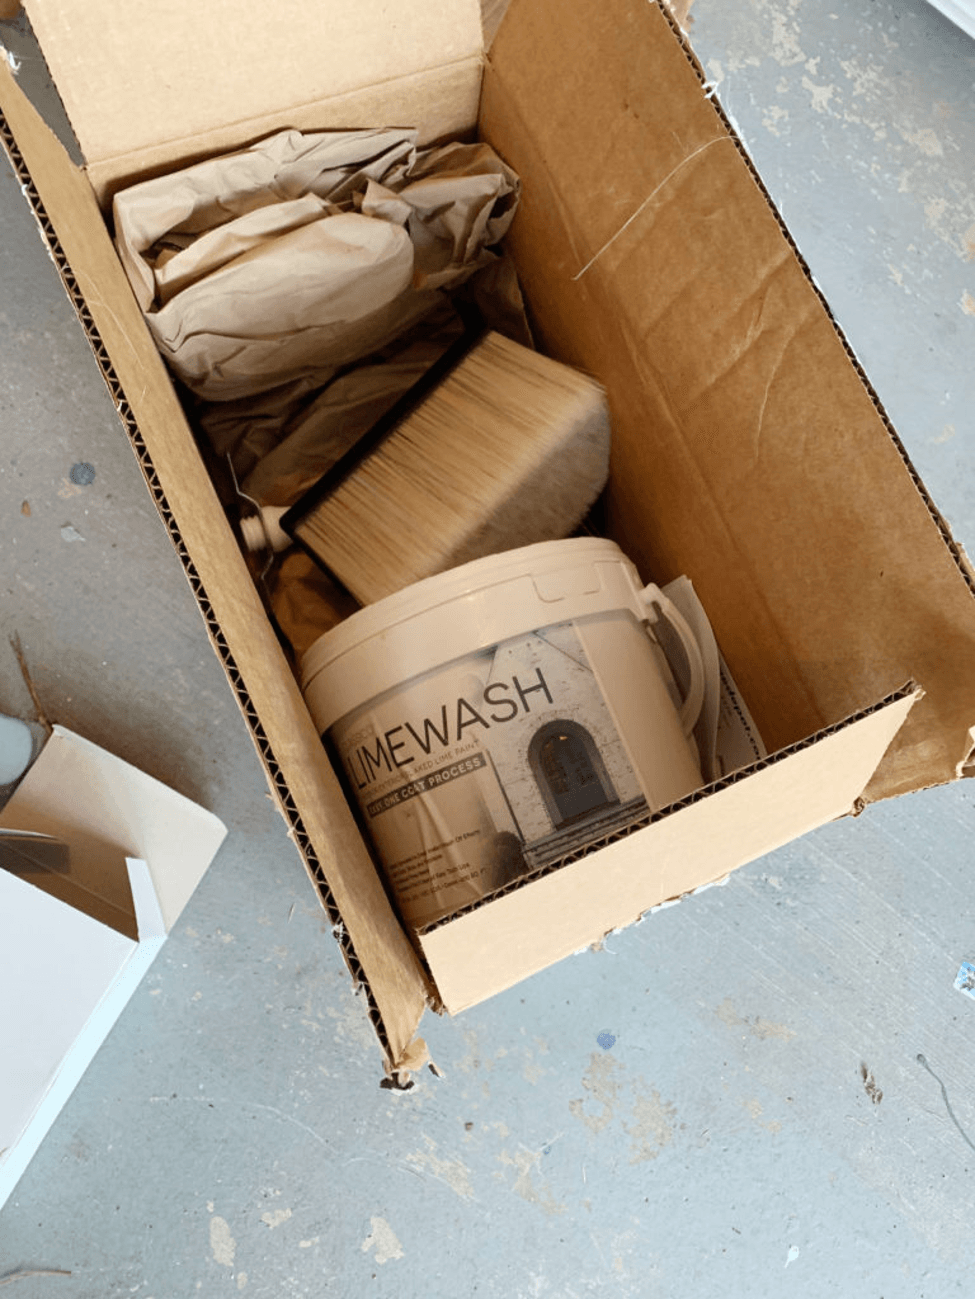
Cue the music. This product is A-M-A-Z-I-N-G! It can be used inside (on something like a brick wall or fireplace) or outside on brick or stone. I scoured the Internet, Pinterest and Instagram to see every photo, and even read all 200 reviews on the Home Depot website. I was convinced this was the answer I was looking for to transform the outside of our house and bring it into the modern era.
Romabio makes a product called Classico Limewash, a slaked-limewash paint that’s totally breathable and doesn’t flake or chip. It actually calcifies to the surface and becomes as hard as rock. It will patina with the weather over time, but you can always touch it up, if you want. It’s designed to be durable with very low maintenance.
Oh, and if you don’t like it, you can power wash it off within 5 days. So there’s your insurance policy.
It easily cleans up with water (not like paint!) and if you get any on your windows, gutters, railings, or shutters, just get a wet rag and wipe it right off. It’s also totally safe for plants!
Color
It comes in seven colors: 3 whites (Bianco is bright, Avorio is soft, Cristallo is cream), 1 gray (Nube Grey), and 3 beiges (Riposo, Toscano, Tropea). I think they’ll even mix custom colors.
After much agonizing over color, I decided on Riposo Beige. Originally, I wanted to use Avorio White, but later thought Cristallo might be better. I was a little concerned with how it would look with our siding (that we are not changing right now), so I selected Riposo Beige. All the colors have a matte, chalk-y finish, so they all look somewhat white.
I ordered mine online from Home Depot, but I believe you can find it on Amazon, too. Some Home Depots carry Avorio White and Bianco White in the store.
Application
The consistency is similar to peanut butter. The instructions call for mixing it 1:1, with equal parts limewash to water, and mix it well with a drill mixer. (You just buy a mixing bit that fits into your drill and turns it into a Kitchen Aid mixer). I just scooped out the desired amount into a 5-gallon bucket, added the water and mixed it.
You simply spray your brick or stone surface with a garden hose, then brush on the limewash. You kind of have to go left to right, then up and down to get it into all the mortar joints. After 30-60 minutes, when it begins to dry, you can use a hose to spray off any areas you want to look more distressed.
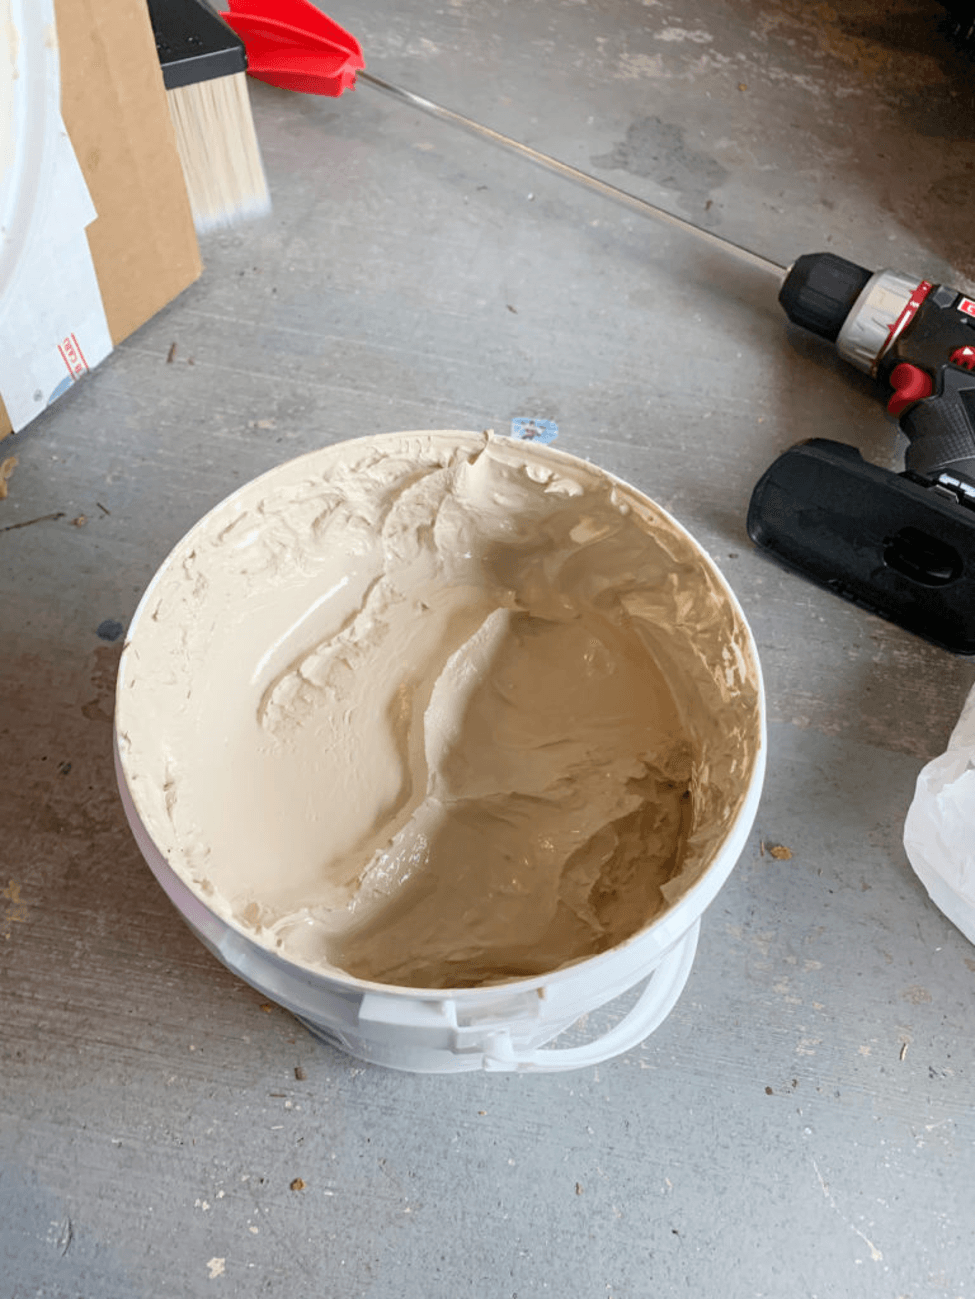
Many of the inspiration photos I saw had pretty opaque limewash, with areas of distress. I thought for our home, I preferred to be able to see more of the variation of the brick color underneath, so I tweaked the recommended formula some. I probably used a ratio closer to 25 (limewash): 75 (water). It was very forgiving. If I mixed it too thick, I just rinsed that area quickly and added more water. If it was too thin, I added more limewash. It took a little finesse, but it was pretty easy to get it right and I mixed multiple buckets, since I did a little at a time. Just keep this in mind if you decide to limewash your brick house.
I did have a few areas that got more limewash than the rest and looked like spots. I tried spraying them off several times, but that wasn’t cutting it, so I just used a wet sponge to remove the excess in certain areas and that did the trick. It was a little more time consuming, so I was careful not to get too much in any area.
Quantity
Each gallon of limewash is supposed to cover 450 square feet. For our 2,300 square foot house, I should have purchased about 5 gallons to cover everything. It comes in a large 6-gallon bucket for $250.00, or you can buy it by the gallon for $50.00. Now, remember, there are windows, doors, garage doors, so not every inch is going to be covered. I decided I was better off to order it by the gallon and purchased five gallons total. That way, if there were tubs I didn’t open, I could just return them to the store.
Dilution Ratio
Since I was diluting it more than recommended, I ended up ONLY using THREE gallons for our ENTIRE HOUSE! That means, this only cost $150.00 (limewash) + brush ($40.00) + drill mixing bit ($8.00), for a total of $198.00. So for under $200.00, we totally transformed the look of our house!
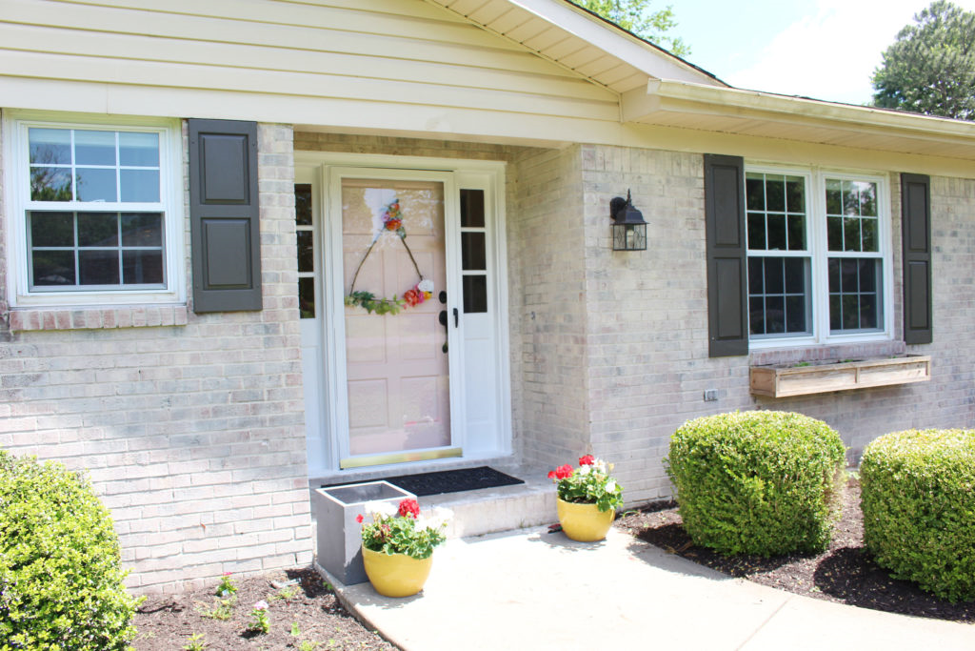
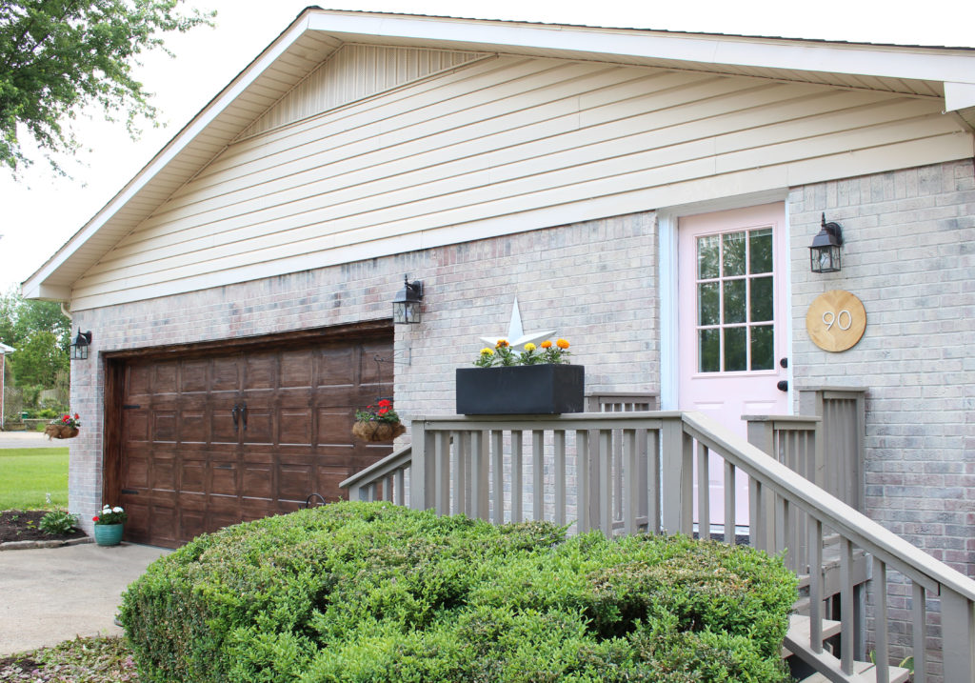
After
I did about 90% of the painting myself over the course of several days, with some help with the ladder and hose. You could easily do an entire house in 1-2 days, or over a weekend. It would go even faster with more than one person (and brush!), but I really preferred to keep the application more consistent by being the one who applied it. If you were using a more opaque application, that might not have been as important. I’d say this is a great DIY project if you have a one-story house; it would be a more difficult with a two-story, and probably one I would not have tackled myself.
Weather
This project began in early May, so the weather was in the 60s-70s. I worked one day where the sun was shining and it was a little bit warmer and it was quite a bit more difficult to keep the bricks wet. I actually found I preferred to work on a humid, overcast day so I didn’t have to keep spraying the wall so often.
My biggest tip is to just paint on one coat and let it dry. Don’t paint an area twice or it will be too bright/thick and be spotty once it’s dry. A nice, even coat is what you’re going for.
Limewash Transformation
If you want to limewash your brick house, it will completely transformed your home. We have gotten so many compliments from neighbors and have had people stop by to see what we were doing. I have even had a few people say they are thinking about doing it now. I can’t recommend Romabio Classico Limewash enough and would love to hear what you think! Check out my limewash project for terracotta pots if you like the house! What would you limewash?
Pin for Later!

Rifle Paper Co Wallpaper

Space Planning

Rifle Paper Co Wallpaper

Designer Drapes

Rug Roundup January 2024

Booth at Christmas Market
Grasscloth

What not to do

Romabio Velatura Mineralwash

I can't remember the first example of fluted wood furniture I saw, but it was probably either this gorgeous custom wood bathroom vanity from Chris Loves Julia , or the DIY fluted coffee table Fariha shared on Pennies for a Fortune . The custom cabinetry was done professionally using a router for each line, which isn't something I possess the skills to do. This did help inspire the colors I used in our bathroom remodel, though! I really connected to the method Fariha used to build the coffee table--wooden dowels. What a fabulous idea!