Romabio Velatura Mineral Wash
Romabio Velatura Mineralwash
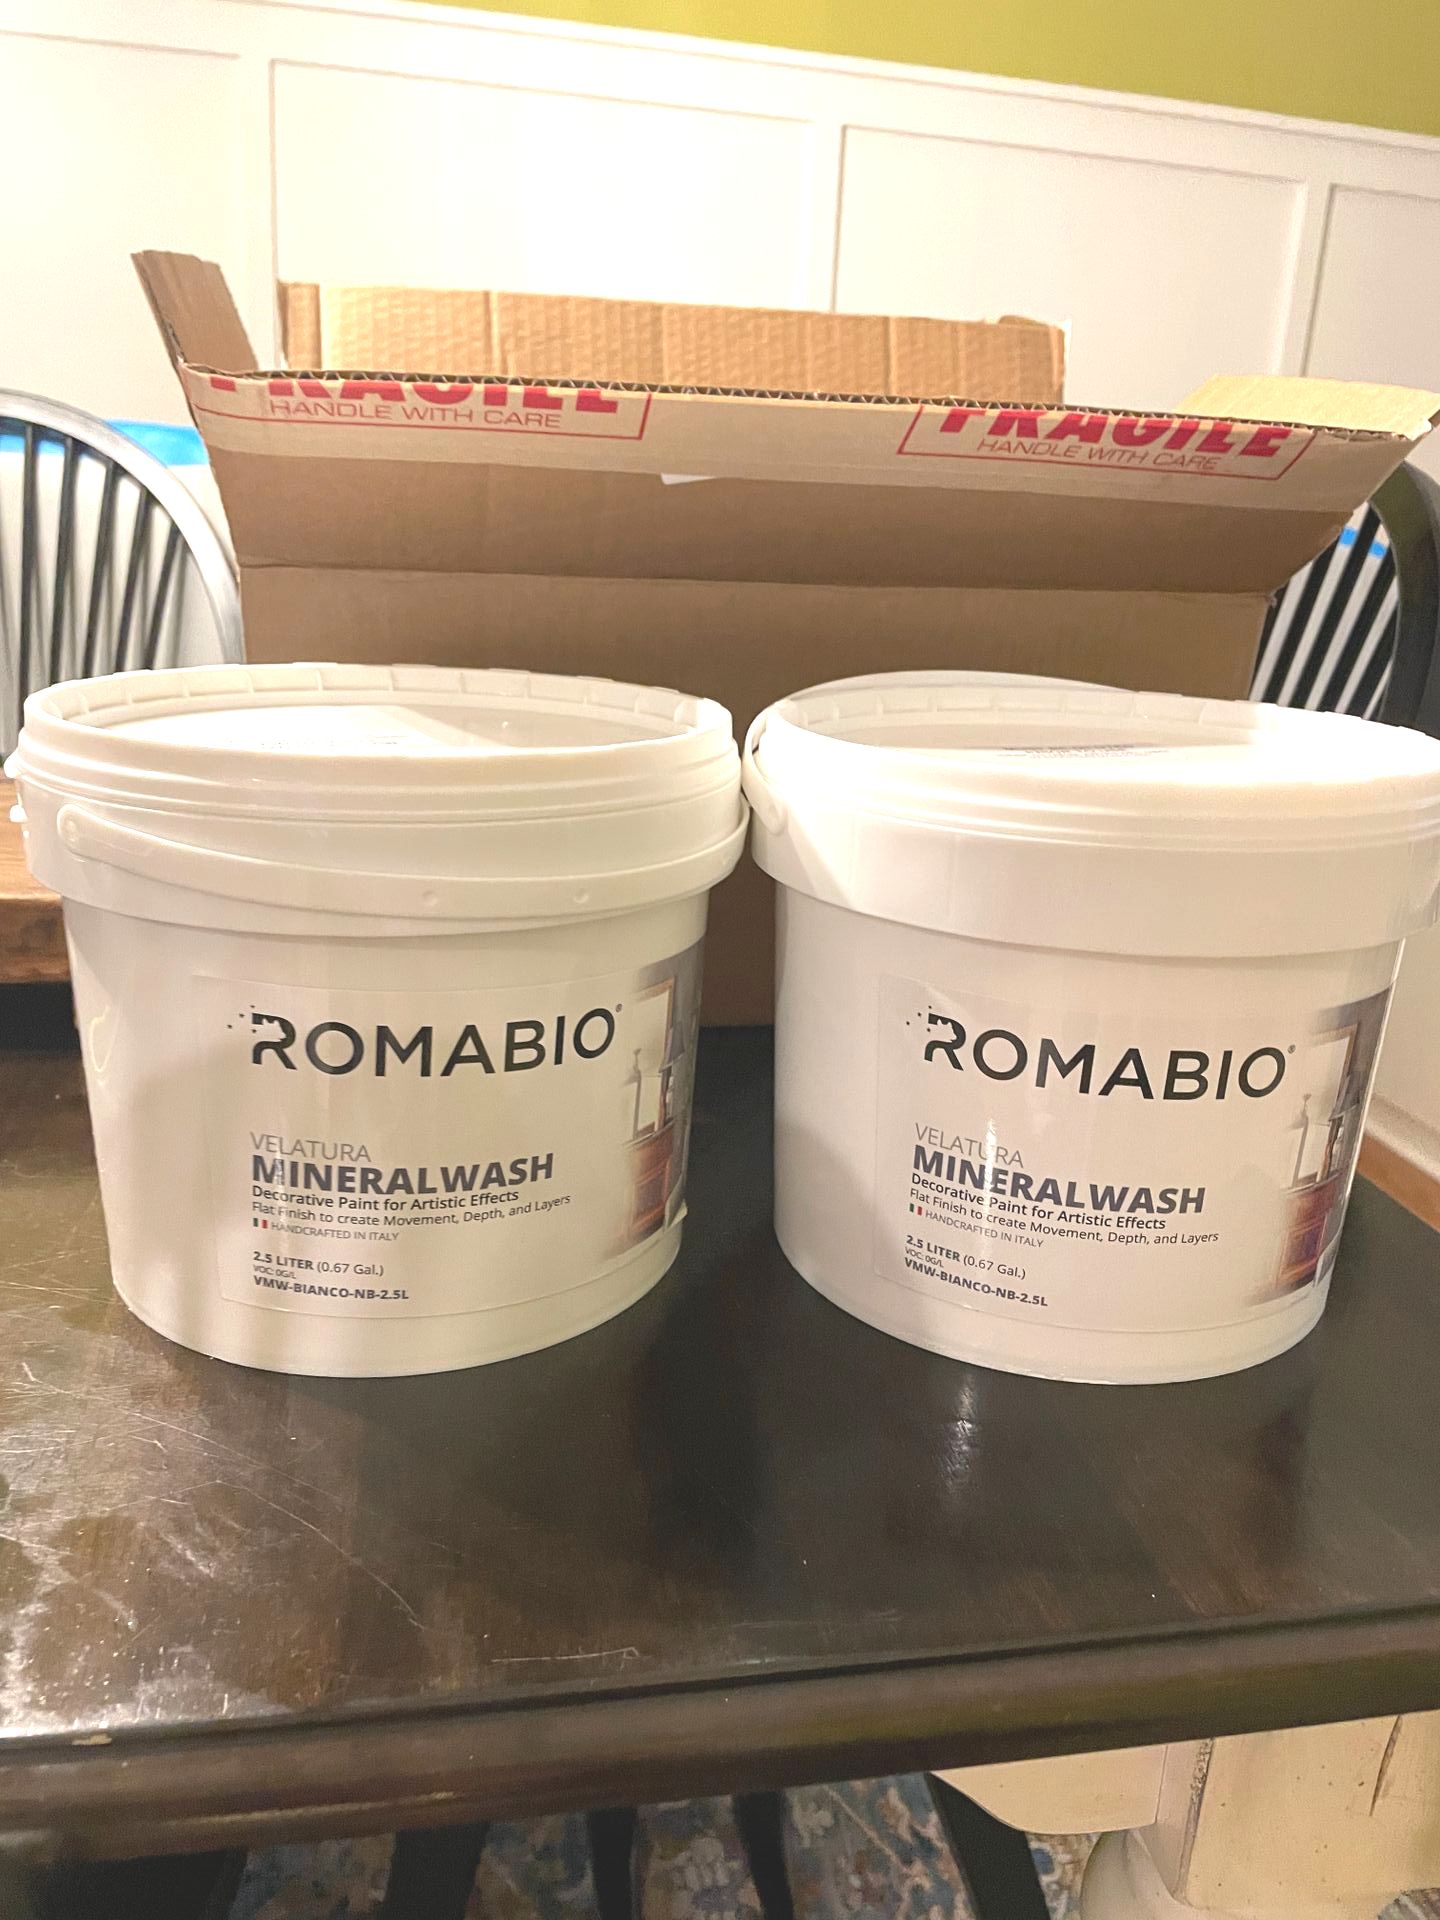
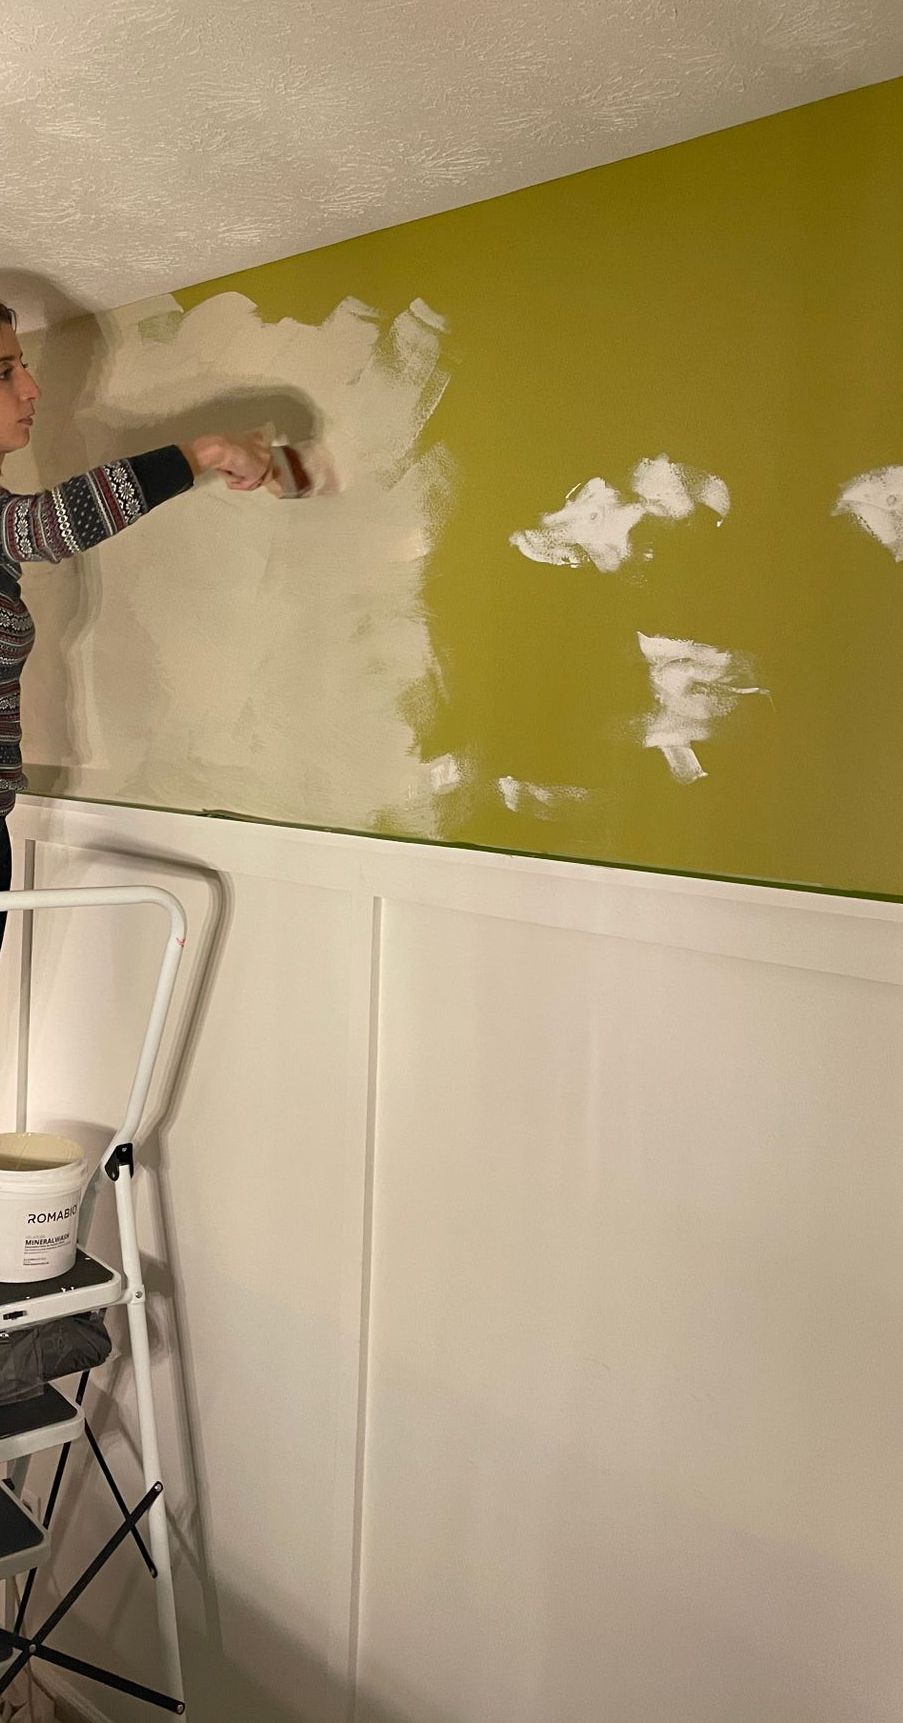
I was so excited to see Romabio's new product debut--Velatura Mineralwash. It's an easy, two-step process that can transform an interior room into something similar to old world plaster. However, since it was brand new, there weren't a lot of examples online of people using it in the real world, so I went old school and called the company with questions. The lady from Romabio was so helpful in providing guidance on how to use the product.
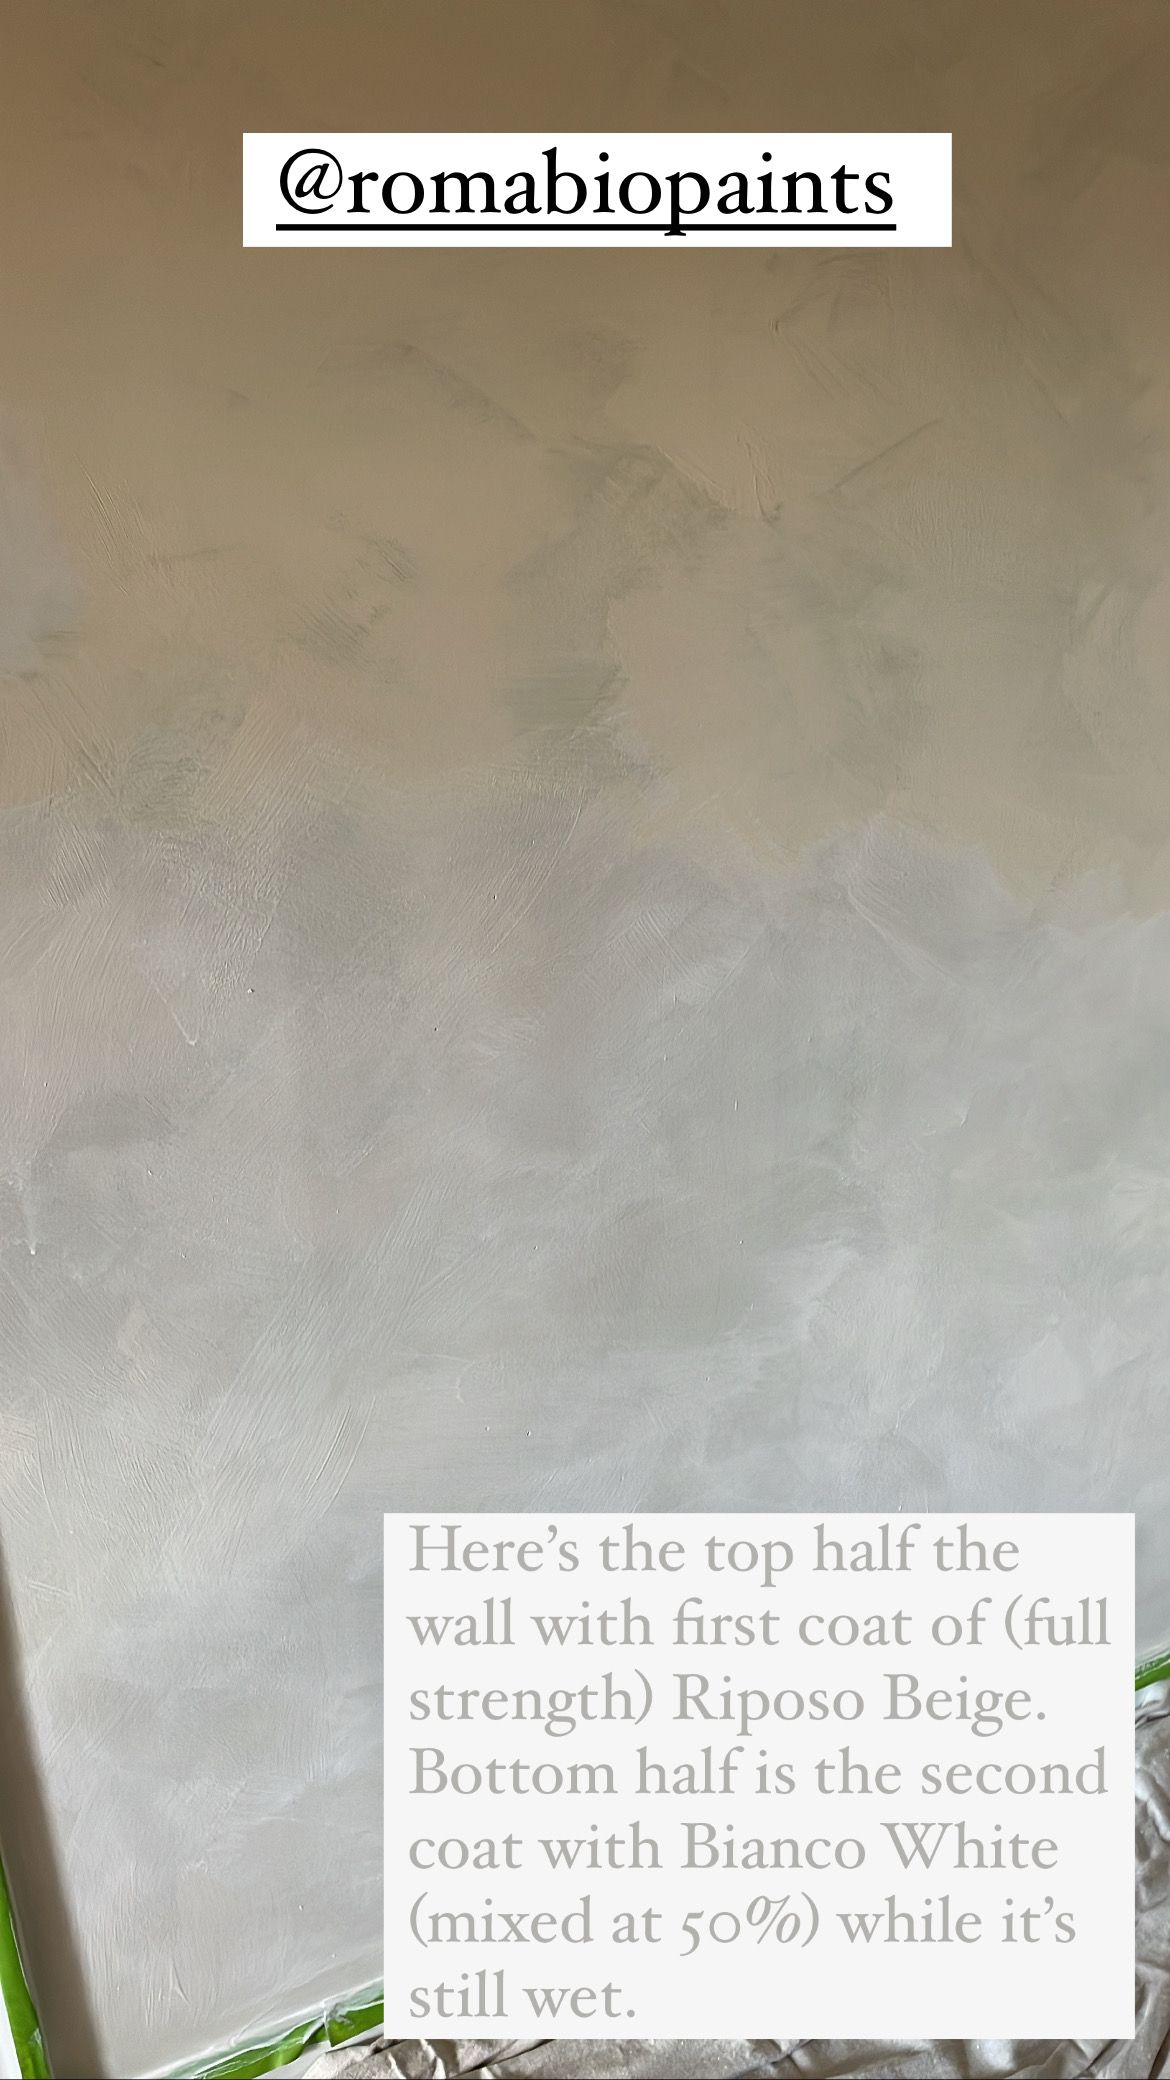
If you choose a dark color, you can use the same color for both steps; but if you choose a lighter shade, you need to select a darker shade for the first coat if you want to have more movement in the final product. I did want that movement, so I selected two ready-made colors from Amazon--Riposo Beige and Bianco White.
Two-Step Process
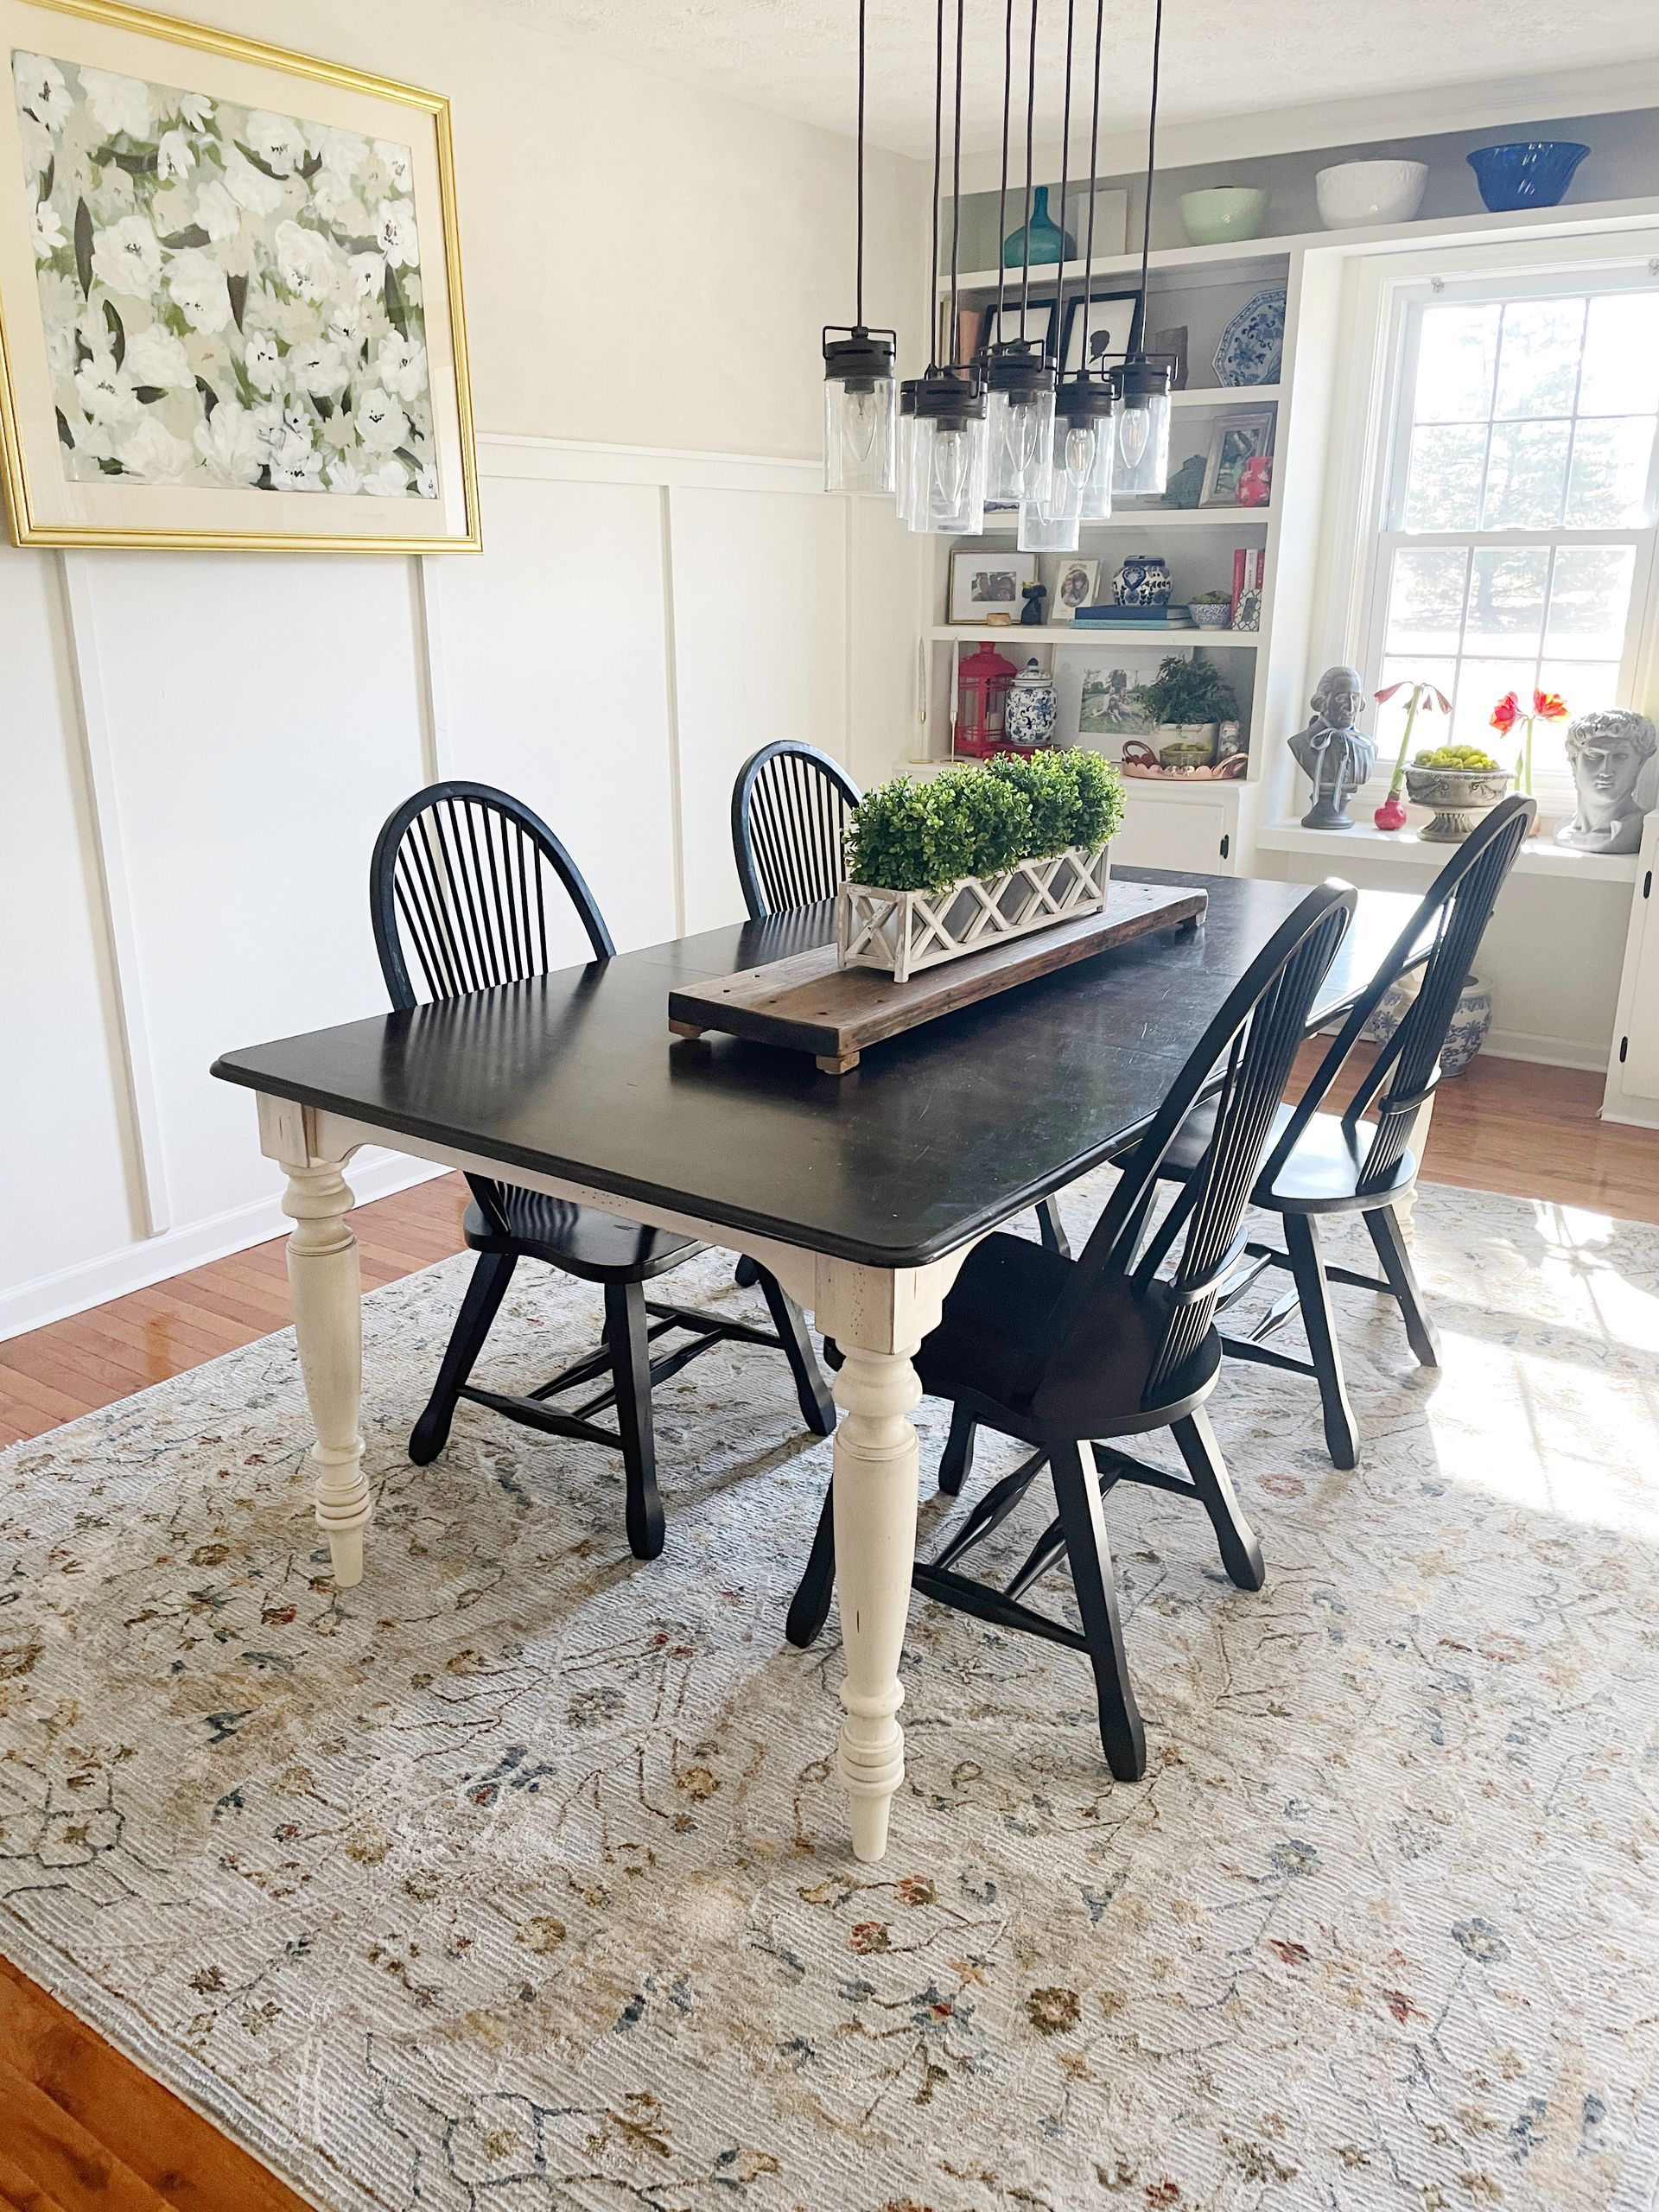
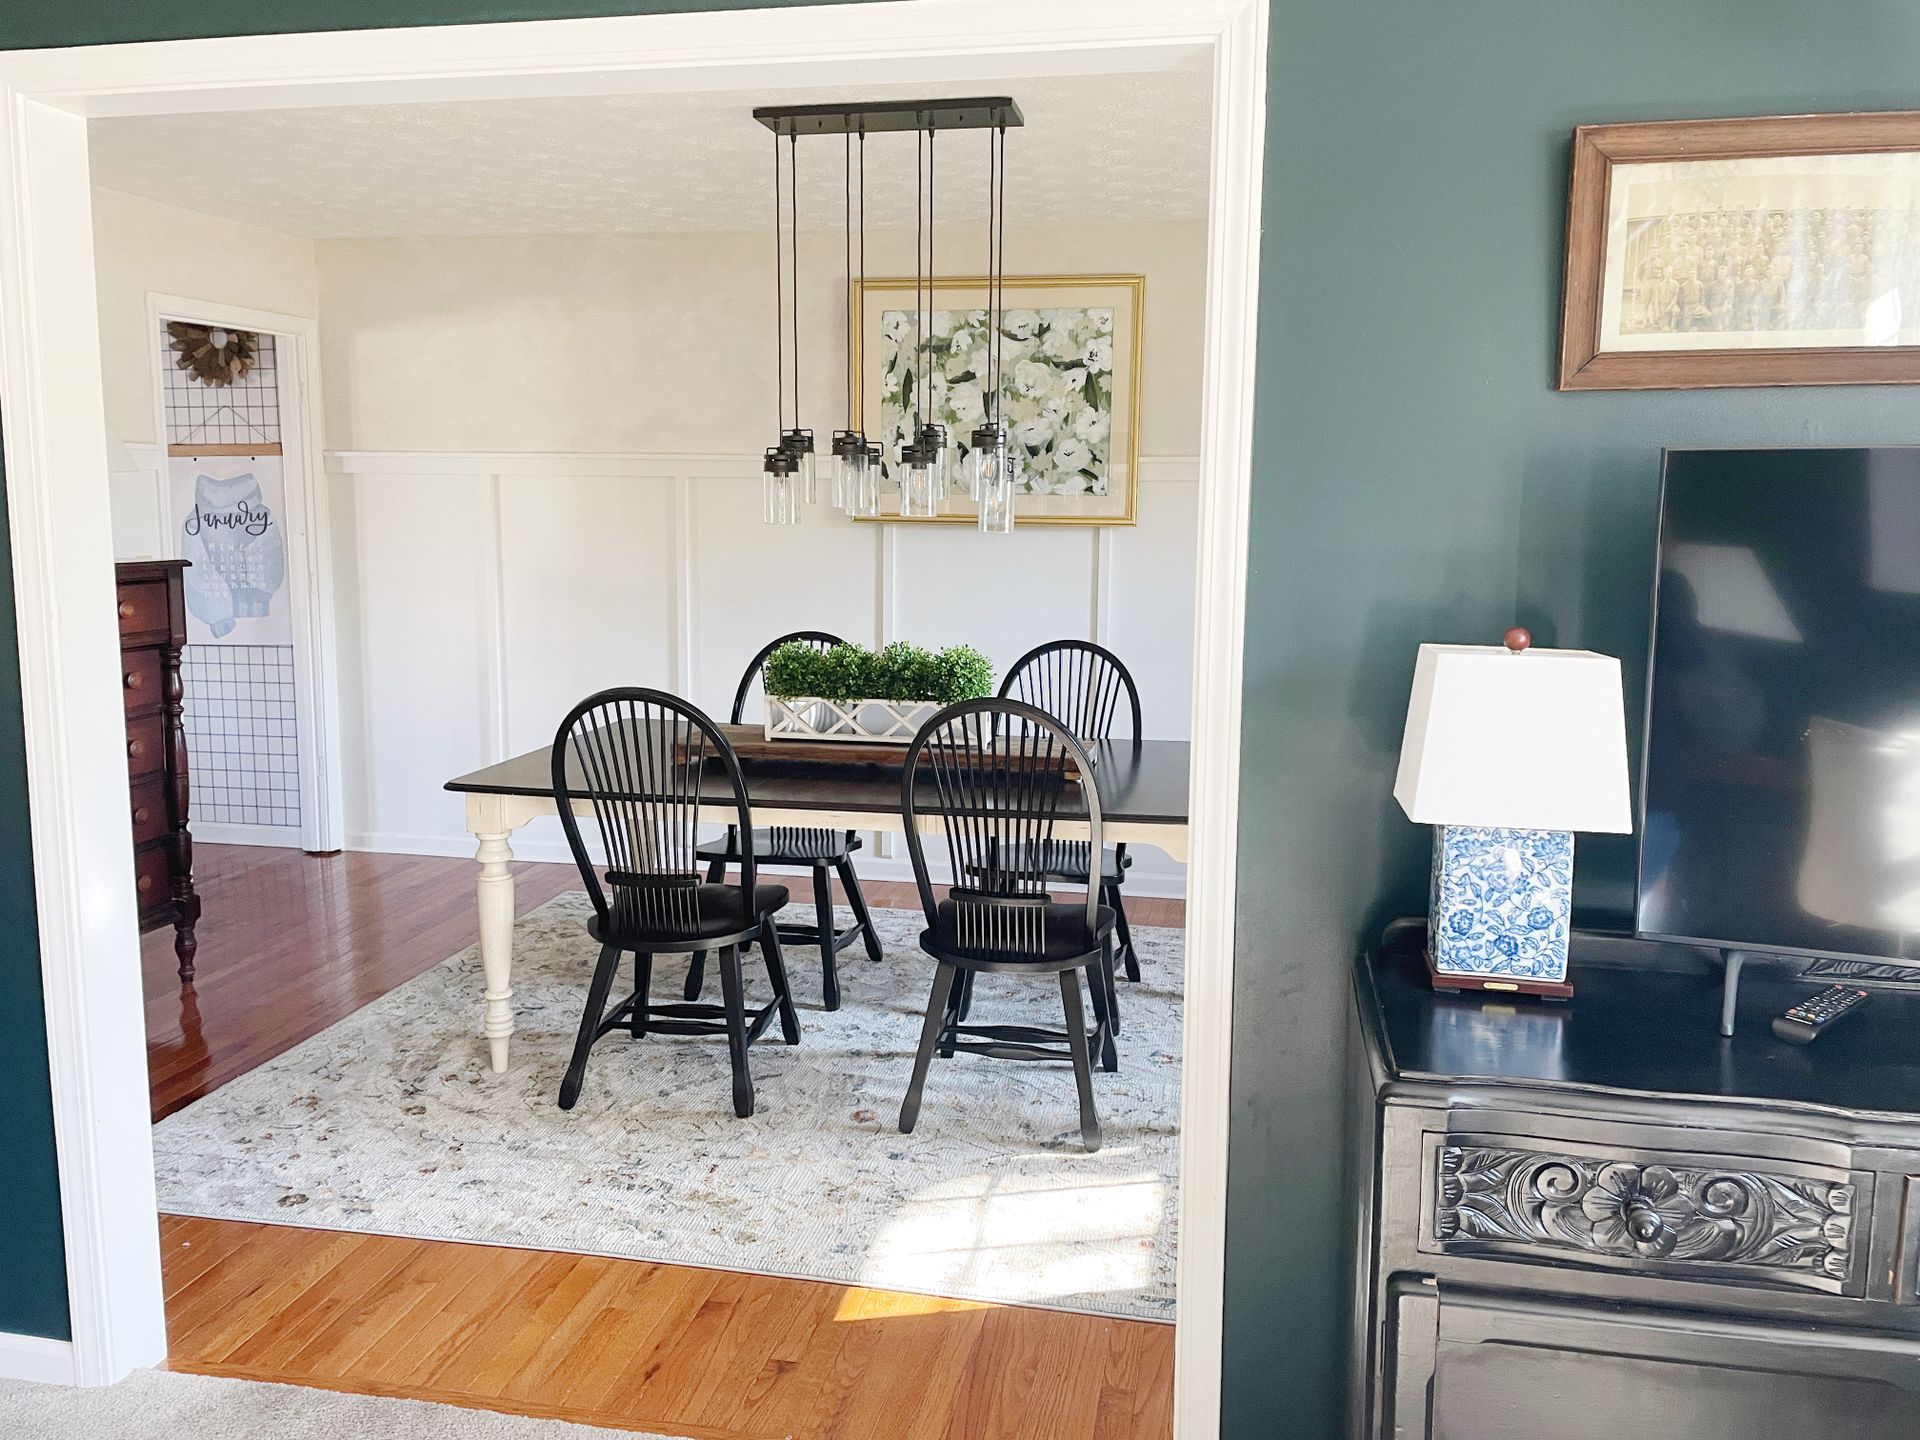
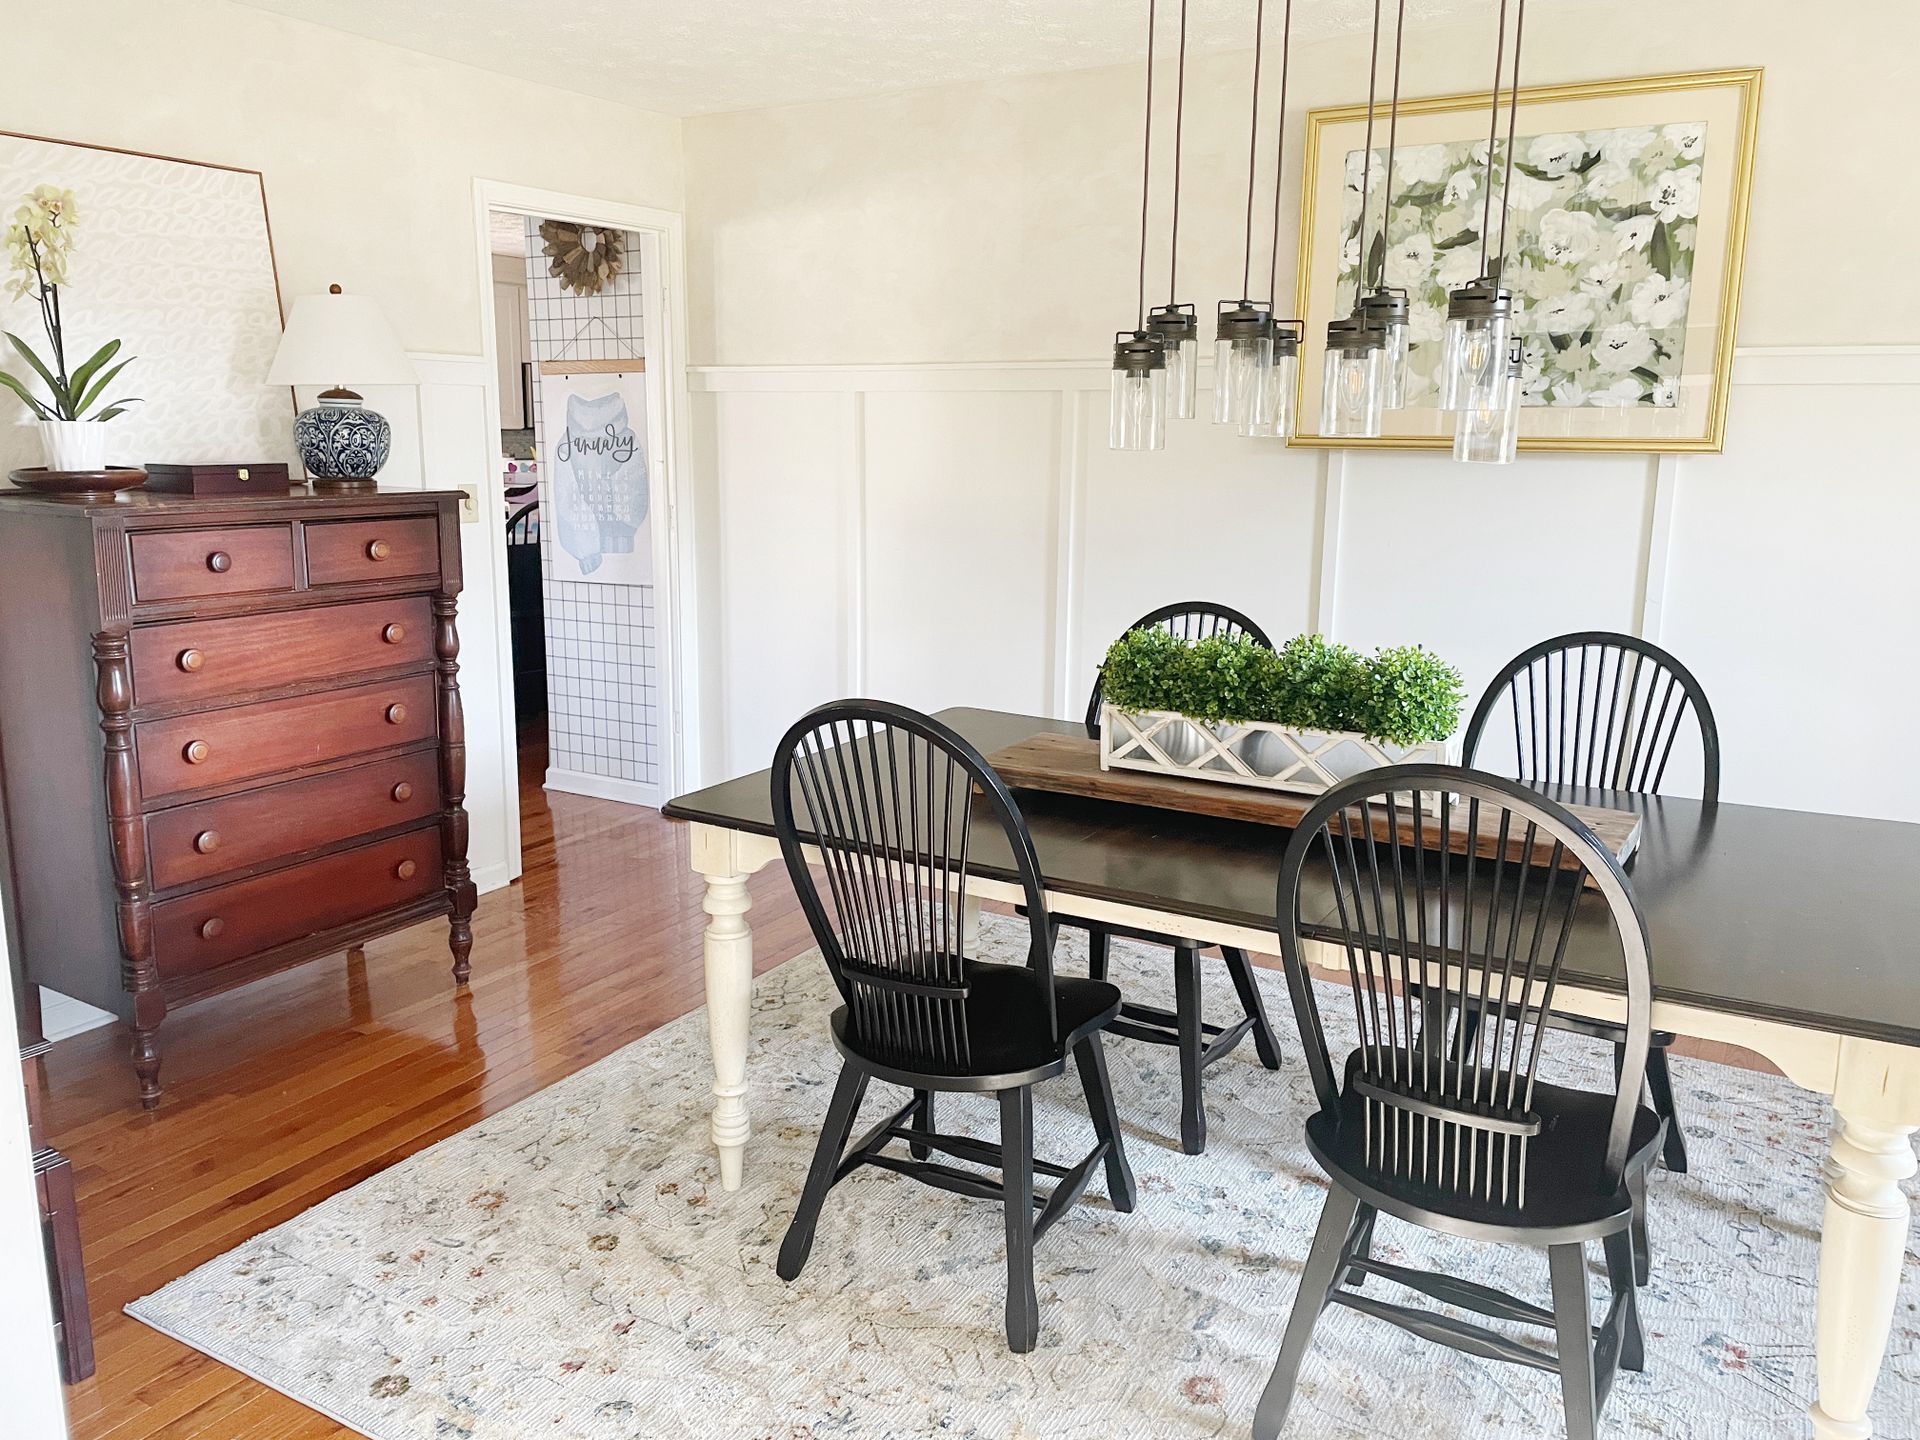
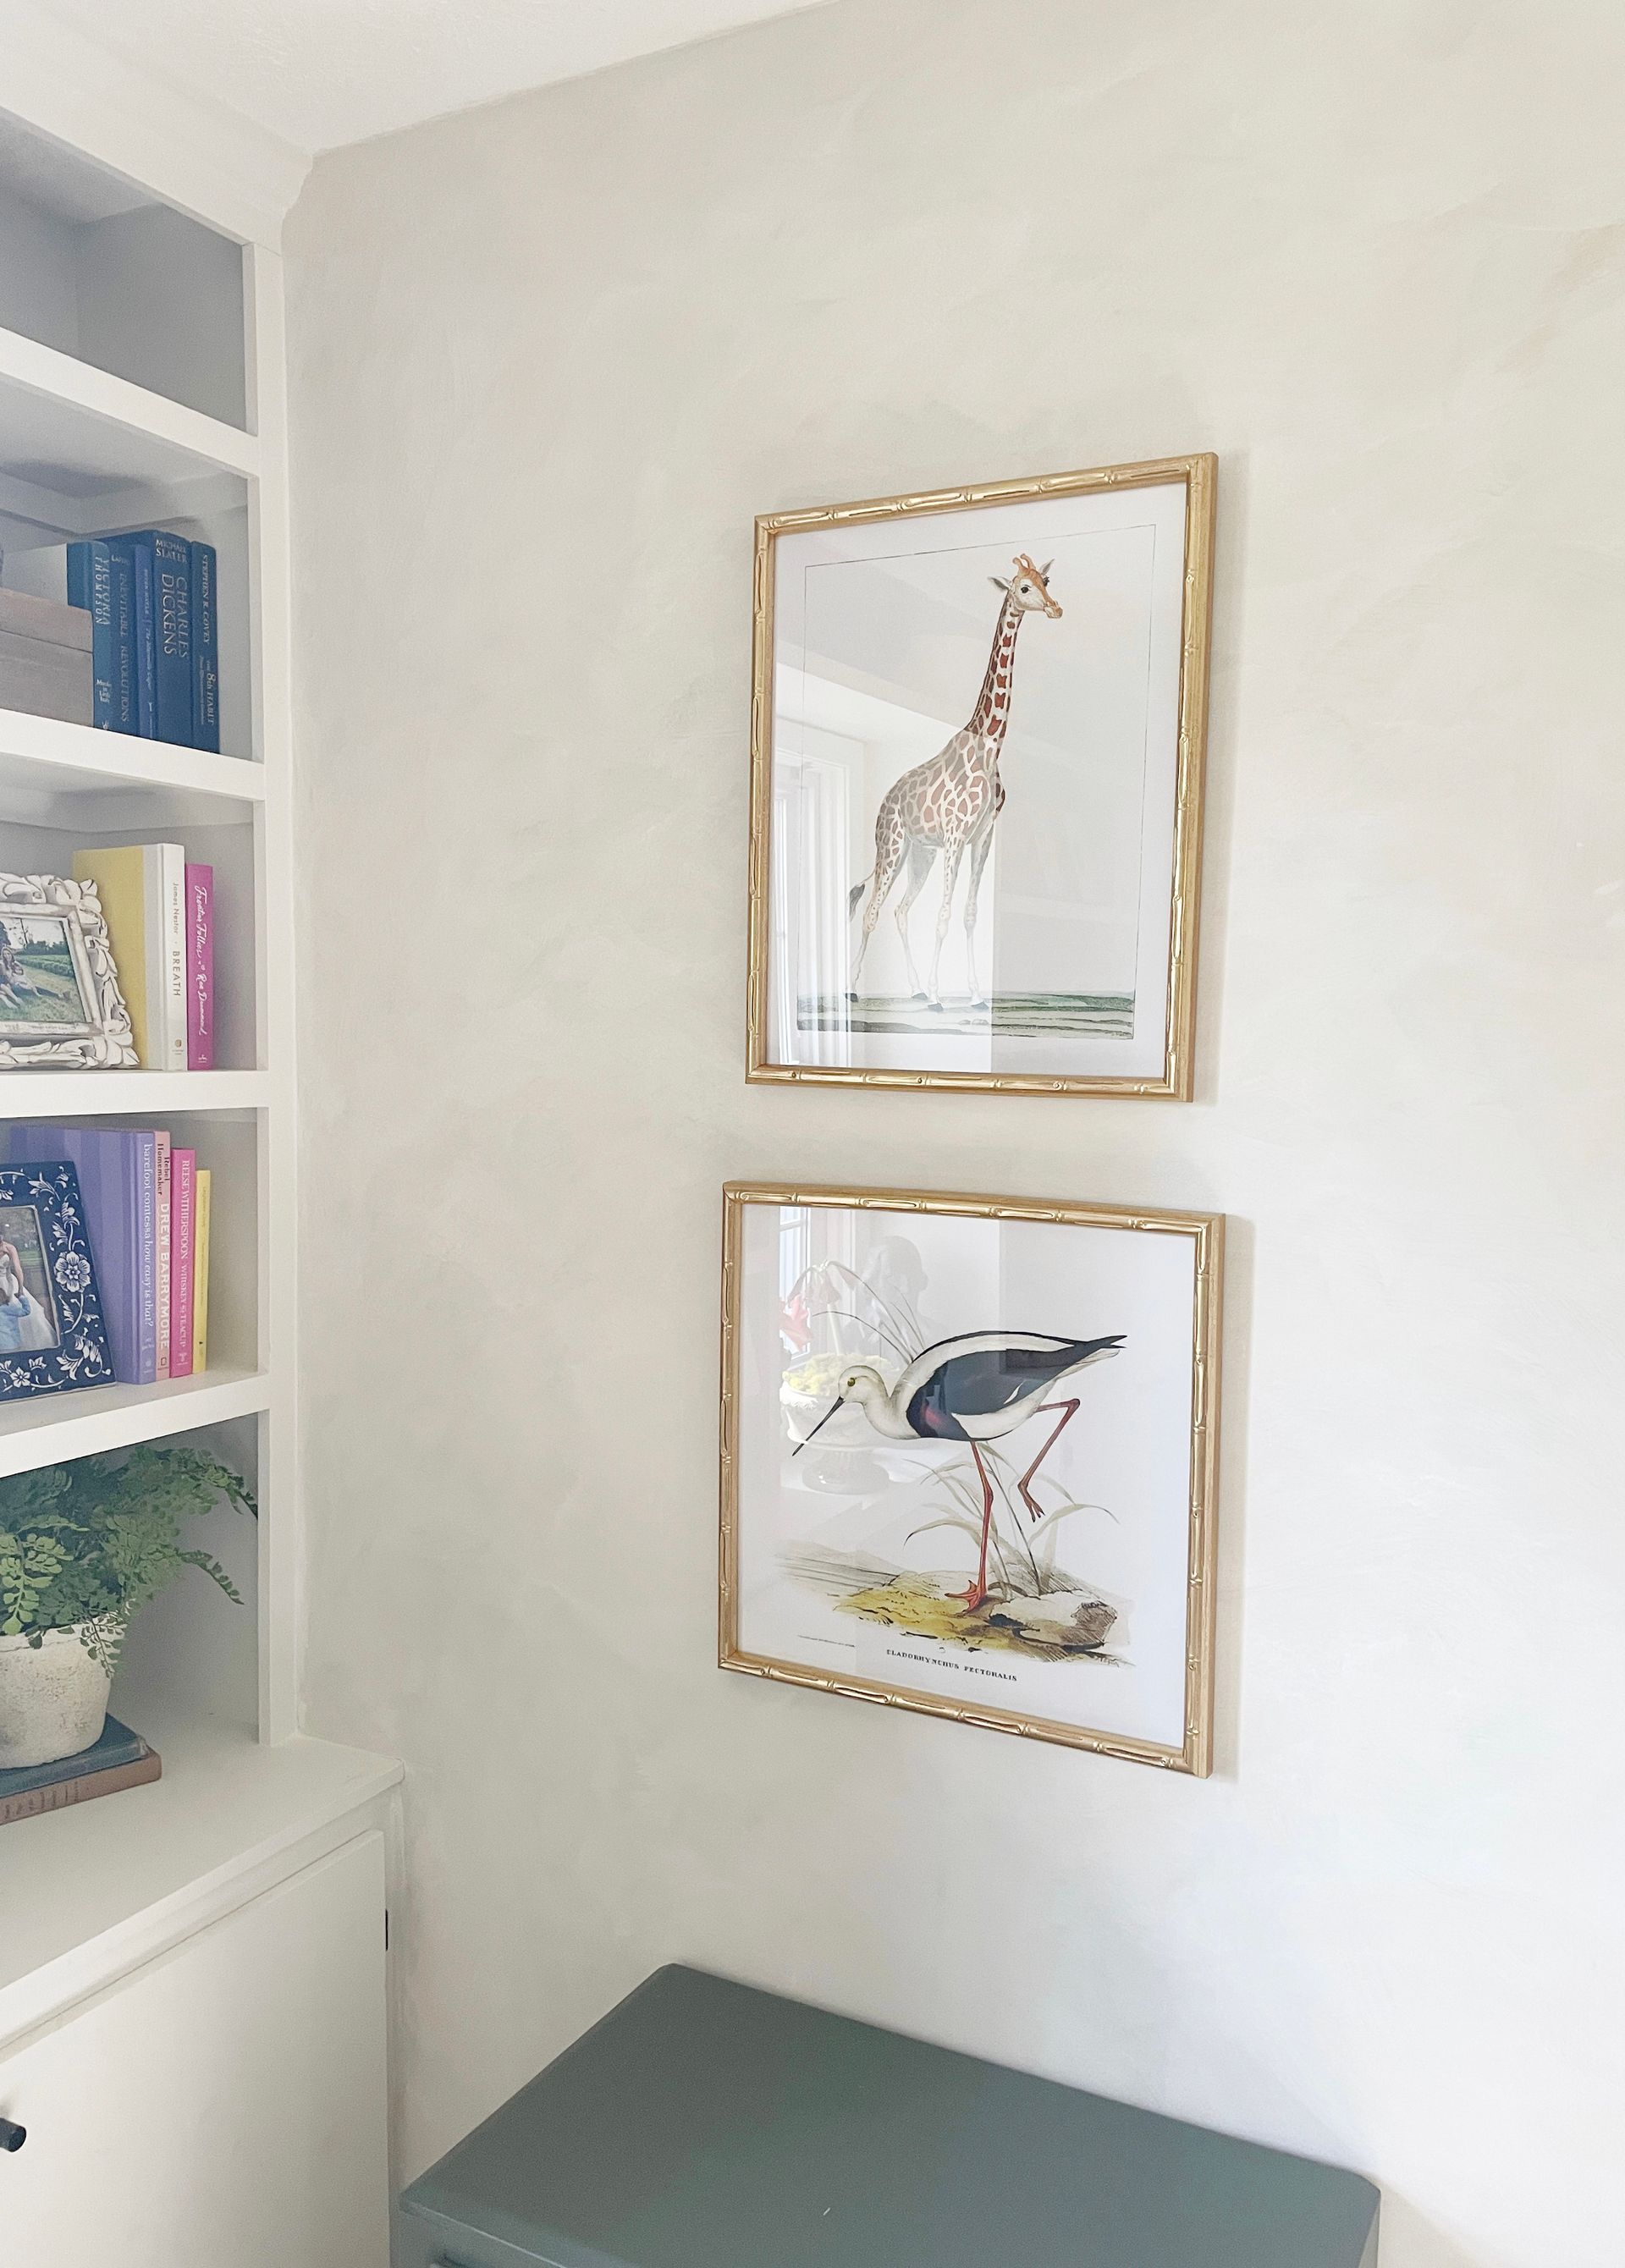
Dining Room

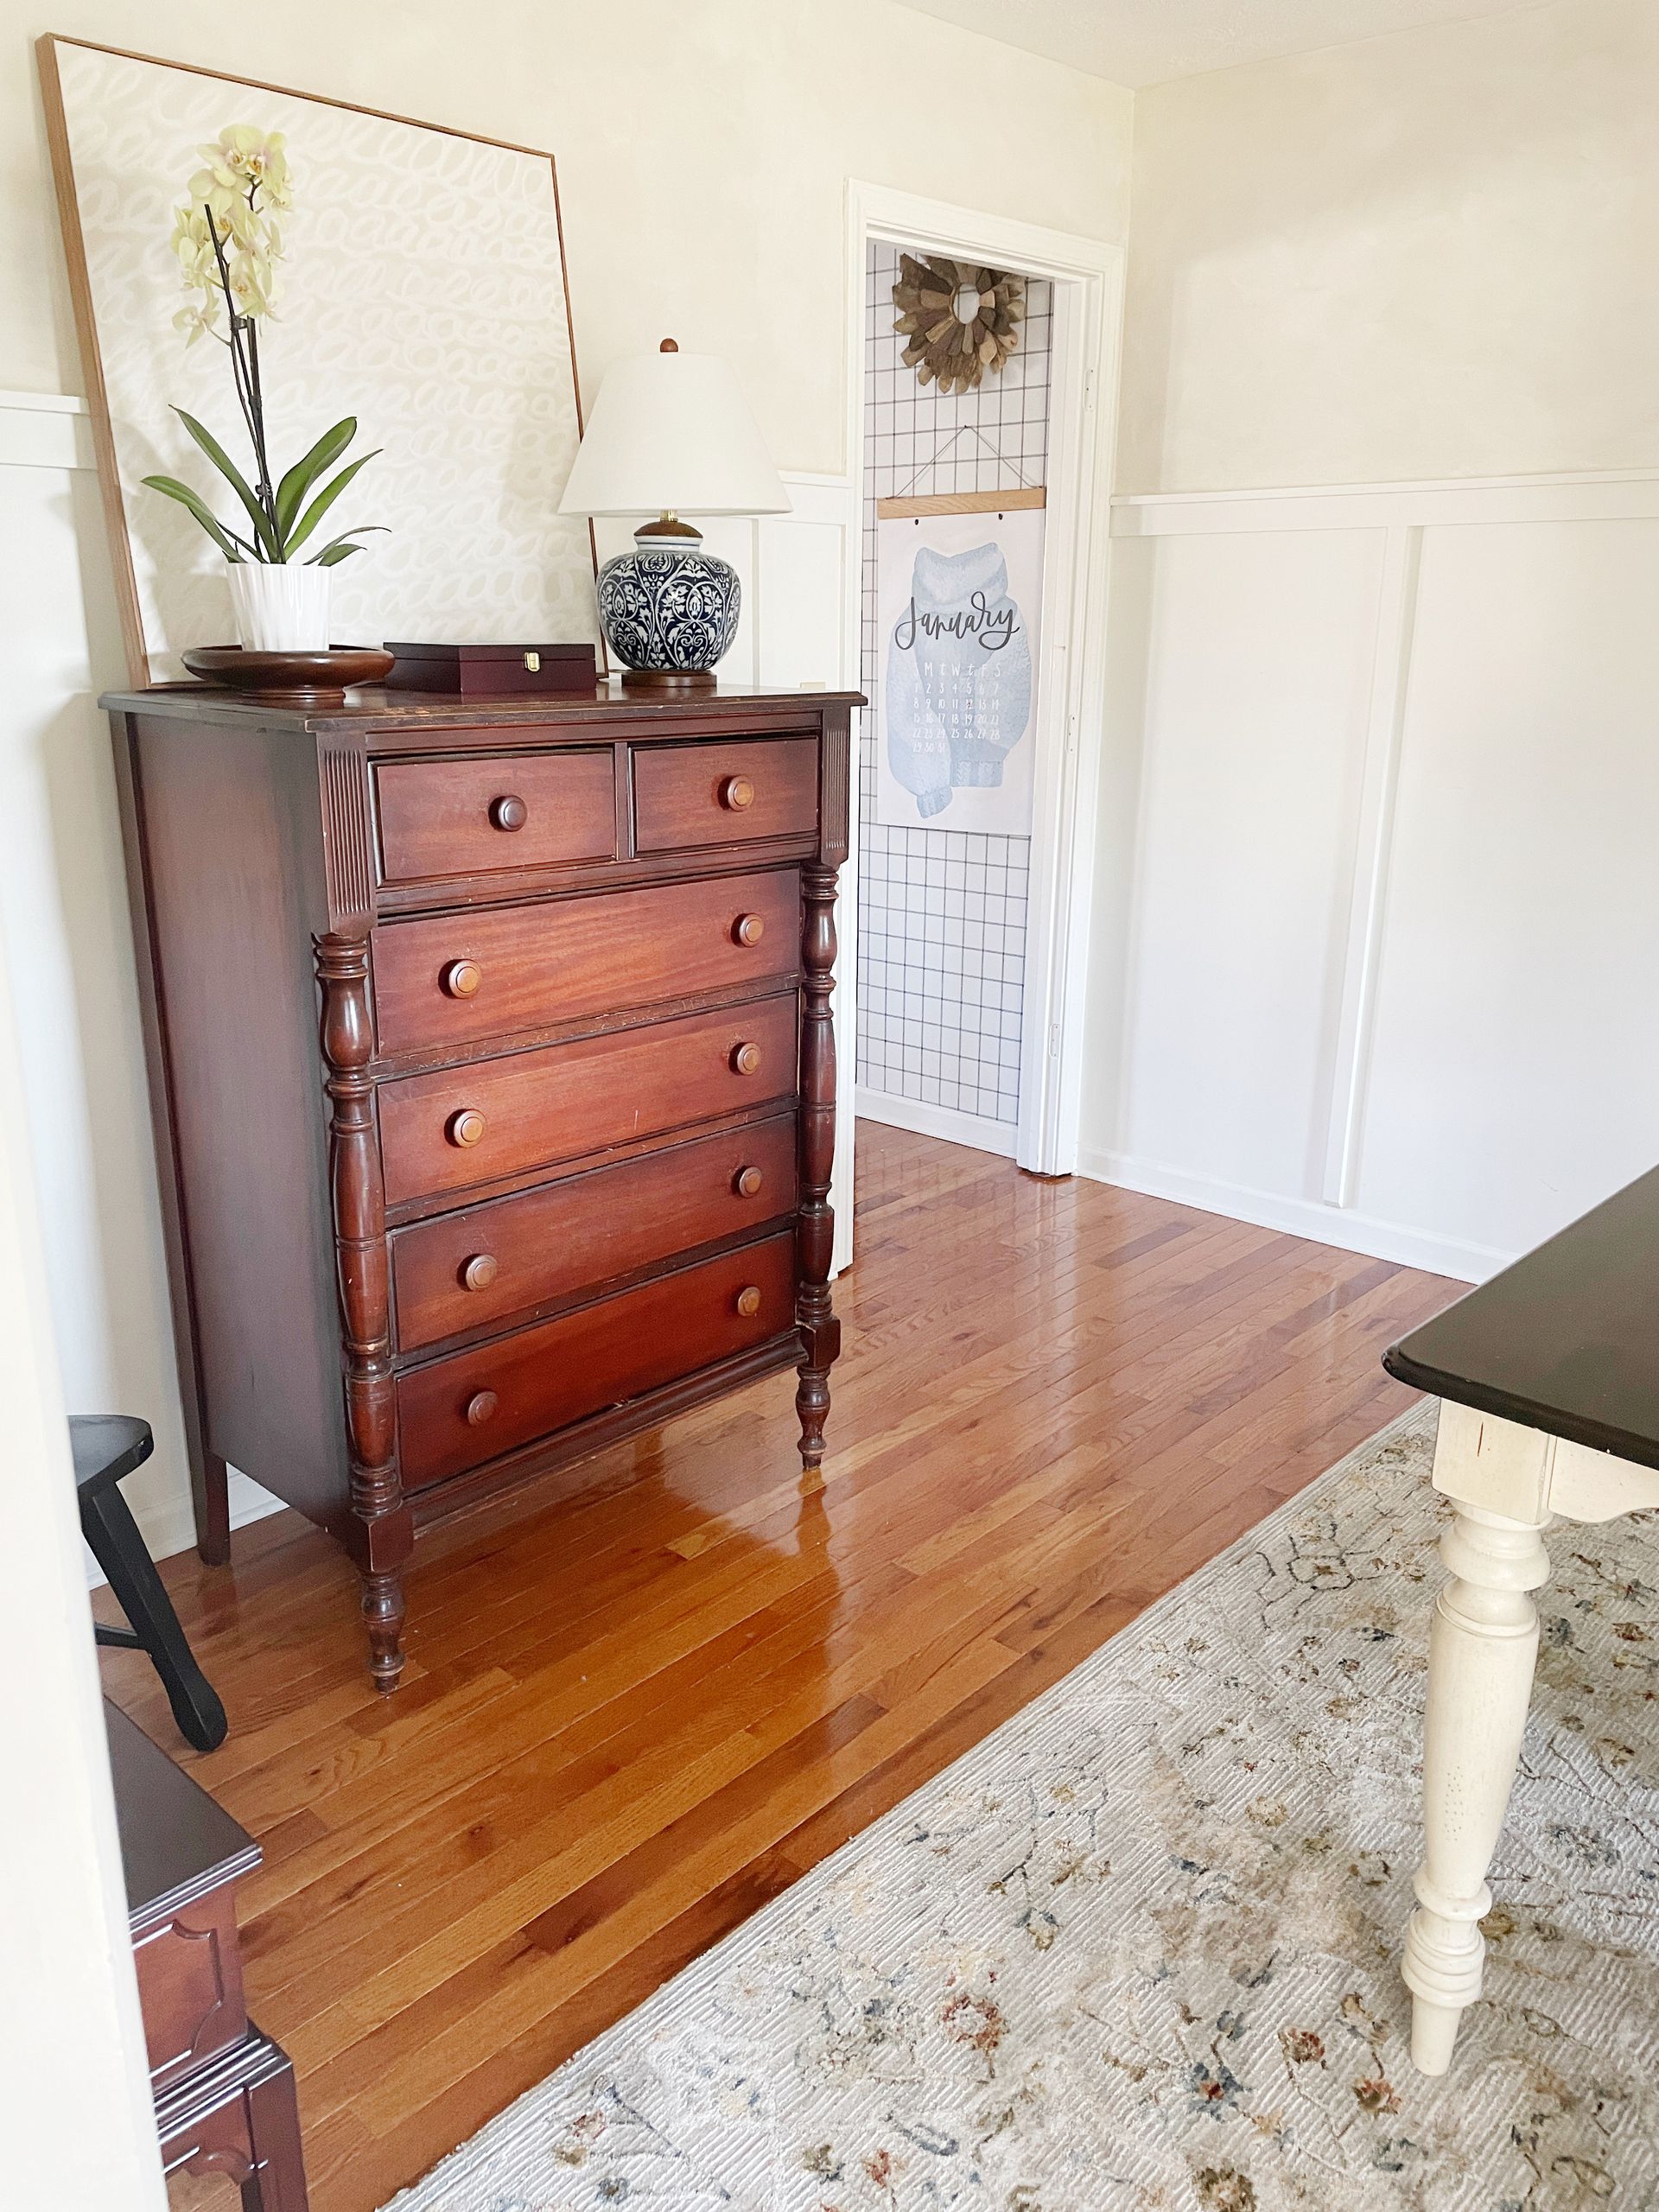
Since the drawers on this were beveled on every edge, I had to use some sort of moulding to create a "box" for my fluting aka dowels to set against. Many of the examples I saw of these types of drawers/furniture were flat front drawers, so it took some brainstorming to figure out how to make it work. I got a piece of ornamental moulding from a big box hardware store and used my mitre box and saw to cut it to the correct lengths. I created "boxes" or "frames" with the chunky side of the moulding on the interior, so the dowels wouldn't be higher than the trim.
I actually made a lot of mistakes during this part. Measure twice, cut once, anyone? Well, angles give me fits and I kept cutting the wrong direction, so I wasted quite a bit. I ended up using two pieces of 8' moulding for these two drawers. I still wonder if I could've gotten by with one. I used wood glue to attach, carefully fitting each together in the corners. I taped it down well with painter's tape and left it to dry for a couple hours.