
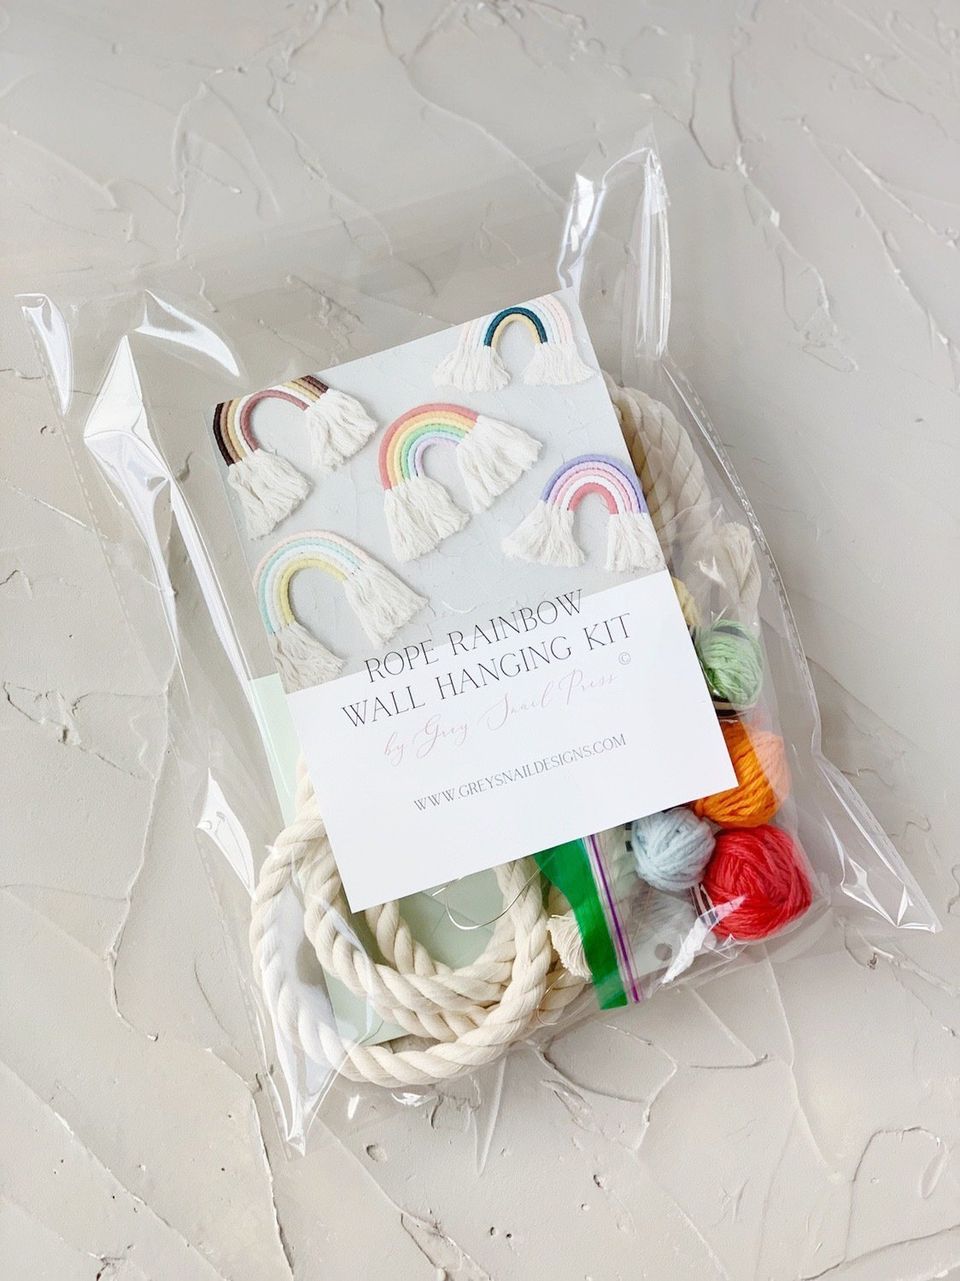
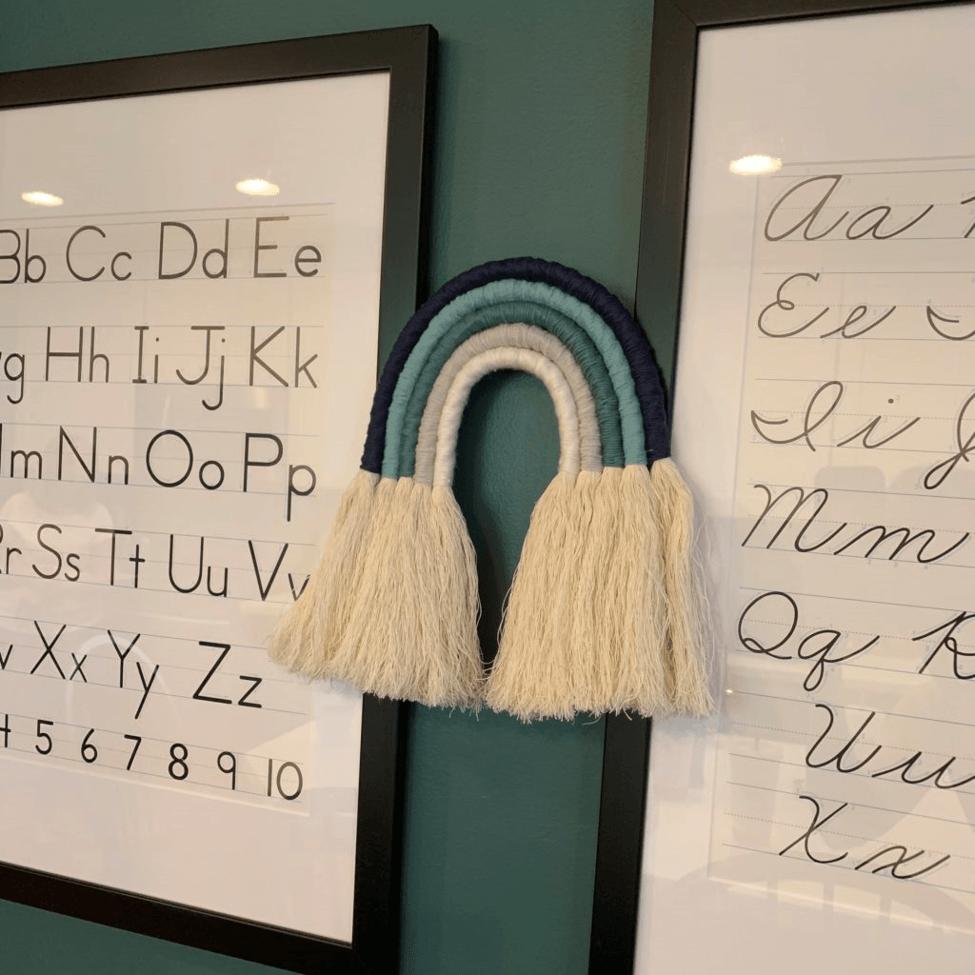
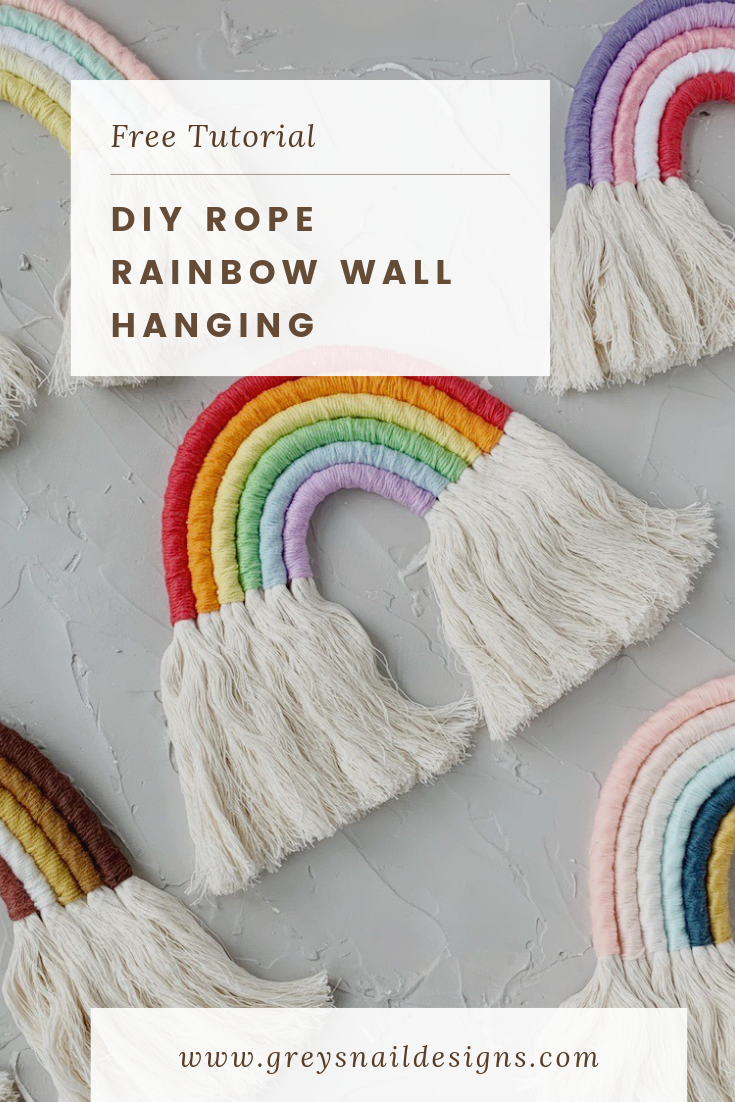
Rope Rainbow Wall Hanging Kit
Jenni Jarvis • February 25, 2020
Rope Rainbow Wall Hanging Kit
Welcome! You can gather all the materials for making a rope rainbow wall hanging on your own, but we also offer a cute little kit
you can purchase at Grey Snail Baby. I hope you enjoy making them, and be sure to tag me or use #GreySnailPress so I can see what you make!
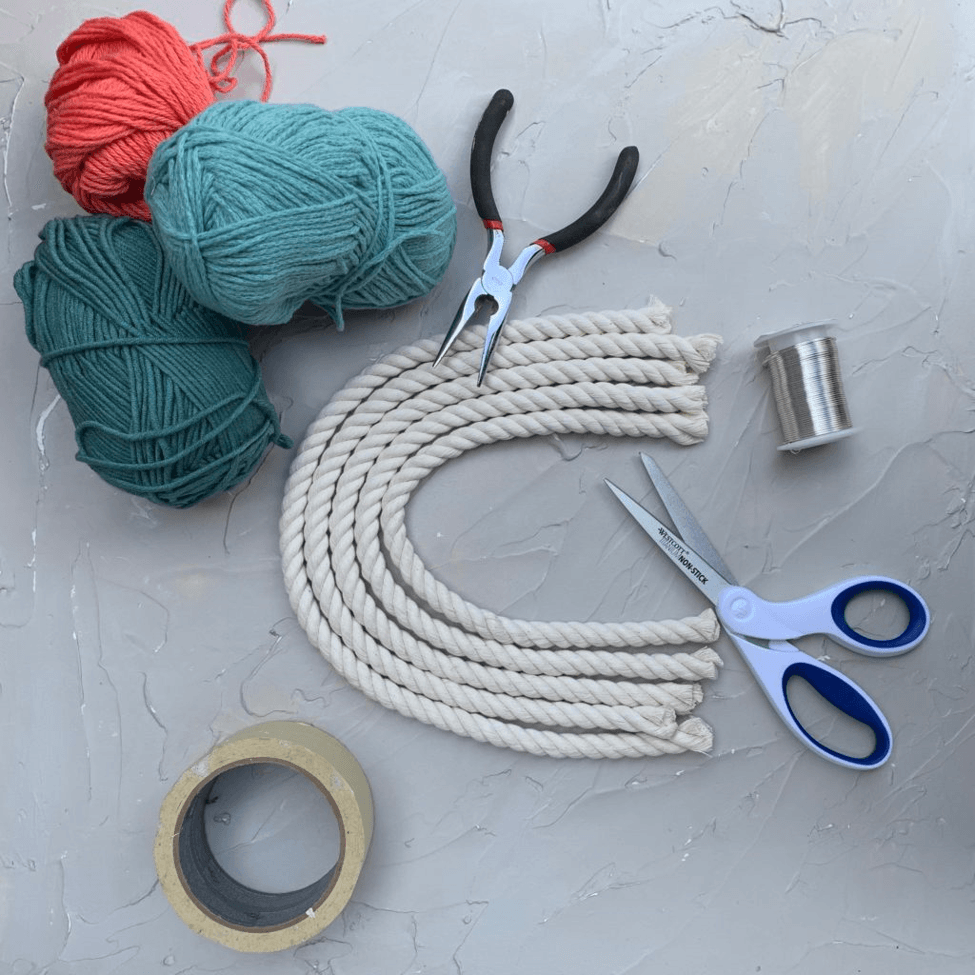
Materials
materials for DIY rope rainbow wall hanging
• 1/4 – 5/8″ thick rope
• 18 gauge wire
• Colored yarn
• Curved embroidery needle
• Embroidery floss
• Sharp scissors
• Tape (Scotch or masking)
• Wire cutters
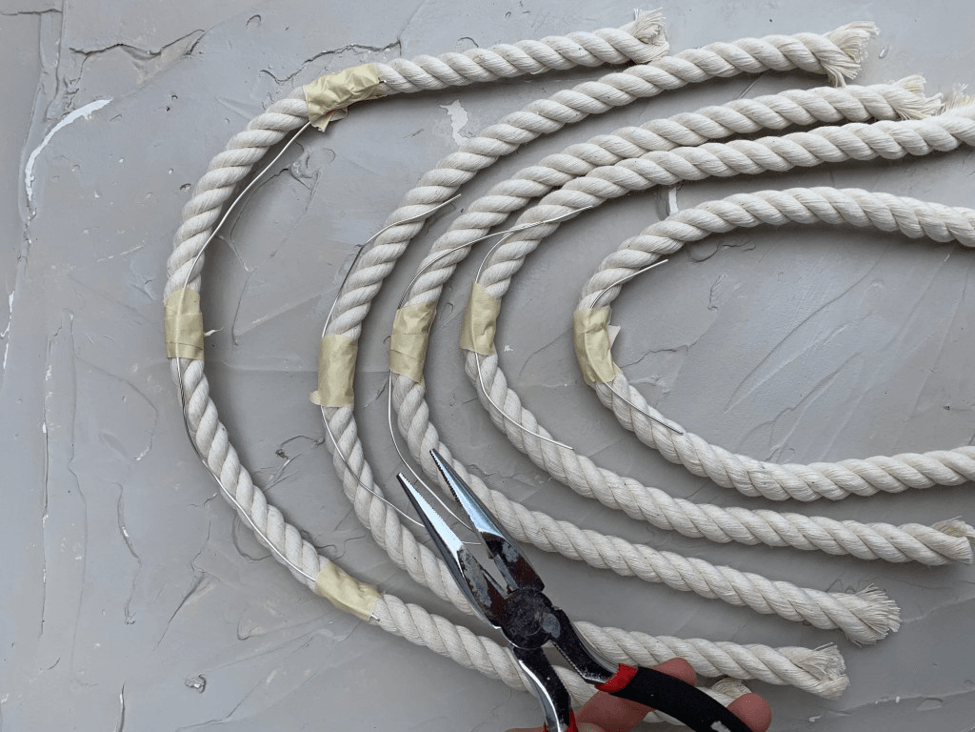
Step 1
Lay out the rope in the basic shape and size rainbow you want, and cut each piece with SHARP scissors.
Cut rope to desired lengths for your rainbow
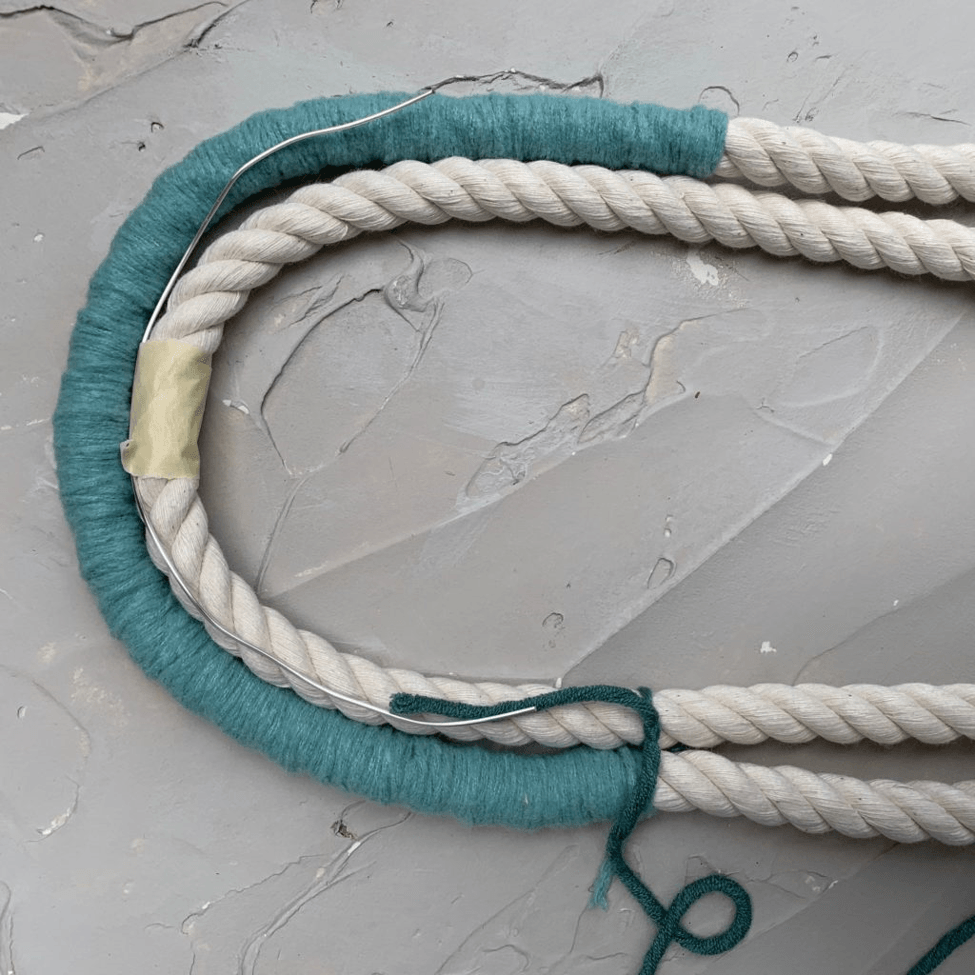
Use your wire cutters to cut pieces of wire that cover the top curve of each piece of rope. The wire won’t show; it’s just there to help the rainbow keep its shape, so you don’t need much to reinforce it.
Tape each wire in place at the top curve. (You can also secure each end if you wish).
Wire reinforces your wall hanging and helps the rainbow hold its shape
New Paragraph
Step 2
Now you’re ready to start wrapping! You’ll just repeat this process on each piece with the colors you want. You may start with the top or bottom piece, but I prefer to start with the largest piece of rope.
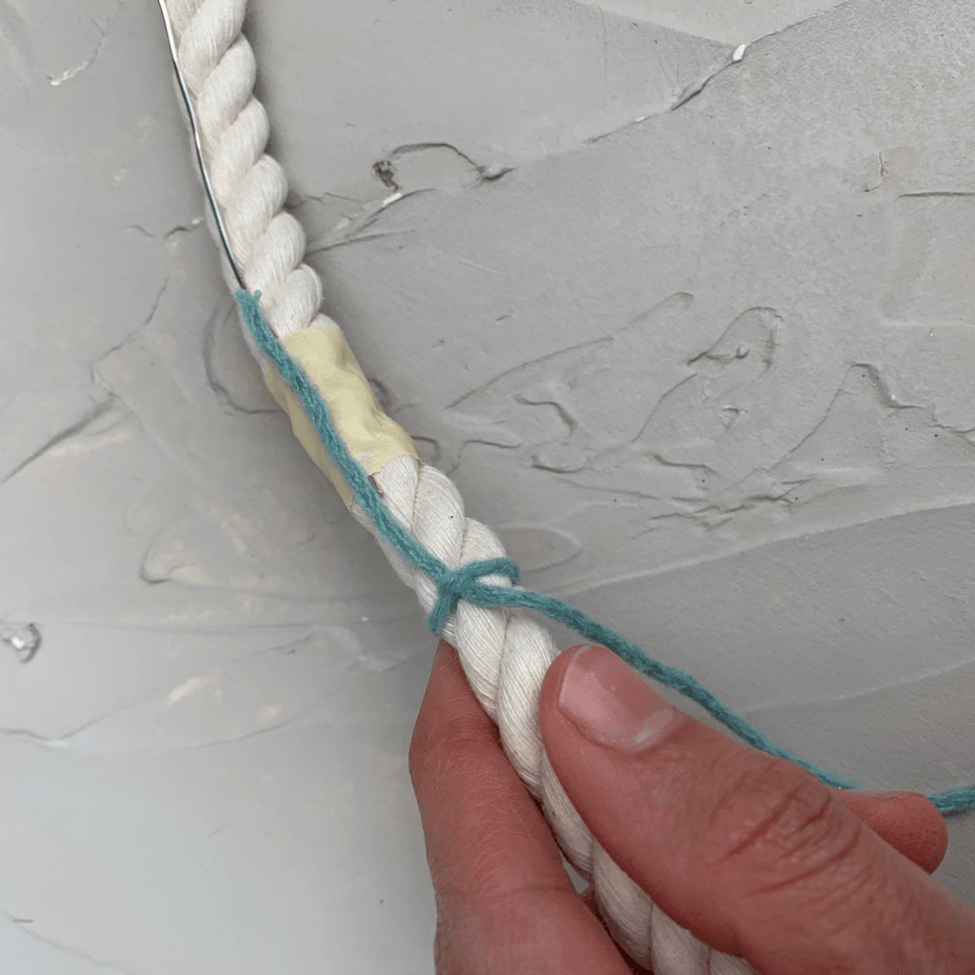
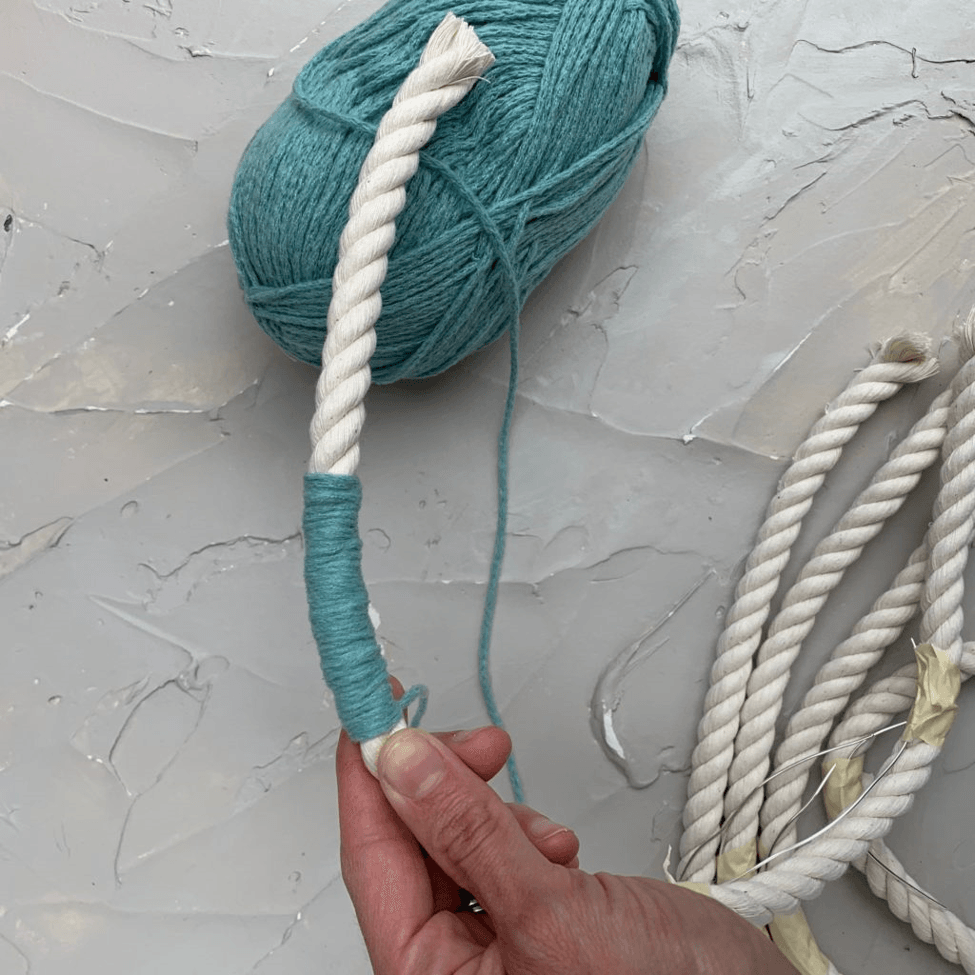
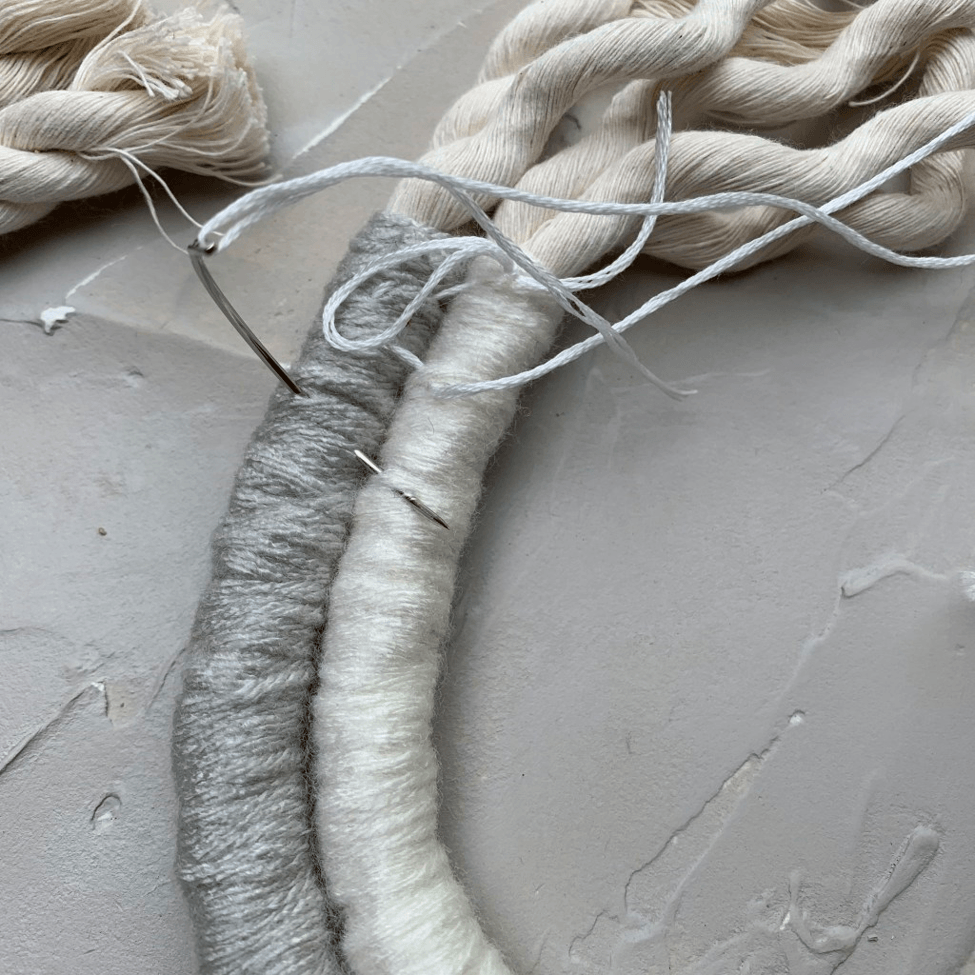
Tie one end of yarn to secure it before wrapping.
You’ll want to start a few inches above the bottom of your rope and tie a knot in one end of the yarn to secure it before you start wrapping. Once it’s secure, you can start wrapping, making sure there is no rope showing through. You can wrap it in one layer, or overlap in places.
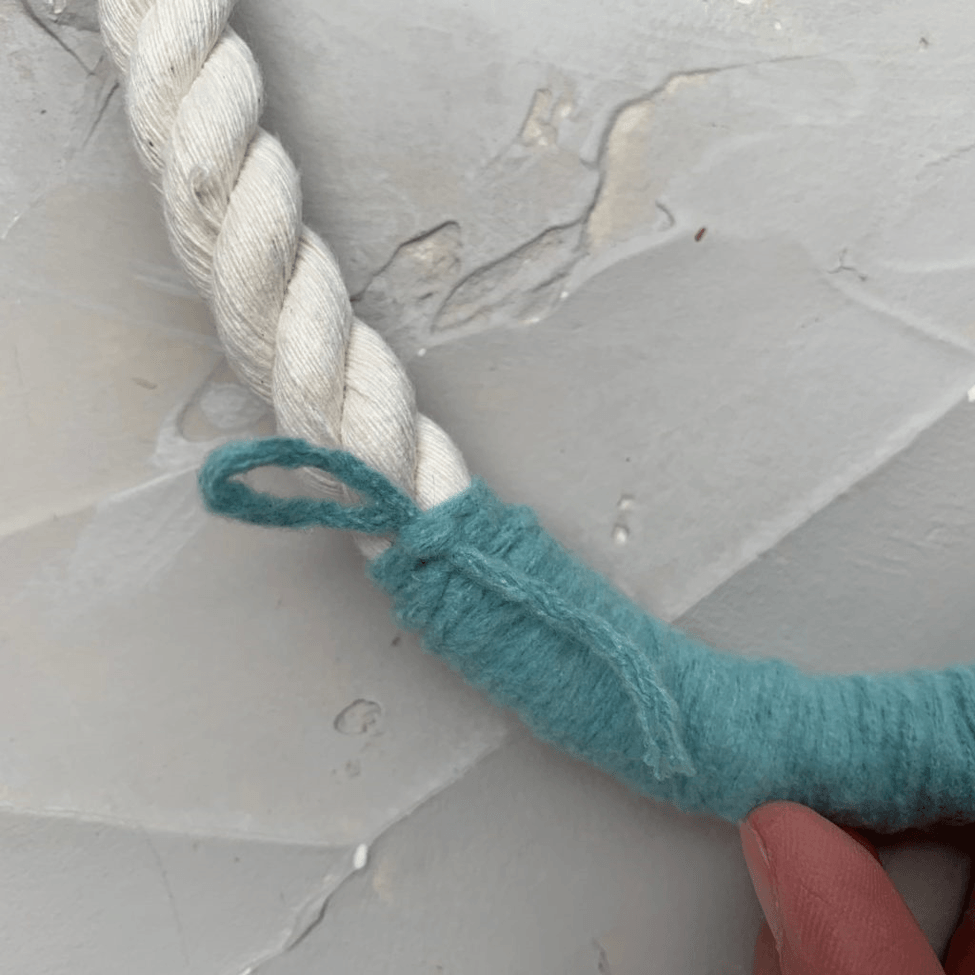
Wrap the yarn until you have a mirror image with the first side, keeping the yarn area even when looking at it head on. Tie it off with the knot on the back. I usually designate the side with the wire the “back” of the rainbow.
Step 3
Take the piece of rope next in line and put it in place to see exactly where you should tie your first knot before you start wrapping. You’re just going to repeat the process in Step 2 for each piece of rope.
If the ends of your yarn aren’t lining up, you can always even them up once you start putting the pieces together. I find this happens a lot, even when taking care to line everything up carefully. If one end is too long, just snip the end and unwrap until it’s even, then tie it off in the back again. If one end is too short, just tie on and wrap another small section.
Step 4
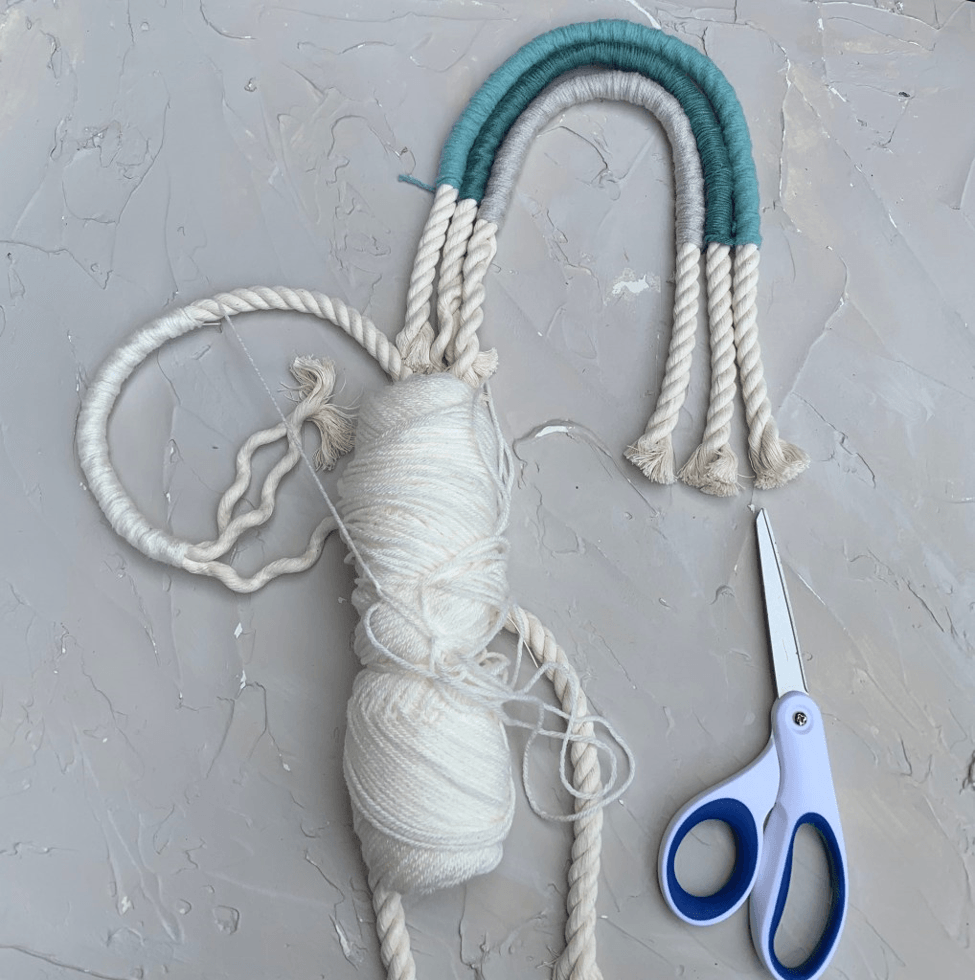
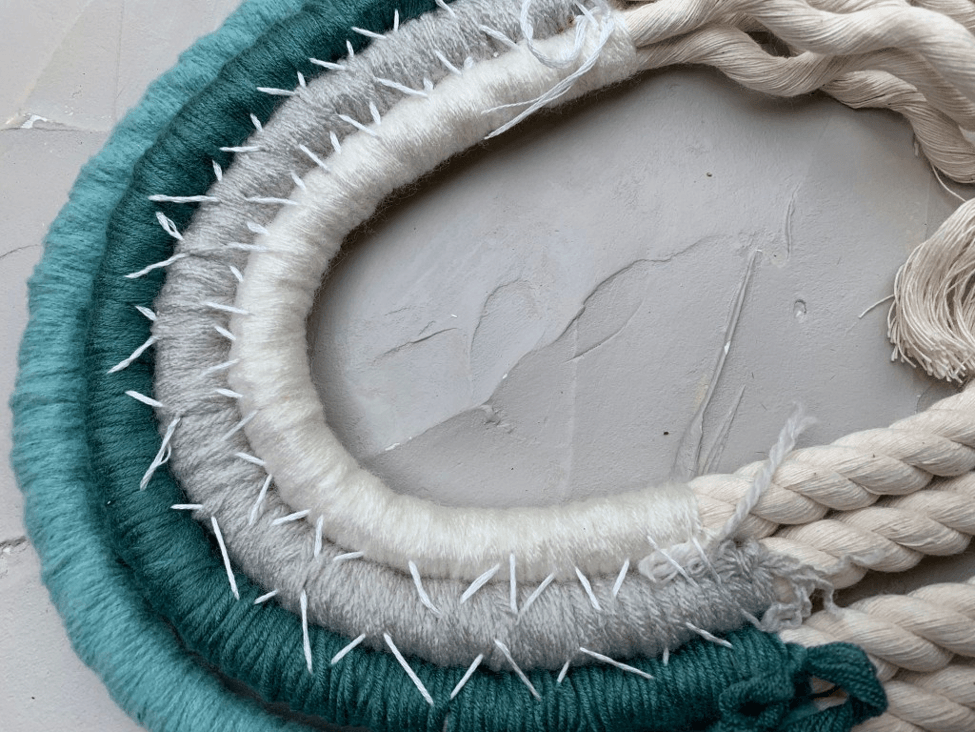
Putting it all together is my favorite part. Thread your curved embroidery needle with a couple feet of your embroidery floss and tie a knot in one end. Starting with the smallest length of rope, push your needle through the floss and a small portion of rope and pull it through. Take that stitch to the next piece of rope.
Then, you’ll go back to the smaller piece and repeat the process, creating zigzag stitches. When you finish securing those two together, move on the the next piece, and so on. If you run out of embroidery floss before sewing all the pieces together, simply tie it off on the back wherever you need to and repeat the process with a newly threaded needle.
I like to make a hanger toward the bottom of the rainbow so it’s hidden on the wall. I just use a little embroidery floss knotted off on one side of the rainbow and make a loop by making a knot on the other side.
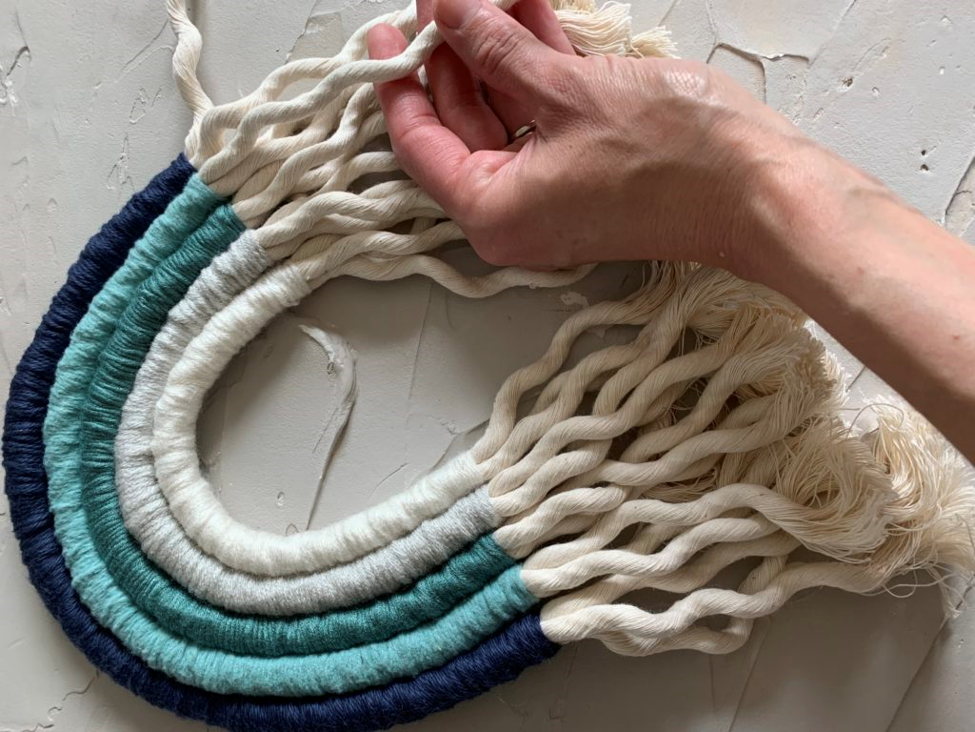
Step 5: Combing it out
Once you have the shape of your rainbow complete, it’s time to comb out the clouds. Unravel the rope ends completely, then use the tines of a fork to comb out the waves of the ropes really well. I like to use a dog deshedding brush to do this, but a fork works just fine!

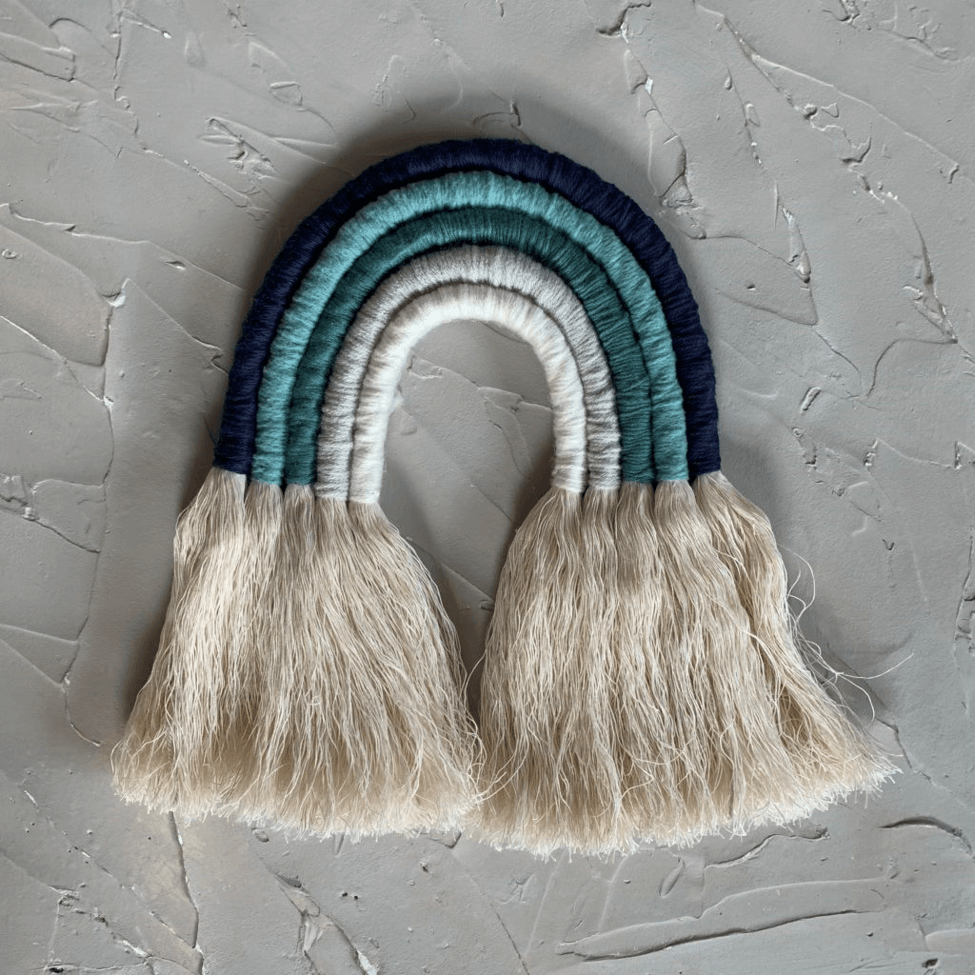
Step 6: Trim it up
You’re almost done! After your rope is combed out REALLY well, lay the rainbow down flat and using trim the rope so it’s even across the bottom. And you’re done!
Pin for Later!

Rifle Paper Co Wallpaper

Space Planning

Rifle Paper Co Wallpaper

Designer Drapes

Rug Roundup January 2024

Booth at Christmas Market
Grasscloth

What not to do

Romabio Velatura Mineralwash

I can't remember the first example of fluted wood furniture I saw, but it was probably either this gorgeous custom wood bathroom vanity from Chris Loves Julia , or the DIY fluted coffee table Fariha shared on Pennies for a Fortune . The custom cabinetry was done professionally using a router for each line, which isn't something I possess the skills to do. This did help inspire the colors I used in our bathroom remodel, though! I really connected to the method Fariha used to build the coffee table--wooden dowels. What a fabulous idea!