
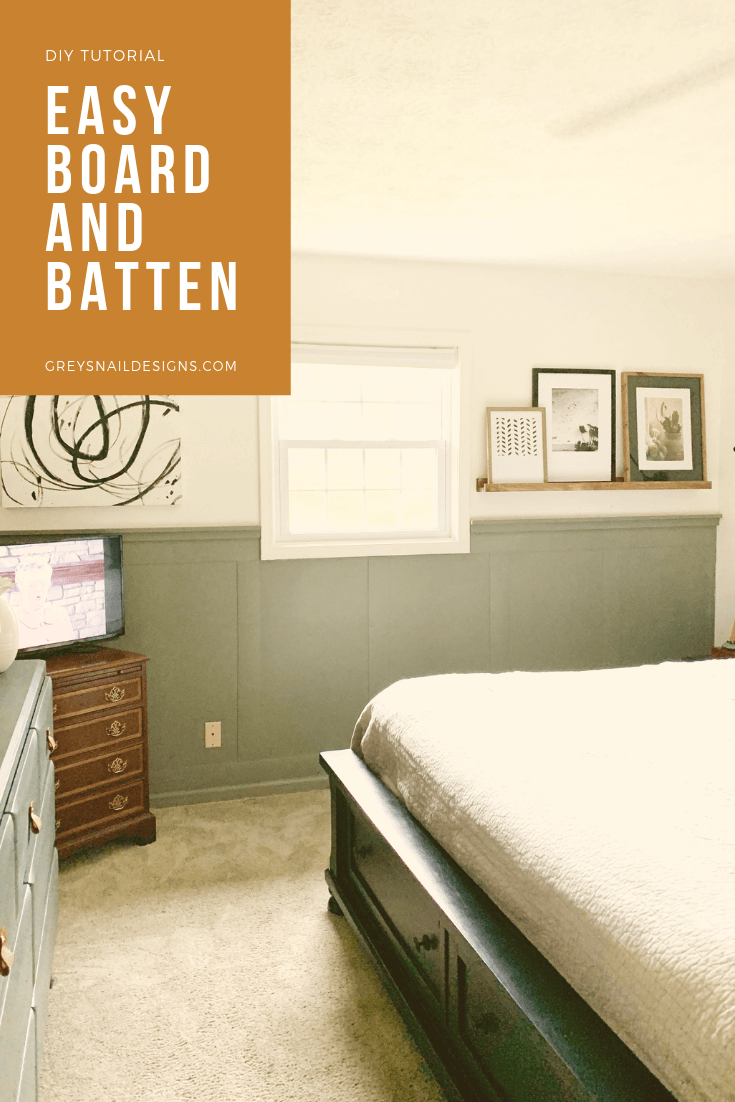
Easy Board and Batten Tutorial
Jenni Jarvis • February 7, 2020
Easy Board and Batten Tutorial
If you’re wanting to try out board and batten in your home, but don’t want to call (or pay!) the carpenter, follow this easy board and batten tutorial and do it yourself!
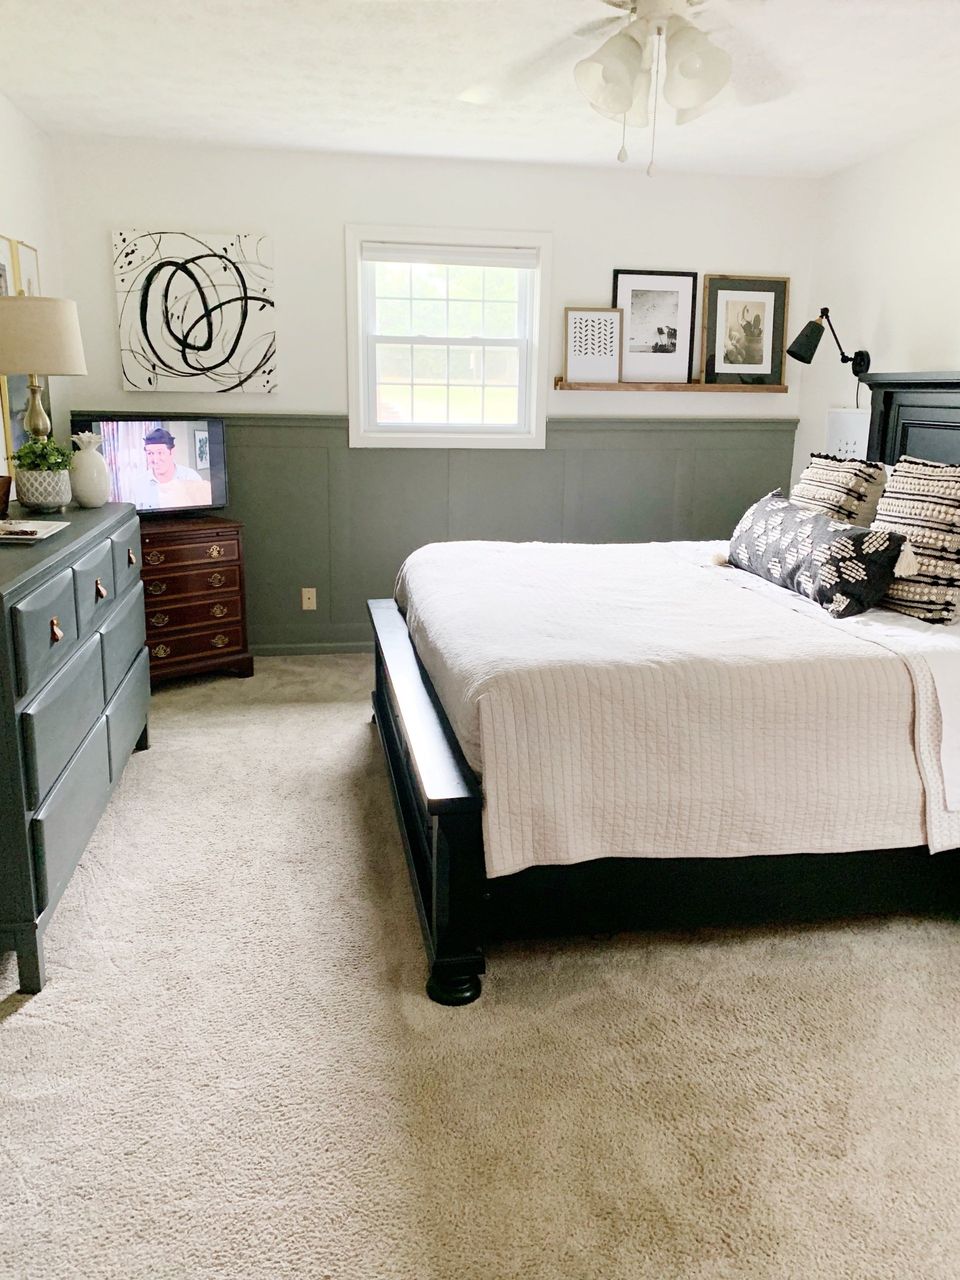
After completing an entire shiplap accent wall with no nails, I knew making my own board and batten wall would be easy breezy, and the master bedroom was the perfect place.
Inspiration
Board and batten is all over the internet. You see it all the time in entryways and halls, but you’re also seeing it in different rooms, too. It creates texture and character in an otherwise boring space. I still love white board and batten with a colored wall, but I keep seeing more and more of the reverse–dark board and batten with lighter walls. You can see my inspiration for the entire bedroom, and you’ll notice I like the deep greens and moodier colors for this project.
Peel-and-stick Vinyl Flooring
I used wide peel-and-stick vinyl flooring, reinforced with Liquid Nails, for our faux shiplap accent wall in our laundry room, so I immediately thought of the same product for this project, but chose thinner, 4″ boards.
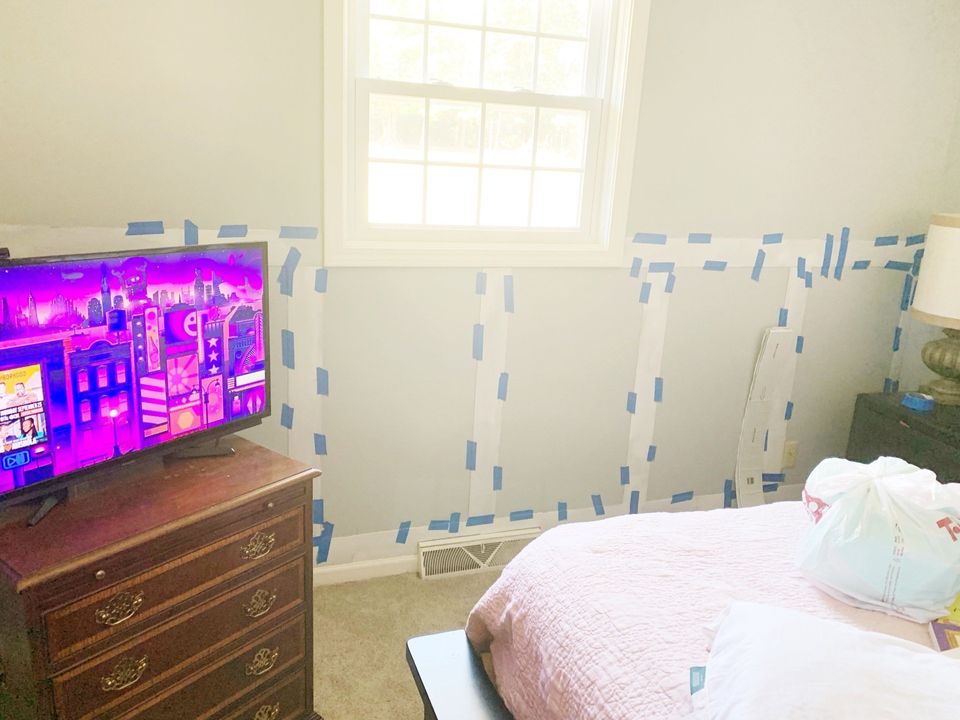
Starting at the bottom, I put a row of horizontal planks setting on top of the baseboard. I peeled off the backing and put several dots of Liquid Nails the entire length of the board before pressing it firmly into place.
For the vertical pieces, I wanted them 20″ apart and marked where each should go on the wall before positioning them on there. If you were going to use regular boards and nail them into the studs, you’d need them to be 16″ apart to hit the studs, but that’s not necessary since we aren’t attaching them to the studs.
I put one more horizontal layer on top, going across the width of the wall.
You may need to cut and piece together some pieces to fit your wall, but I’ll explain below my favorite new cutting method.
You might want to tape everything in place as you go, but it’s definitely a good idea to do it at the end to give your Liquid Nails a chance to dry. Once it’s dry, you can use a small nail to tack down any stubborn areas that don’t want to lay flat against the wall.
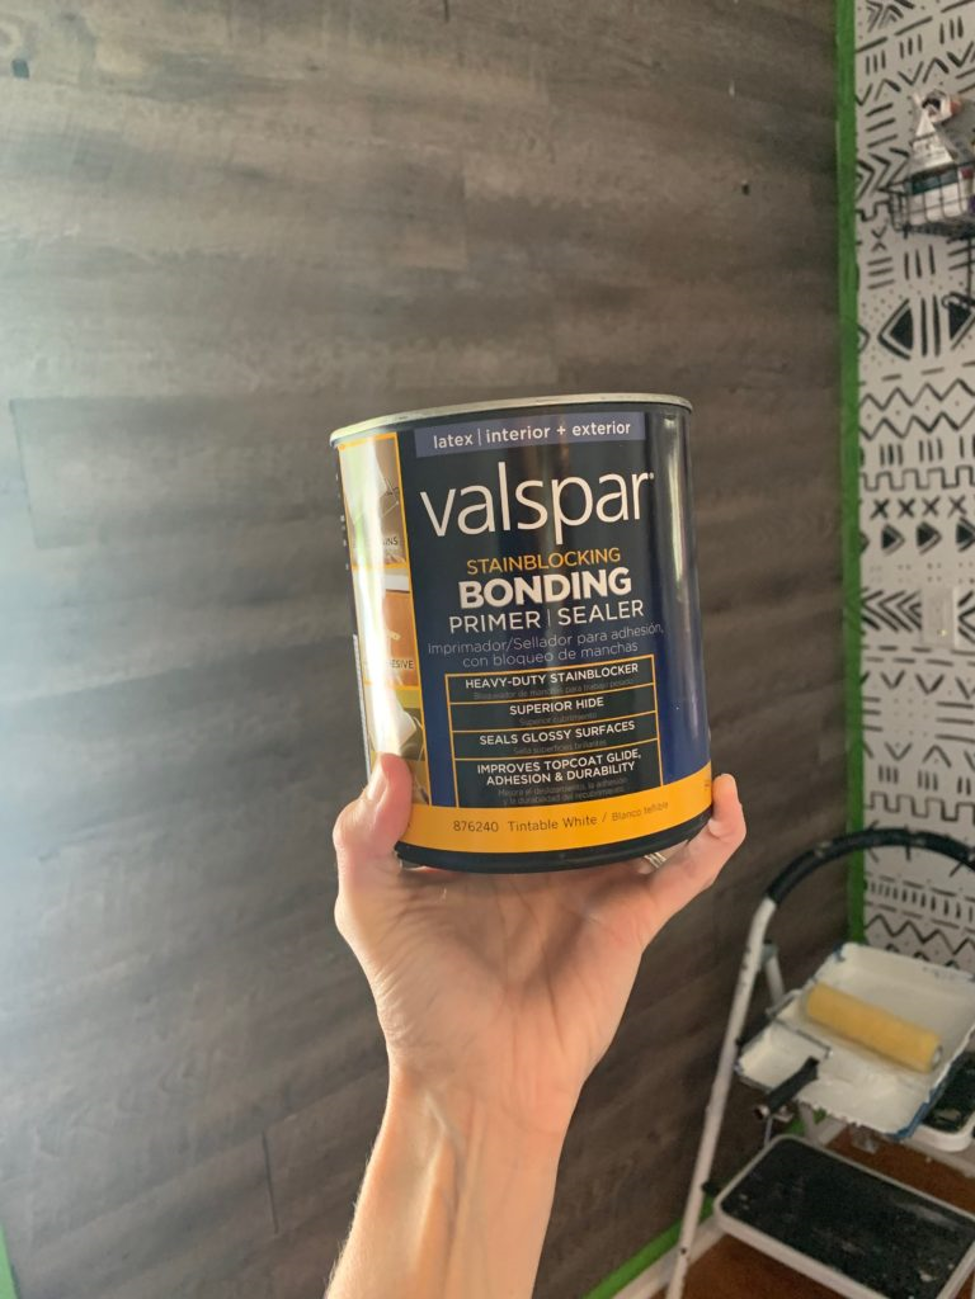
Priming the Vinyl
I chose to prime the vinyl boards before I put them on the wall, but you can certainly do it after. You’ll need to use something specially made for vinyl or latex paint will not stick to them. I like to use Valspar Bonding Primer available at Lowe’s. I do think it was quicker to paint them before.
Cutting the Vinyl
You CAN cut the vinyl flooring with scissors, but I learned it is SO MUCH EASIER with a box cutter. Just score it where you want to cut it and it will snap in two!
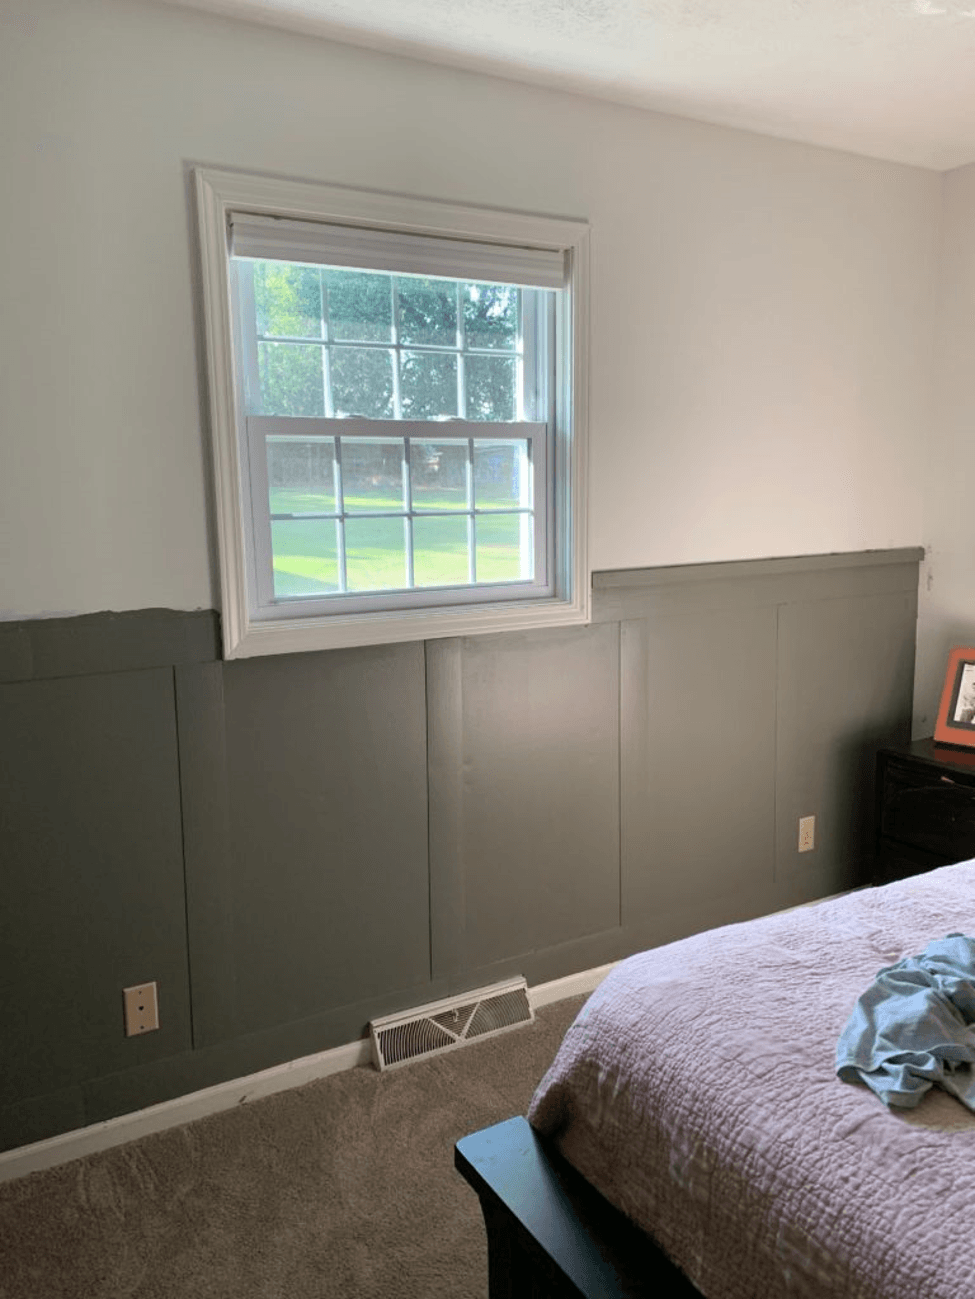
Painting the Wall
You’ll need two good coats of paint on the board and batten portion of the wall. I painted approximately to the top of the vinyl board. It wasn’t critical that I use painter’s tape to keep the top edge precise, because I put painted trim pieces above it, but you bet I taped off the sides of the wall.
For colors, I chose Sherwin Williams Alabaster for the walls, and Station Gray for the board and batten. It’s a dull, medium to dark green with gray tones.
Trimming it Out
I purchased 4 pieces of MDF 1×2″ boards at Lowe’s that were already primed white. The MDF is easy to cut and super lightweight, so it’s perfect for this project. I cut mine at home with my new Craftsman hand saw. Once you measure and cut the MDF to the appropriate length, you can position it into place above the top row of vinyl flooring and attach it using Liquid Nails. The piece touching the vinyl should be flat against the wall.
It’s definitely easiest to paint these pieces before you attach them to the wall. It would be fine to stop here, if you want to keep a very simple look, but I wanted to add one more trim piece to the top.
For my top and final trim piece, I used another 1×2″ turned the other direction so it comes out from the other piece. I attached it with Liquid Nails, but you can definitely use some finishing nails to tack it down to the studs if it’s not laying well. I love how it finished it off.
Painting the Baseboard
I wasn’t originally planning to paint the baseboard of the accent wall, but ultimately decided it would be better to paint than not. I felt like the white baseboard on the bottom broke up the wall visually and if it were all one color, it would look longer and taller, and more complete. You can see it both ways. Sometimes it takes looking at something for a while to figure out what makes it look best.
Do it Yourself!
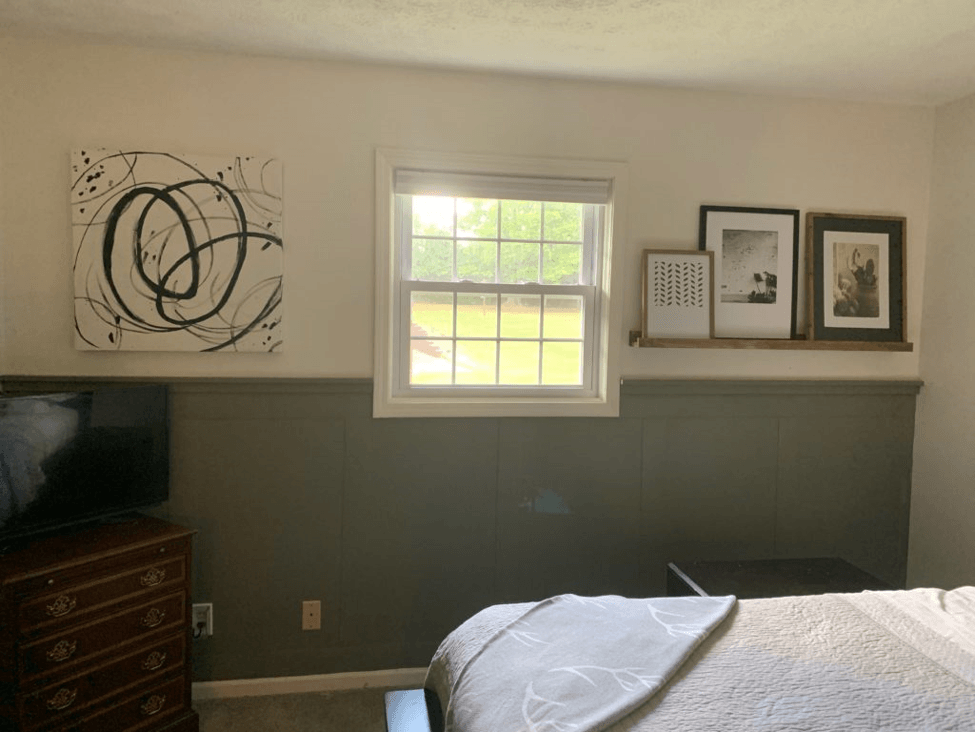
I absolutely love this room now, and this wall is the focal point. This easy board and batten tutorial can be used to recreate this look anywhere, and I plan to try it again somewhere.
Pin for Later!

Rifle Paper Co Wallpaper

Space Planning

Rifle Paper Co Wallpaper

Designer Drapes

Rug Roundup January 2024

Booth at Christmas Market
Grasscloth

What not to do

Romabio Velatura Mineralwash

I can't remember the first example of fluted wood furniture I saw, but it was probably either this gorgeous custom wood bathroom vanity from Chris Loves Julia , or the DIY fluted coffee table Fariha shared on Pennies for a Fortune . The custom cabinetry was done professionally using a router for each line, which isn't something I possess the skills to do. This did help inspire the colors I used in our bathroom remodel, though! I really connected to the method Fariha used to build the coffee table--wooden dowels. What a fabulous idea!