Blog Layout

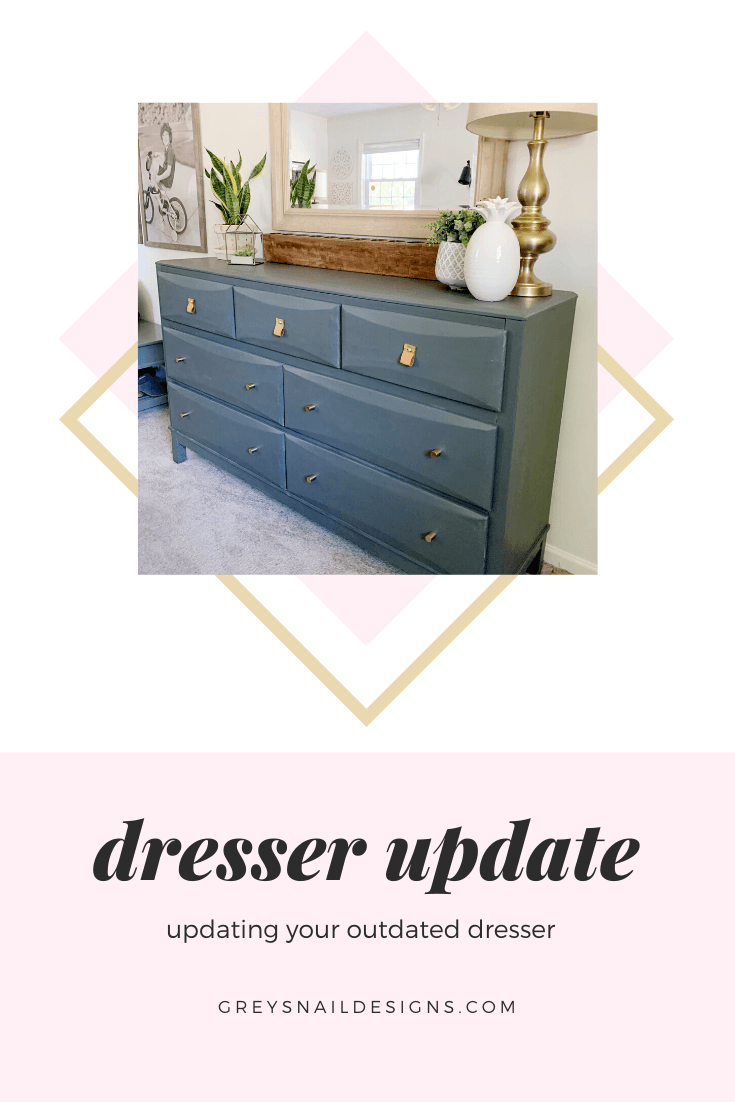
DIY Dresser Makeover

Apr 27, 2020
I’m hooked on furniture updates, and boy, did I have the perfect candidate: my husband’s dresser. I honestly can’t believe it’s the same piece, so follow along with how I completed this DIY dresser makeover. 

It was a dark (almost black) stained dresser from Ashley and came with a matching nightstand I already updated and full bed we no longer own. The piece had good bones, but the top had been scratched a little, and I never liked the drawer pulls. I even tried to spray paint the existing handles gold last year, because they were an irregular size and it wasn’t easy to find a replacement. Even as gold handles, they just weren’t pretty. I stared at it on a regular basis, being totally stumped over the drawer pulls.

before brown dresser

Just Change the Hardware

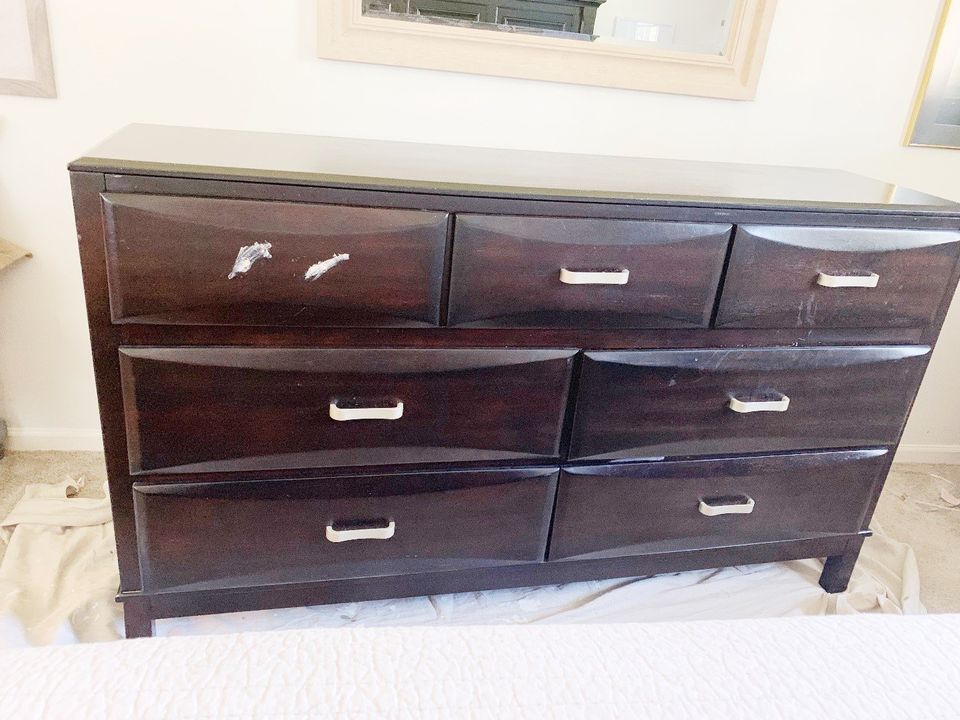
Finally, I figured out I just needed to CHANGE the handles completely. I removed the old handles and filled in the holes with wood filler. That way, I could have the style and configuration of handles I wanted.

If you’re filling in the holes, you need to paint the piece so you won’t be able to tell where the old drawer pulls were.

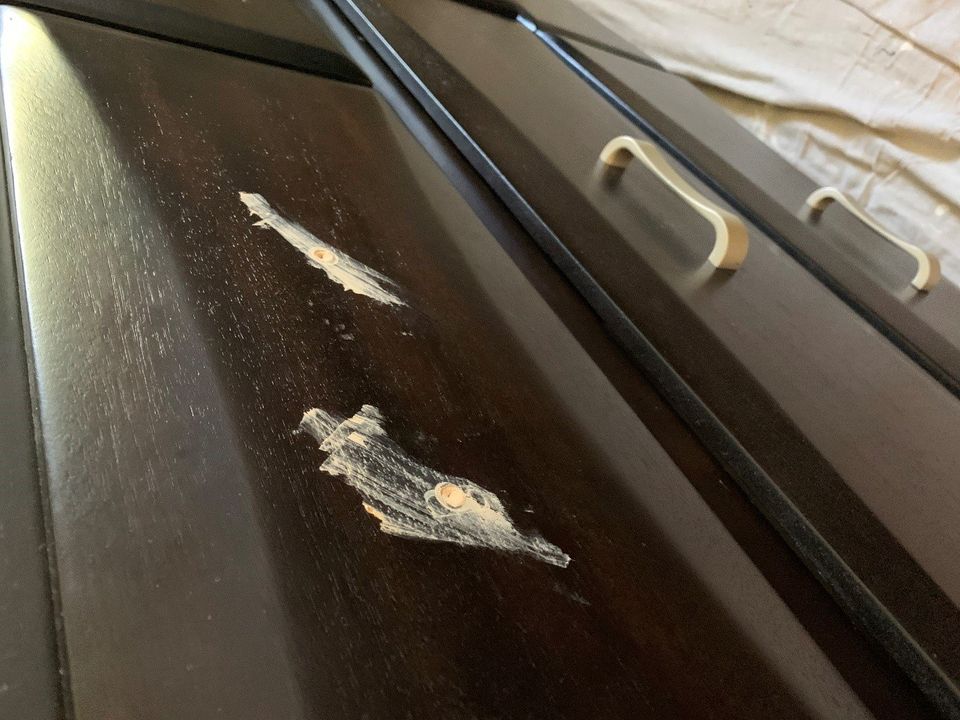
To fill in the holes, you’ll need to put wood filler into the existing holes until it’s even, or just above, the rim of the hole. Then, use a straight edge to scrape off the excess. You may need to repeat this process more than once and sand it a little at the end. I finished any stubborn areas that were difficult to get smooth with Drywall Patch and Primer and used the sander on the cap to smooth everything out.

filling drawer pull holes with wood putty

Paint It

dark gray dresser makeover
I primed the dresser with chalk paint, so there’s no need to sand or prep the surface in any way. I did the same method with my nightstand. It was kind of a pain to paint, because the drawers didn’t come all the way out. My hands got pretty dirty getting in between the drawers.
I finished the dresser with two coats of latex paint. I just used leftover paint and had a mix of Rock Bottom and Station Gray both by Sherwin Williams. It turned out to be a dark, warm gray.

Varnish

I used 3 coats of Liquitex matte varnish to seal all the painted areas. I applied it with long, smooth strokes across the top, sides and drawer fronts so it has a nice, smooth finish. This is my favorite brand varnish to work with, as its finish can’t be beat. It’s available in several different sheens—high gloss, gloss and matte. Gloss is similar to the sheen of satin, and that is probably my favorite, but I tried matte out for this project and am happy with the result. It still has a beautiful finish, but isn’t reflective at all.

Drilling New Holes

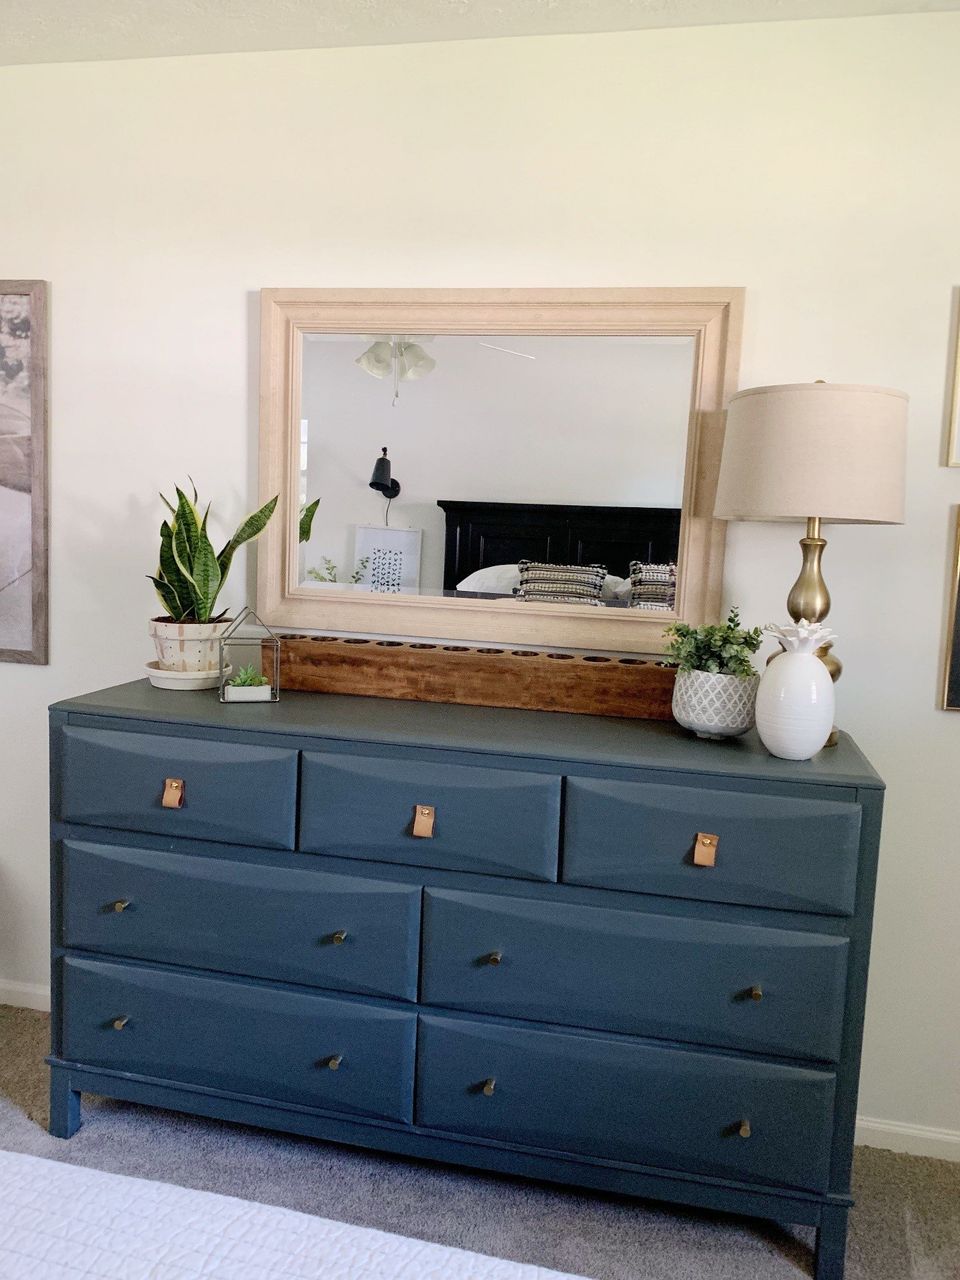
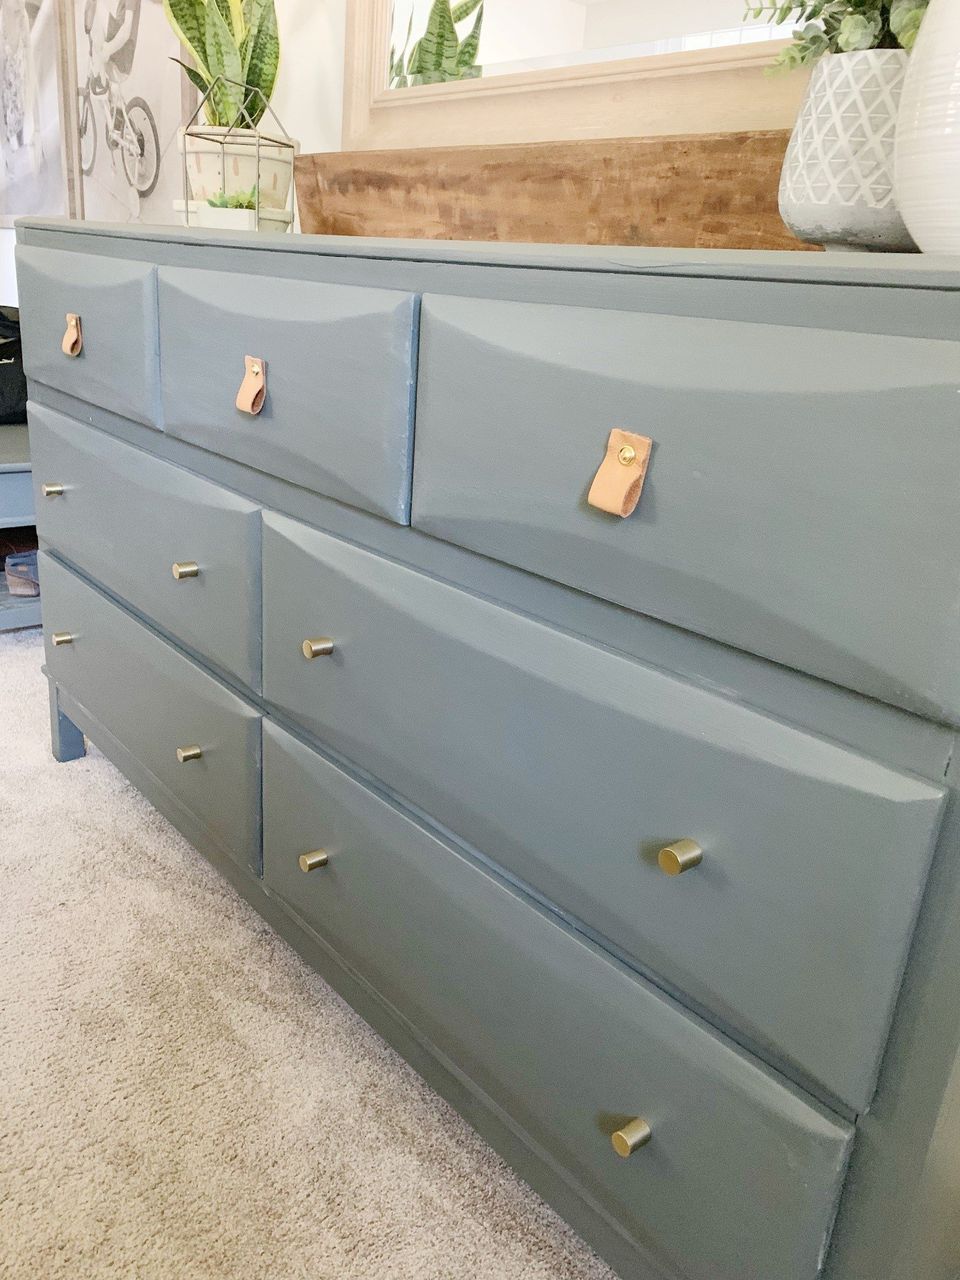
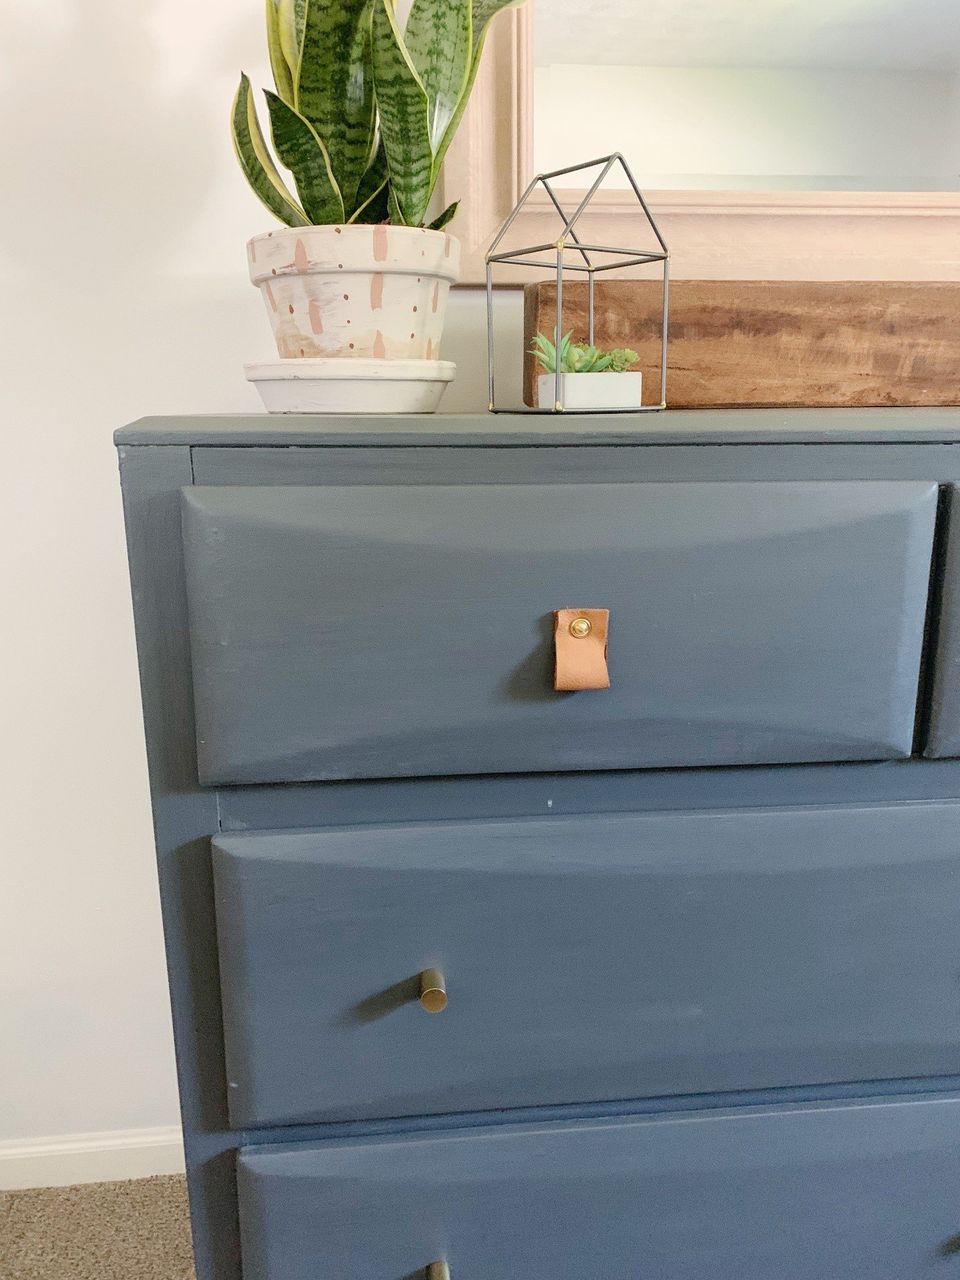
Since all the old hardware holes were gone, I had to make new ones! I wanted to put a single leather drawer pull on the top three drawers, so I used a tape measure to mark the center of each drawer and drilled a hole with my drill that was large enough to accommodate the hardware screw. I used the same technique when I did my bone inlay nightstand.

The bottom drawers each got two modern brass cylinder-shaped knobs, so I centered them and put each hole 6” from the edge of the drawer.

Hardware

I made my own DIY leather drawer pulls for the top three drawers. They were mixed them with some modern, brass cylinder-shaped drawer pulls for the larger four bottom drawers. I got the pulls on Amazon for about $13 for a set of 10, so it was a great deal. They were brass, but I sprayed them with a metallic gold Martha Stewart spray paint to get them more of a gold color, but the difference is pretty subtle.
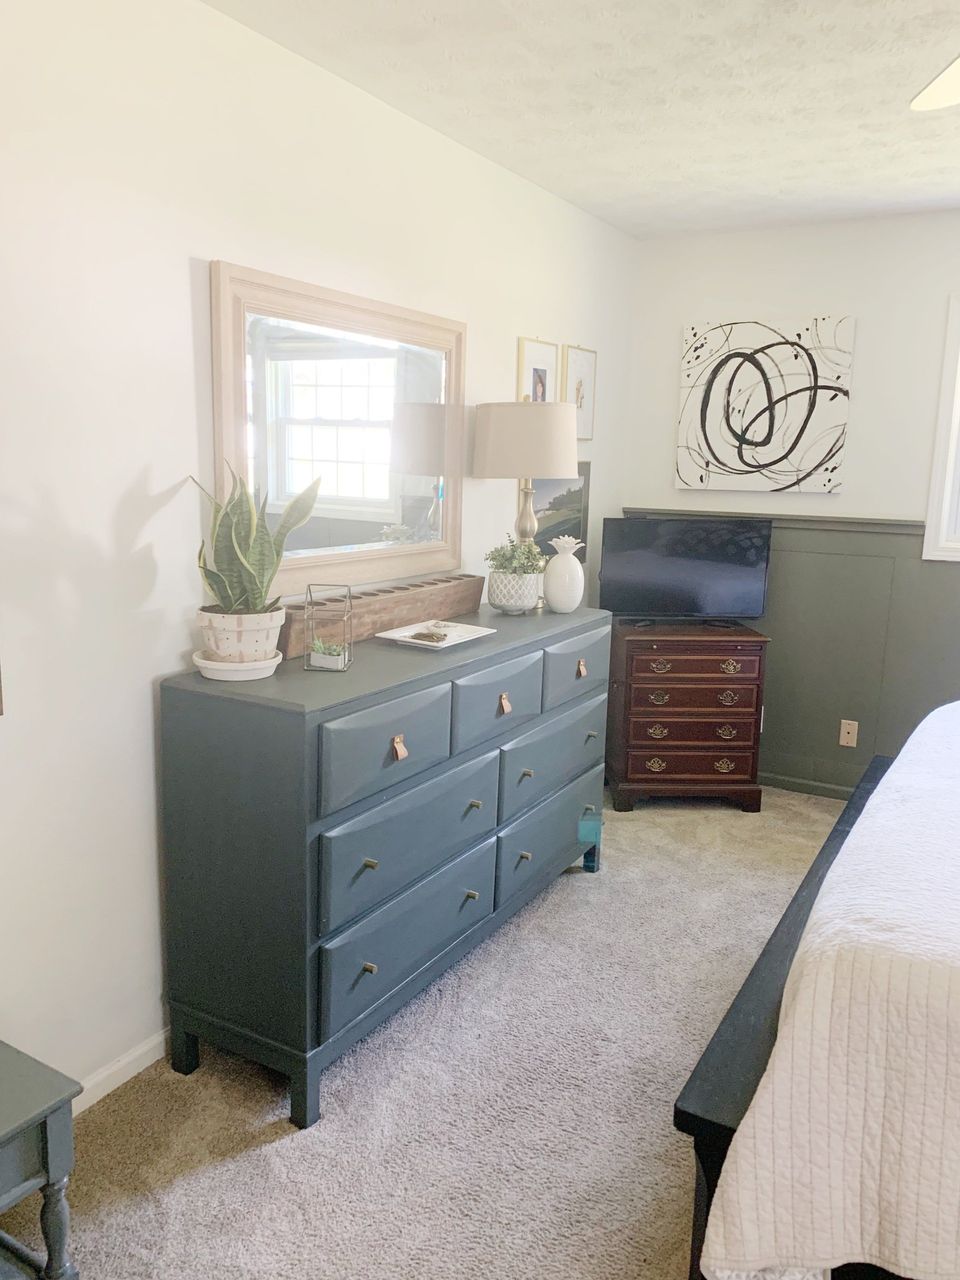
diy dresser makeover
diy leather dresser drawer pulls

New Dresser

When I look at our new dresser, I almost forget it’s not actually a NEW dresser, but one we’ve had for years. It looks completely different after the DIY dresser makeover. Now it looks like something I would buy somewhere, and goes so nicely in our newly refreshed master bedroom.
diy dresser makeover

Pin for Later!

DIY dresser makeover
By Jenni Jarvis 02 Feb, 2024
Designer Drapes
By Jenni Jarvis 24 Jan, 2024
Rug Roundup January 2024
By Jenni Jarvis 15 Jan, 2024
Booth at Christmas Market
By Jenni Jarvis 31 Aug, 2023
Grasscloth
09 May, 2023
What not to do
24 Jan, 2023
Romabio Velatura Mineralwash
13 Oct, 2022
I can't remember the first example of fluted wood furniture I saw, but it was probably either this gorgeous custom wood bathroom vanity from Chris Loves Julia , or the DIY fluted coffee table Fariha shared on Pennies for a Fortune . The custom cabinetry was done professionally using a router for each line, which isn't something I possess the skills to do. This did help inspire the colors I used in our bathroom remodel, though! I really connected to the method Fariha used to build the coffee table--wooden dowels. What a fabulous idea!
14 Feb, 2022
I did a little refresh in our daughter's room, and I decided we needed some large-scale art. I actually planned to order a print, but inspiration struck on a trip to HomeGoods when I saw two HUGE framed canvases on clearance for $25 and $9. I grabbed them up and headed home, with my head filled with ideas on what to do with them.
14 Feb, 2022
I love peel-and-stick wallpaper so much! It's an easy, DIY fix for any space that just needs a little refresh. Because it's easily removeable, I feel much more confident going ahead and choosing a pattern. I struggle to commit to traditional pasted wallpaper--I think it's because we removed so much of it when we bought our house. It is no easy task. Peel-and-stick is also very economical, so if you decide to change it up a few years down the line, it doesn't feel so bad. I've now put it in four areas of our house. Today, you'll see the kitchen and den. It's the same pattern in different colors. I love how much the simple pattern really just makes each space.
By Jenni Jarvis 01 Oct, 2021
Just for fun, here's a freebie--a digital download for some fall wall art! This quote is from Anne of Green Gables. I still want to read the book, but I was a huge fan of the series Anne with an E on Netflix. Just click on the file, download it and print it at home or send it to a place like Office Depot. Happy October!
More Posts
Share by: