Blog Layout

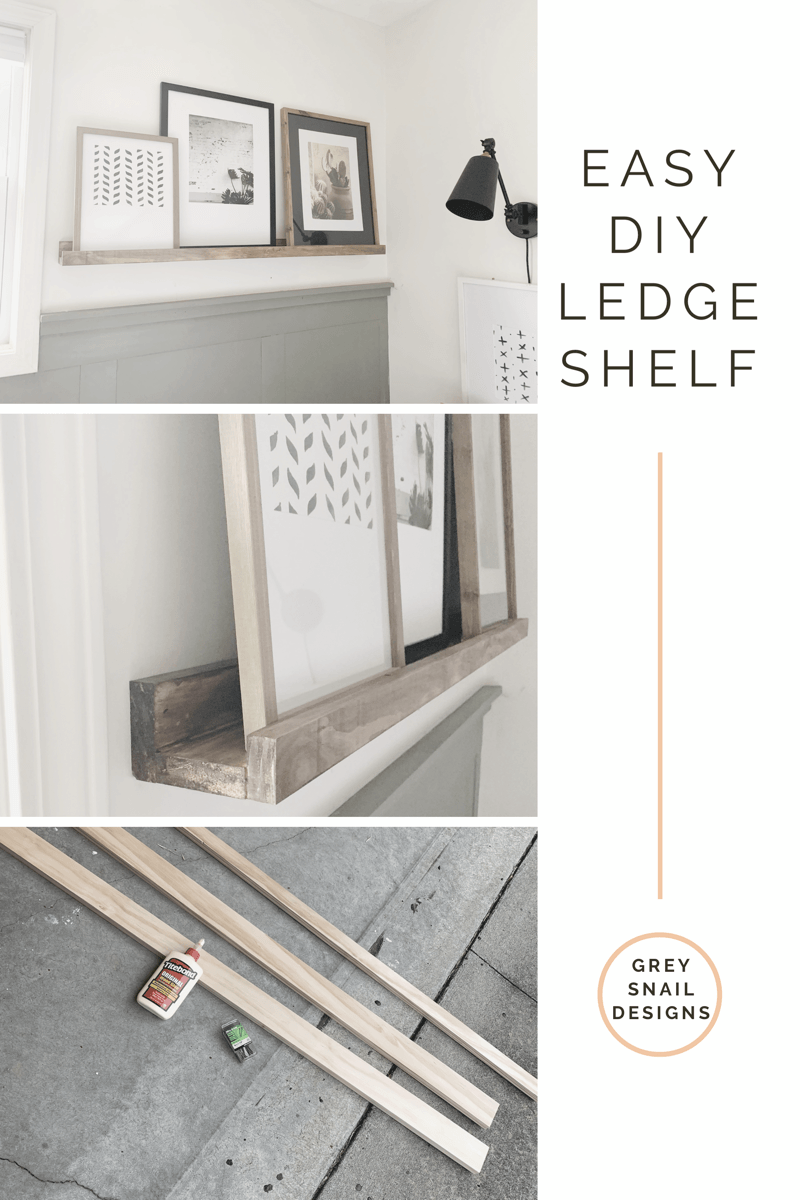
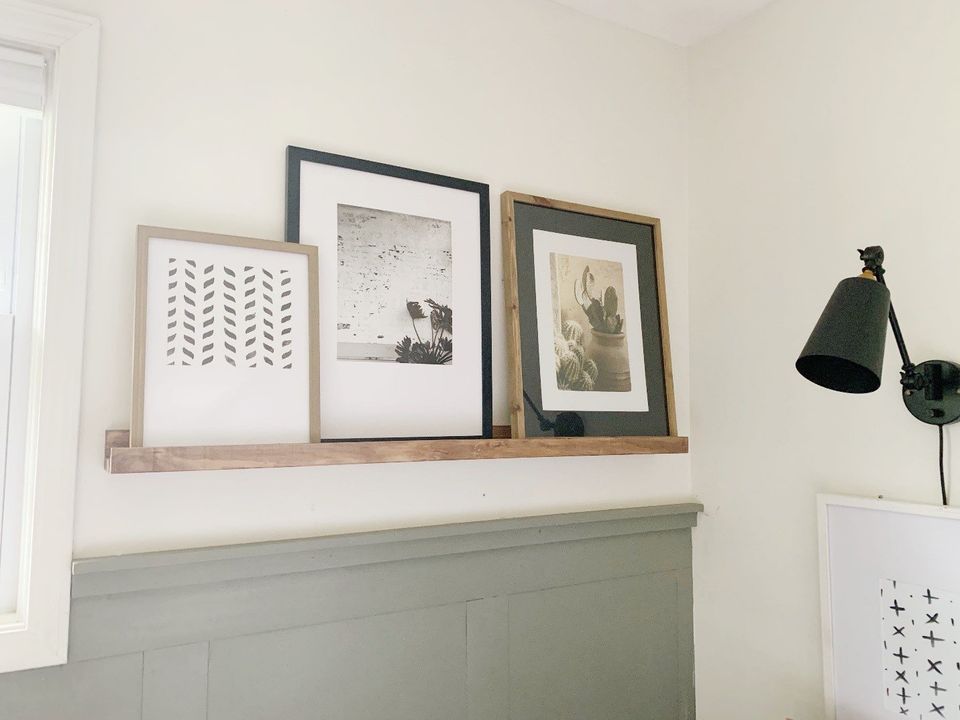
DIY Easy Build Ledge Shelf

Apr 27, 2020

Easy Ledge Shelf

This is one of those projects I put off and put off, thinking it was probably only easy for SOME people—you know, the kinds of people who owned table saws and nail guns. But I was SO wrong! This DIY easy ledge shelf is a building project ANYONE can tackle and requires zero special tools. You have a hammer, right? Can you use glue and hammer a nail? I thought so.

Supplies

• 2 1×4” boards
• 1 1×2” board
• Wood glue
• Finishing nails
• Hammer
• Wood stain
ledge shelf supplies

Process

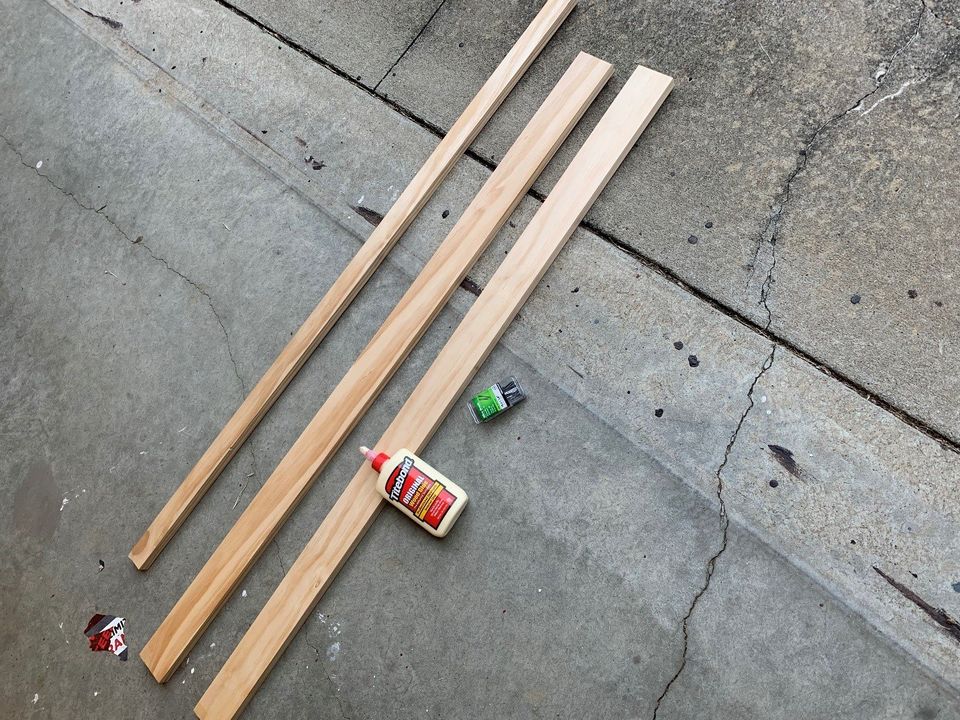
You can buy your boards in any length you want and cut them down to size. You can also find precut 4’ boards at Lowe’s that work well for a nice-sized shelf.

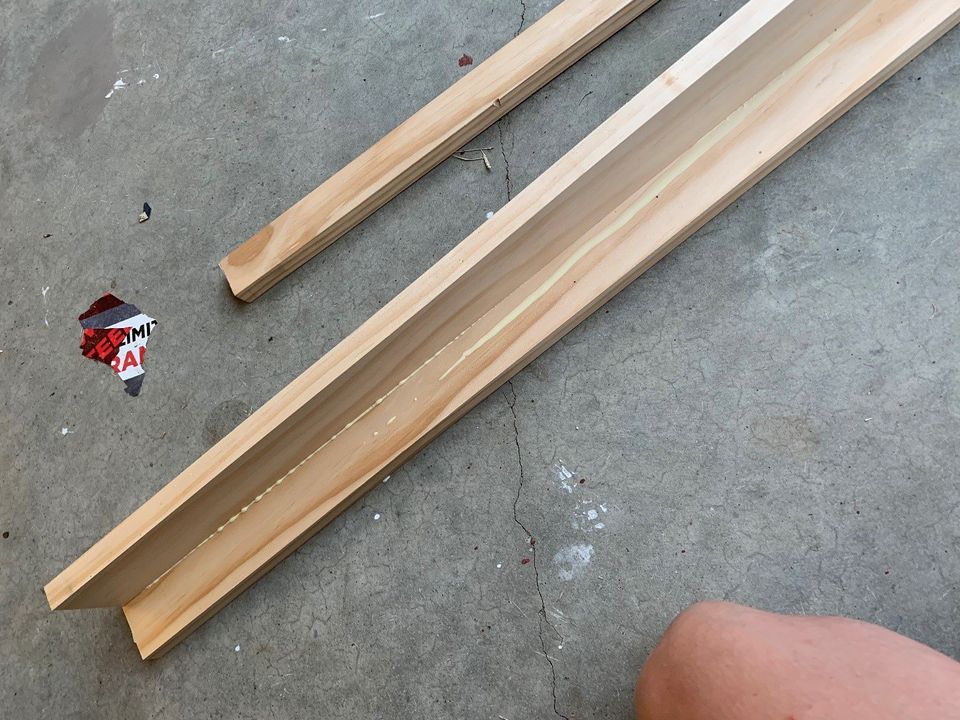
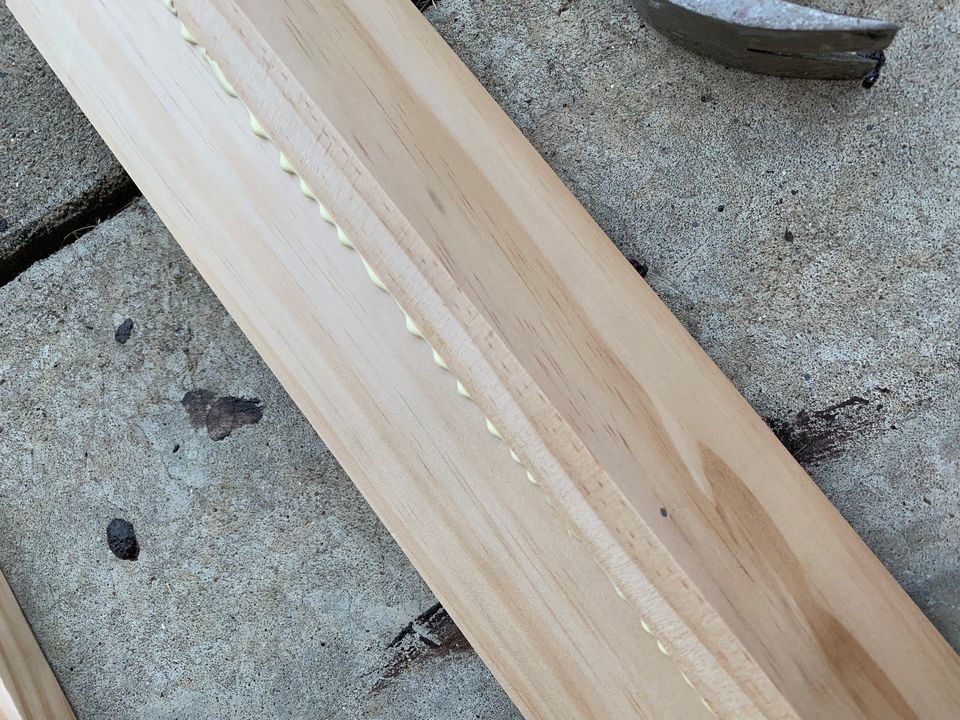
The 1×4 will be the bottom of your shelf; the other 1×4 will be the back. Put a thin line of wood glue on the entire back edge of the 1×4 and press the other 1×4 onto it at a 90-degree angle, so it forms an L-shape. When it’s perfectly lined up, nail several finishing nails into the back to hold it into place. Wipe off any excess glue with a rag or paper towel.

Gluing the boards together with wood glue
gluing boards for ledge shelf
The 1×2 will be the front side of the shelf, acting as a lip so your frames will stay up and not fall off. Using the same process as you did for the back, apply a thin line of glue along the side of the 1×4 on the bottom, press the 1×2 onto it (making a 90-degree L-shape) and adjust it to line up. Then, secure it the same way with several nails in the front. I used 3-5. Wipe off any excess glue.

The important thing is to attach the front and back boards to the OUTside of the flat (middle) board, so your nails are going in from the sides.  If you attach the front/back boards to the top, (and nail from the bottom), when you start putting stuff on the shelf, it will fall apart.  Don't ask me how I know this, but I know.
wood ledge shelf put together

Staining

Now you’re ready for staining! I used Minwax Gel Stain in walnut for my shelf, lightly applying it with a paper towel and immediately wiping it off. It still wound up pretty dark. Let it dry for several hours until it’s not tacky.

Installation

You basically screw the shelf into the studs in a couple places. To do this, you need to locate the studs with a stud finder. Once you locate the studs, mark them. Then, decide the height then you want to hang it, hold the shelf up against the wall with a level on it and mark the top a couple places with a pencil.

Mark where you’ll need to put the screws on the shelf with a pencil and make sure the marks are level. I used a laser level to make sure, but make sure your screw are toward the top edge of the back so they’re easy to screw in.

Once you have the everything marked, it’s a good idea to drill a pilot hole in the wall and shelf for your screw. After you have your pilot holes, put your shelf in place and screw it into the wall with a long screw.

Easy Shelves

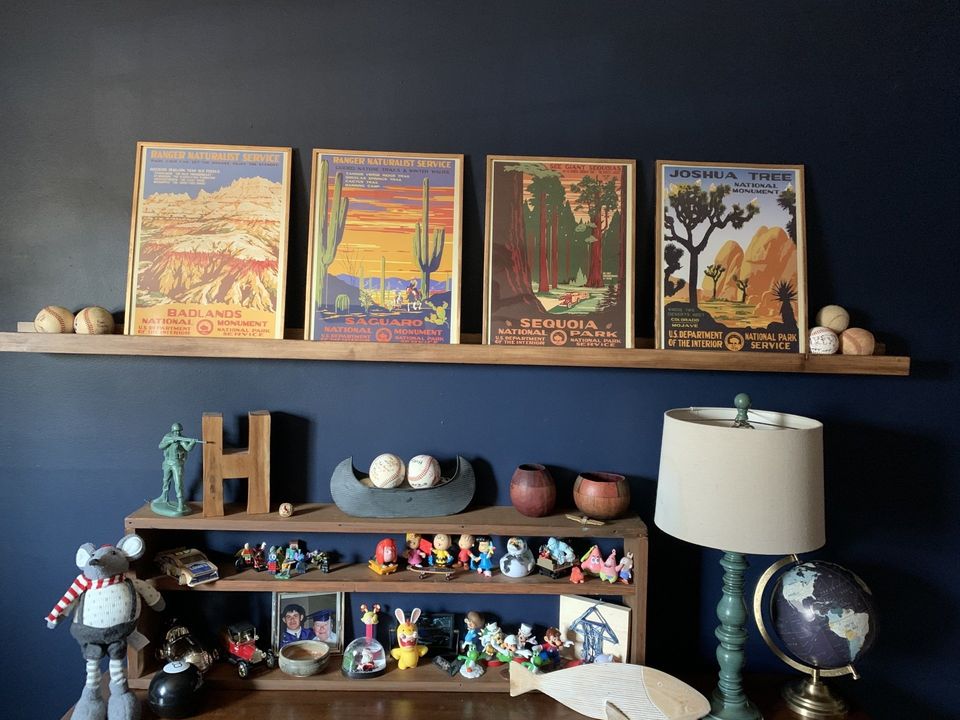
Now you’re all ready to start adding decor to your DIY easy ledge shelf! This shelf is so simple and budget-friendly, I’ve made several more for our home! I love the idea of a super long ledge shelf above a couch or bed, where you can easily change out artwork and decorations. I can totally see adding seasonal decor to this type of display.

I've already built this shelf for a couple other areas of my home in different sizes and I love them all!

Easy Ledge Shelf

Pin for Later!

DIY ledge shelf
By Jenni Jarvis 02 Feb, 2024
Designer Drapes
By Jenni Jarvis 24 Jan, 2024
Rug Roundup January 2024
By Jenni Jarvis 15 Jan, 2024
Booth at Christmas Market
By Jenni Jarvis 31 Aug, 2023
Grasscloth
09 May, 2023
What not to do
24 Jan, 2023
Romabio Velatura Mineralwash
13 Oct, 2022
I can't remember the first example of fluted wood furniture I saw, but it was probably either this gorgeous custom wood bathroom vanity from Chris Loves Julia , or the DIY fluted coffee table Fariha shared on Pennies for a Fortune . The custom cabinetry was done professionally using a router for each line, which isn't something I possess the skills to do. This did help inspire the colors I used in our bathroom remodel, though! I really connected to the method Fariha used to build the coffee table--wooden dowels. What a fabulous idea!
14 Feb, 2022
I did a little refresh in our daughter's room, and I decided we needed some large-scale art. I actually planned to order a print, but inspiration struck on a trip to HomeGoods when I saw two HUGE framed canvases on clearance for $25 and $9. I grabbed them up and headed home, with my head filled with ideas on what to do with them.
14 Feb, 2022
I love peel-and-stick wallpaper so much! It's an easy, DIY fix for any space that just needs a little refresh. Because it's easily removeable, I feel much more confident going ahead and choosing a pattern. I struggle to commit to traditional pasted wallpaper--I think it's because we removed so much of it when we bought our house. It is no easy task. Peel-and-stick is also very economical, so if you decide to change it up a few years down the line, it doesn't feel so bad. I've now put it in four areas of our house. Today, you'll see the kitchen and den. It's the same pattern in different colors. I love how much the simple pattern really just makes each space.
By Jenni Jarvis 01 Oct, 2021
Just for fun, here's a freebie--a digital download for some fall wall art! This quote is from Anne of Green Gables. I still want to read the book, but I was a huge fan of the series Anne with an E on Netflix. Just click on the file, download it and print it at home or send it to a place like Office Depot. Happy October!
More Posts
Share by: