How To Make a Faux Olive Tree
Faux Trees
Your Base
Putting it Together
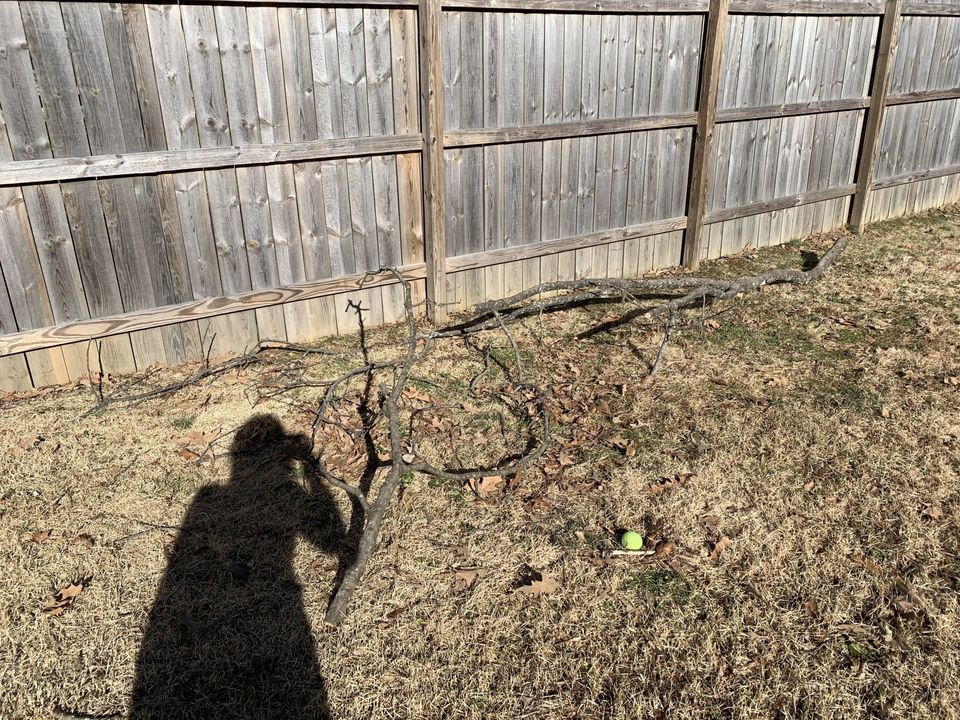
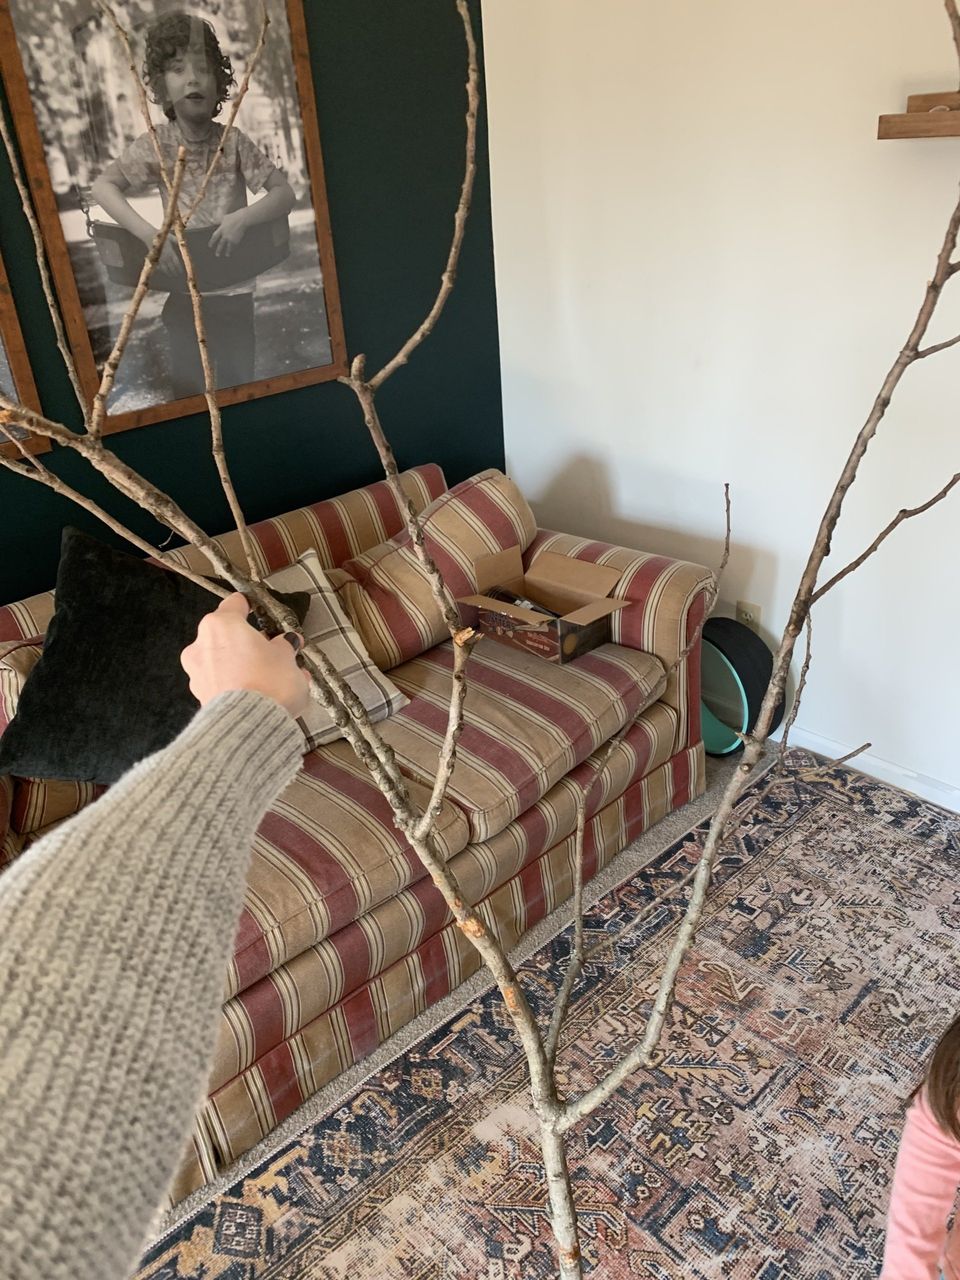
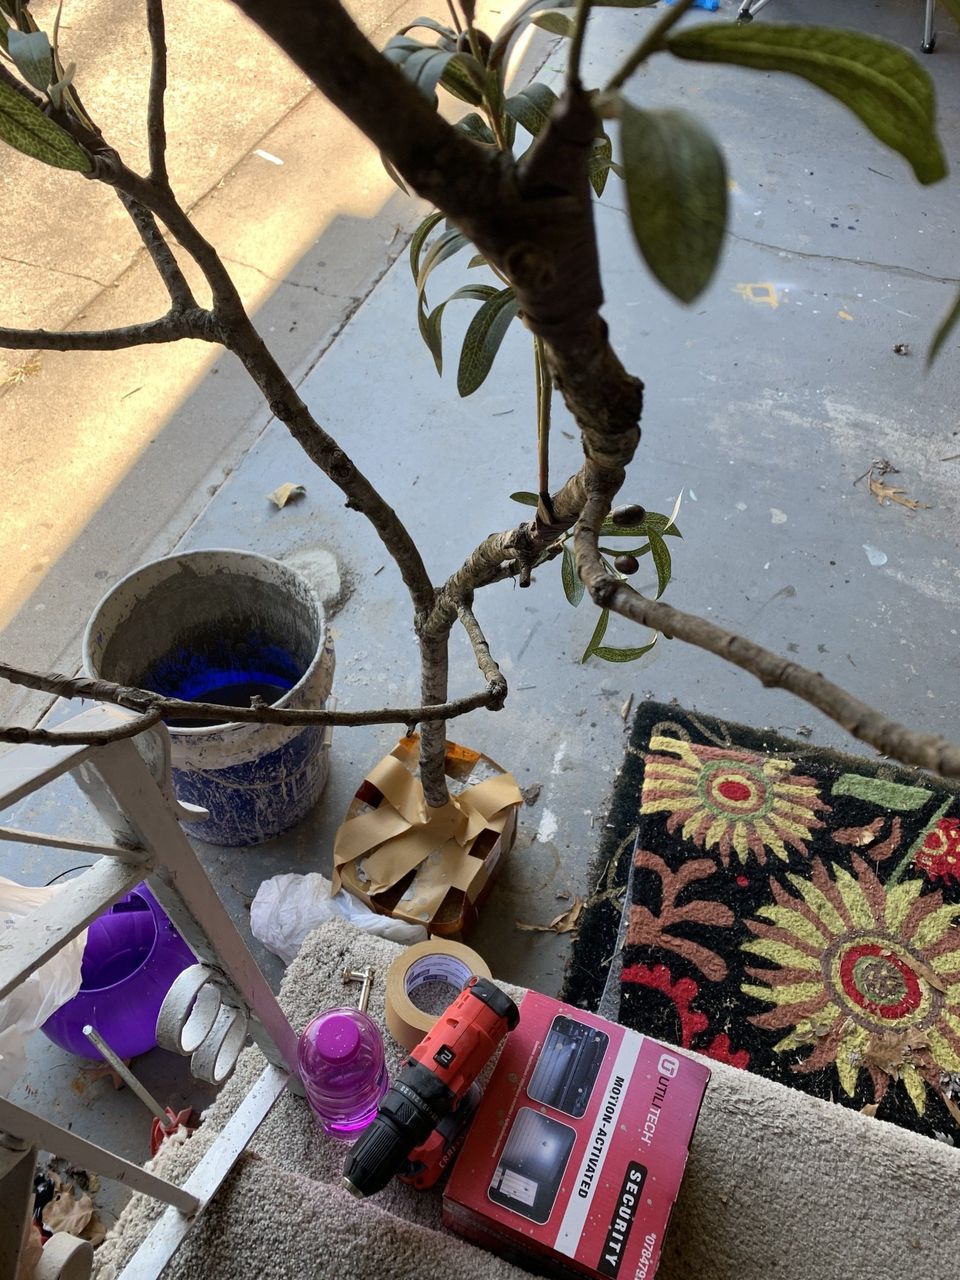
I brought my branches in the house to work with them, since it's winter. I just propped up each branch against a piece of furniture, so it stood upright, but you could have another person give you a hand, too. I used faux olive bushes from Hobby Lobby for mine.
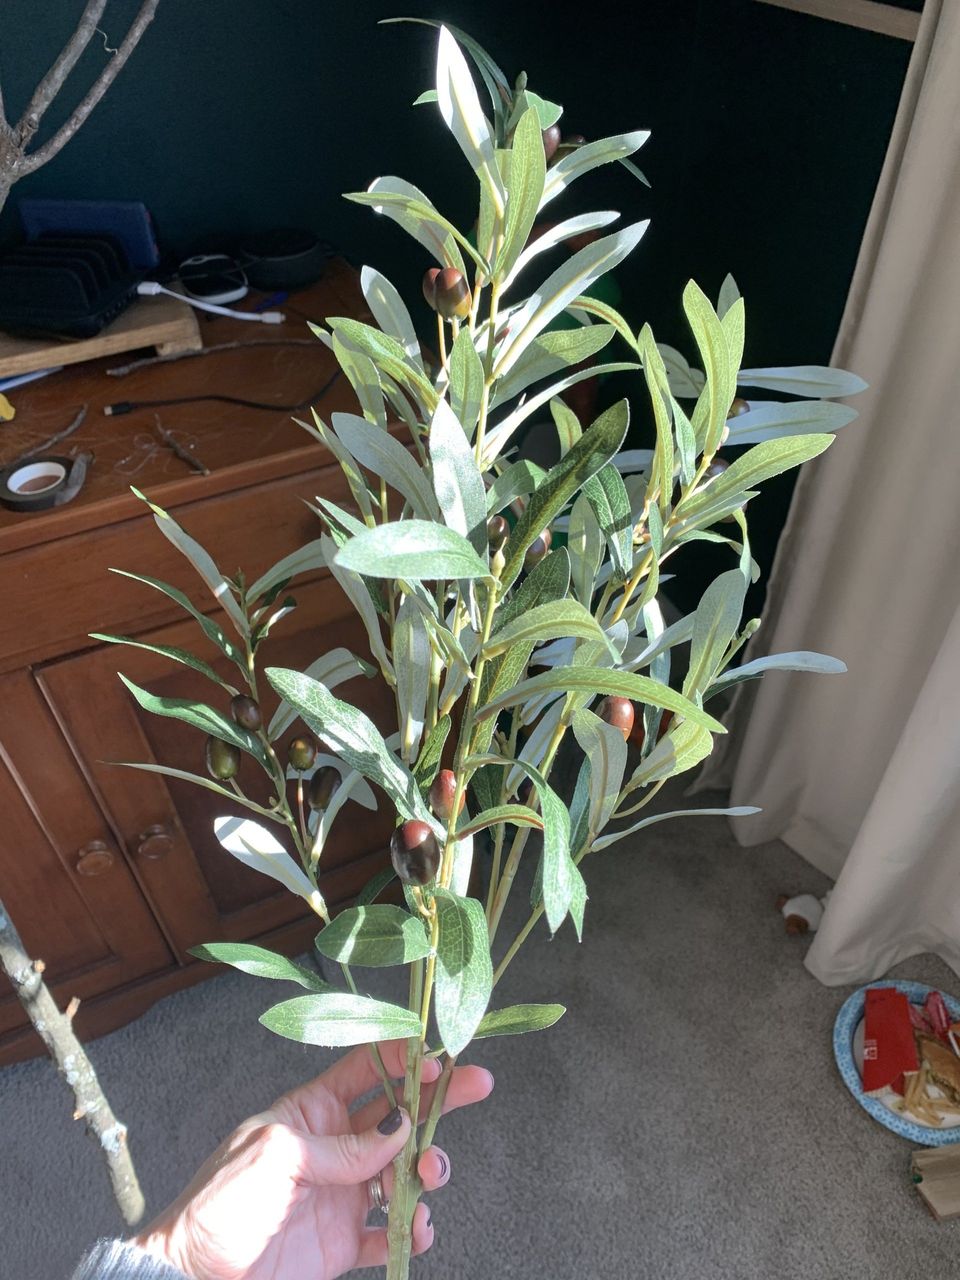
I ordered 6 bushes for around $50.00, shipped. I was able to make a two large and one small table-top tree from my supplies. Each large tree took approximately 2 bushes total to complete. I cut each bush apart with wire cutters. I had a mix of single, double and triple sprigs.
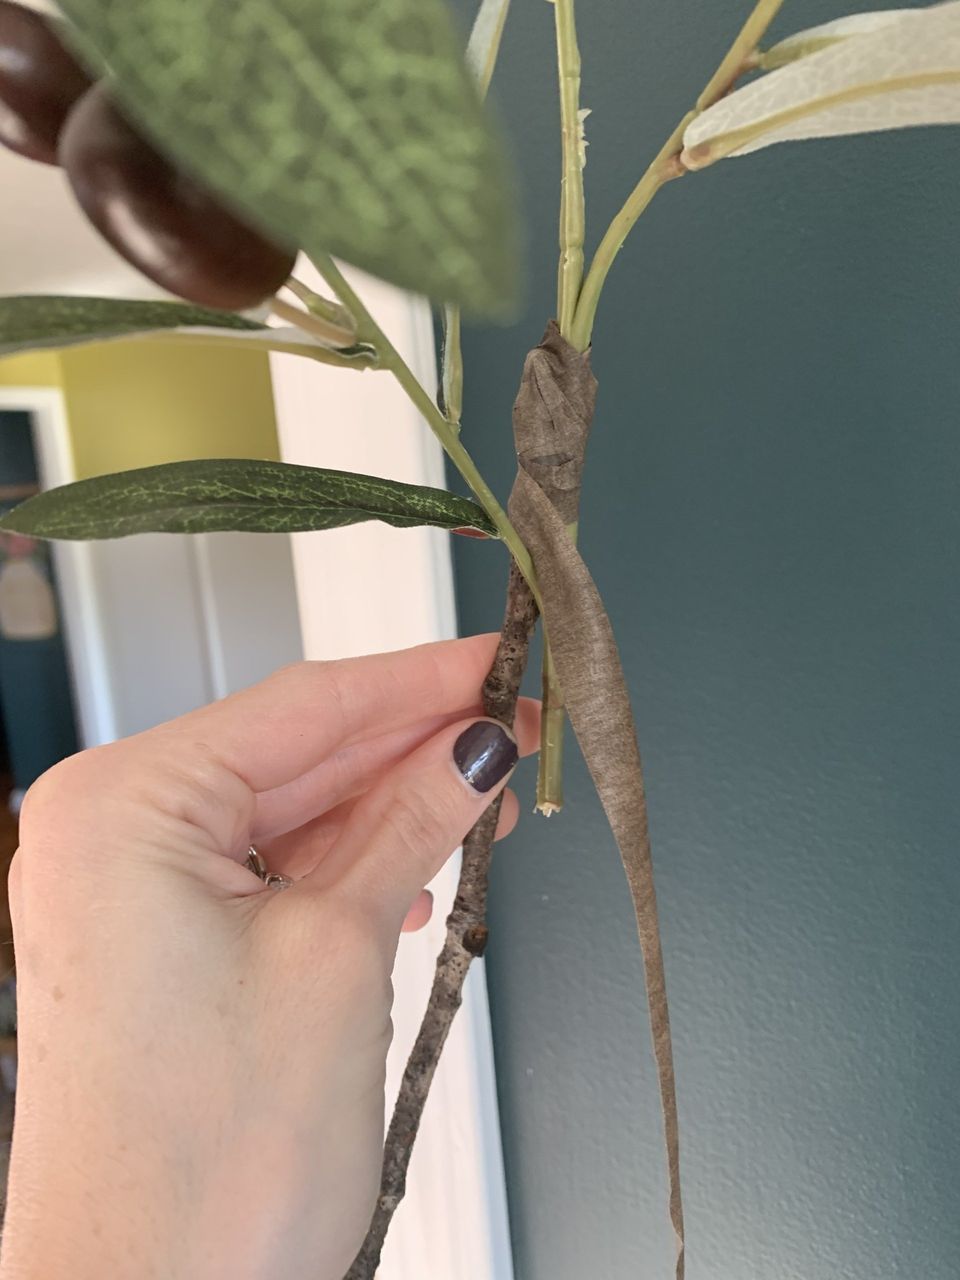
To attach the olive sprigs, I wrapped them with brown floral tape around the ends of each branch. I also put a few lower on the branches in blank spots that needed filled in. You just tear off lengths of tape and tightly stretch and wrap it around the branch and faux olive stems.
You'll definitely want to use brown floral tape, so it blends in with your tree branch. I was surprised how well it matched the bark and seamlessly blends in and looks so realistic.
Making a Base for Your Tree
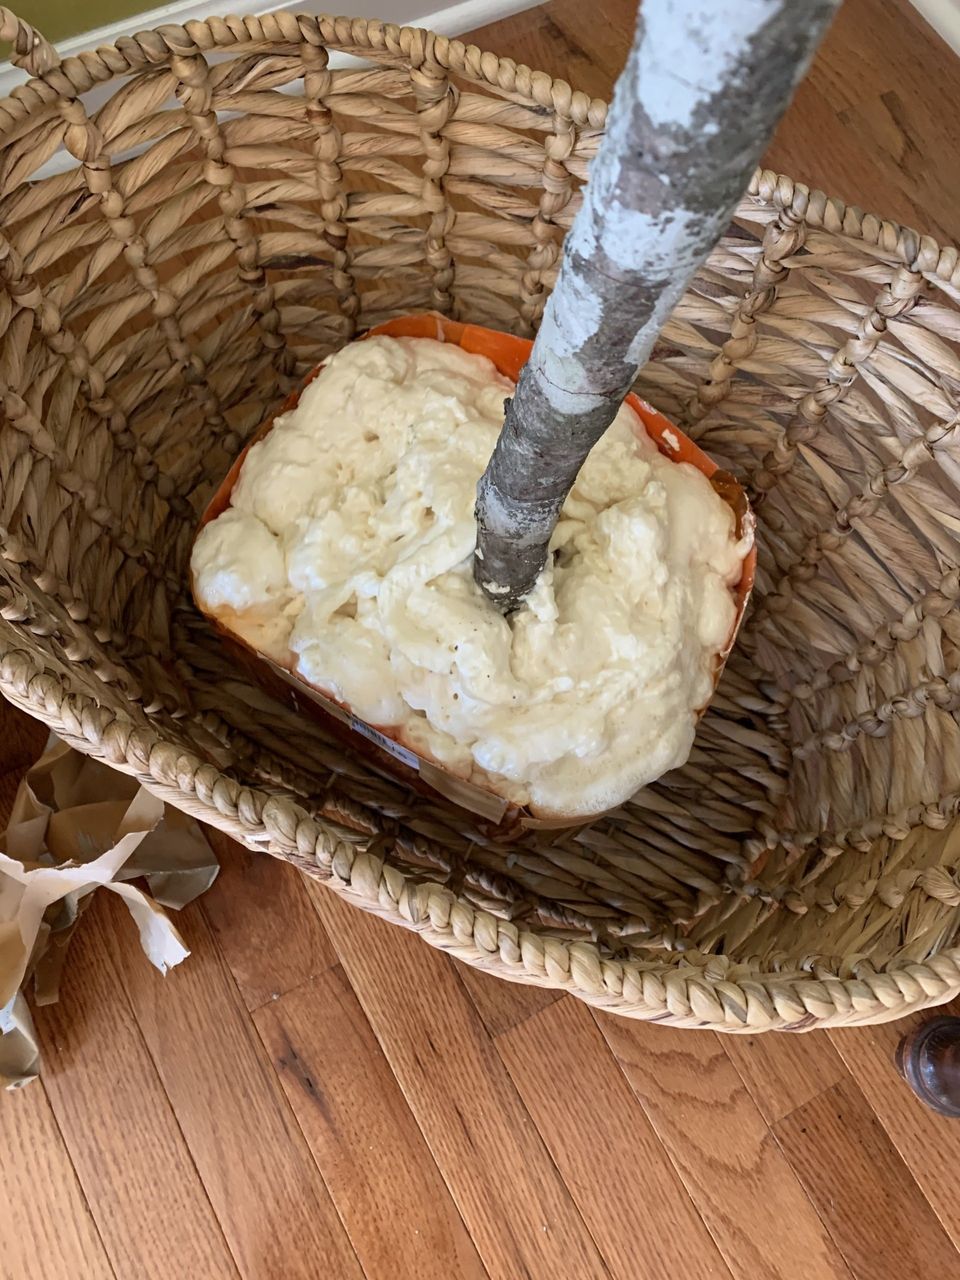
Once the olive stems are on your tree, it's time to make the base. You'll need something to pour the concrete into. I used an old bucket for one and an empty plastic pretzel container for the other. I cut the top off so it wasn't so high. For my smaller tree, I used an empty cardboard oatmeal container.
I bought a small 50-lb. bag of Quikrete and mixed it with water in a 5-gallon bucket with the mixer paddle attachment on my drill. You could probably mix smaller amounts by hand, but it makes it faster and easier with a drill. Be careful not to add much water, because it will take longer to dry. You'll want a batter-like consistency. Once it's all mixed up, set the base of your tree in the middle of your container and pour the concrete all around. You can stick the base in floral foam first to help it stay in place, but it's not absolutely necessary, but does make it easier. You'll need to tape the trunk into place with heavy-duty tape like duct tape. I even propped mine against the garage door overnight so they didn't lean. I found that it took the concrete at least two full days to dry. It would probably be faster in warmer weather.
Troubleshooting
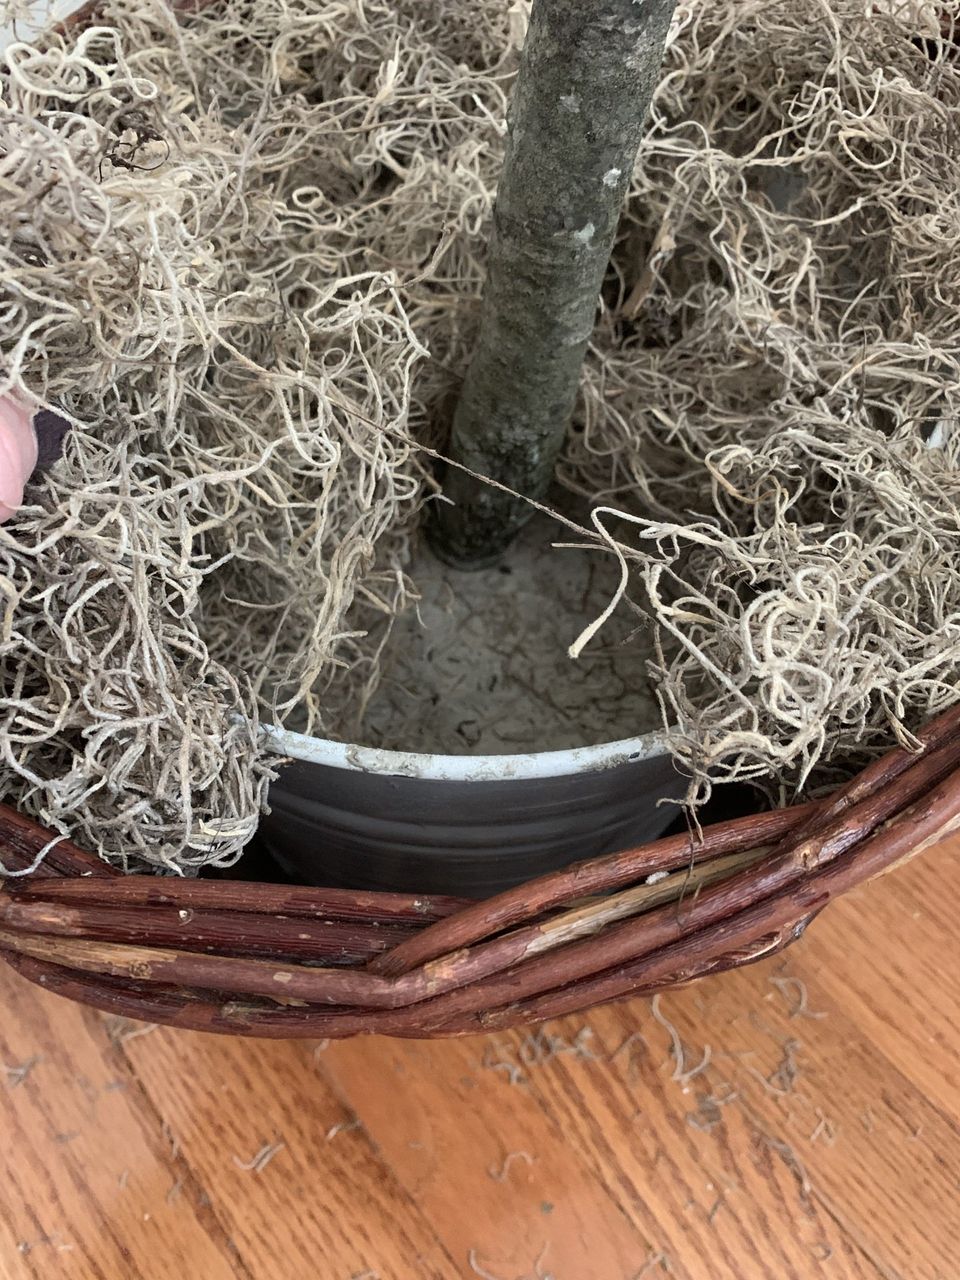
Baskets
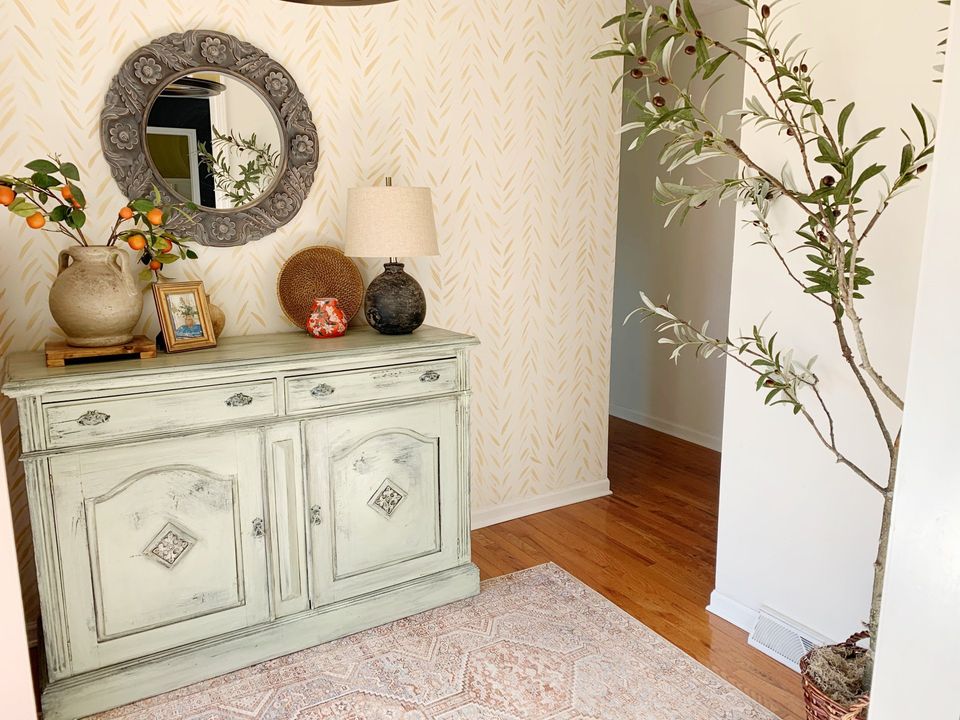
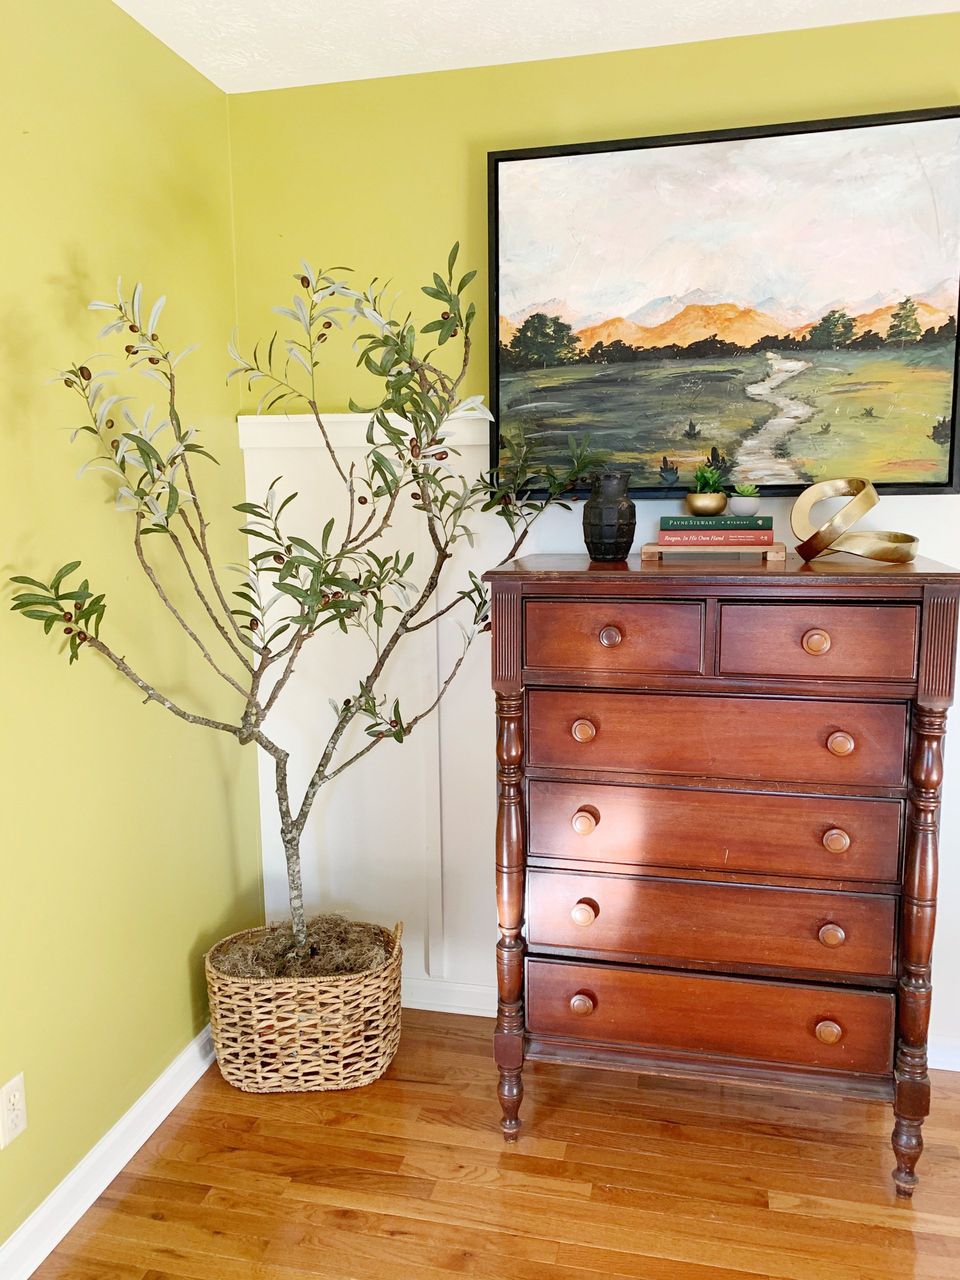
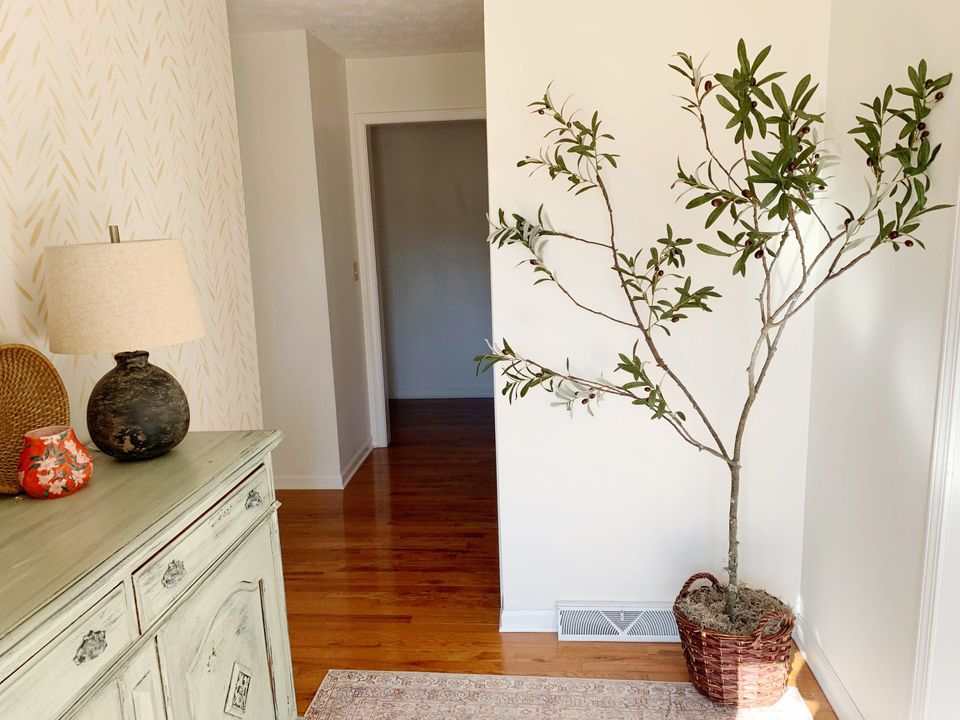
Faux Olive Trees
I have not been this excited about a project in a long time! It was easier and turned out even better than I expected. I figure, I saved quite a bit of money and have about $70 in this, and got two 6-foot trees and one small out of it, so I'm thrilled! I couldn't wait to share this and hope you'll give it a try.
Pin for Later!