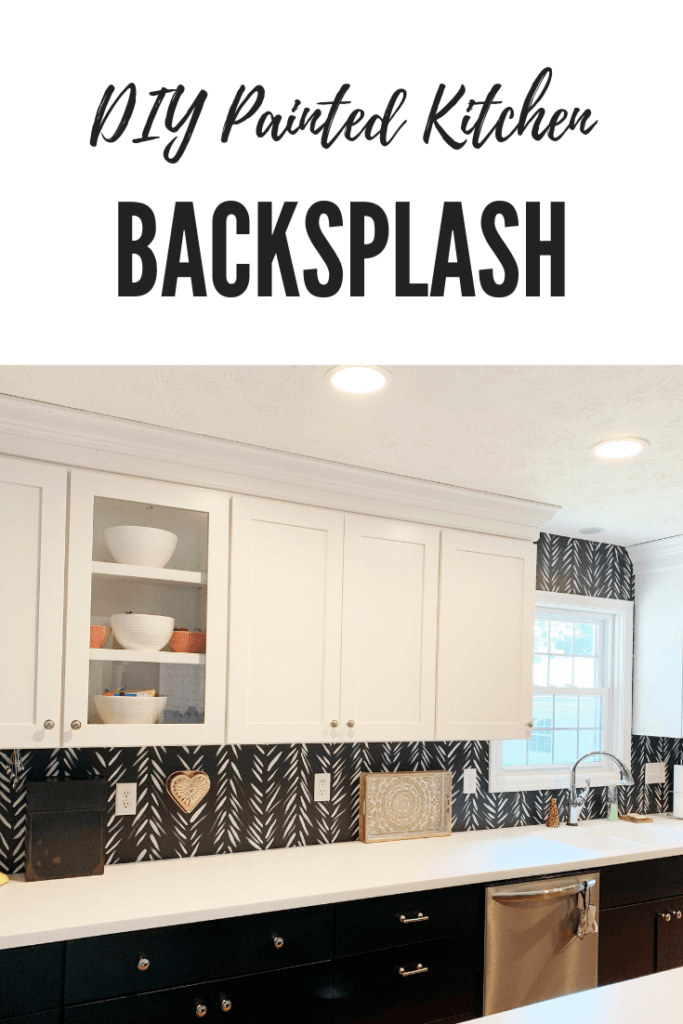
Handpainted Kitchen Backsplash
Backsplash Makeover
This DIY painted kitchen backsplash is a great, stylish alternative for the interim period before going for the big project, or for someone who doesn’t have the skill, expertise or budget to execute a tiled backsplash.
It can easily be completed in an afternoon using supplies you already have around the house. You could even leave the wall color and paint a pattern using craft paint if you don't want to purchase supplies.
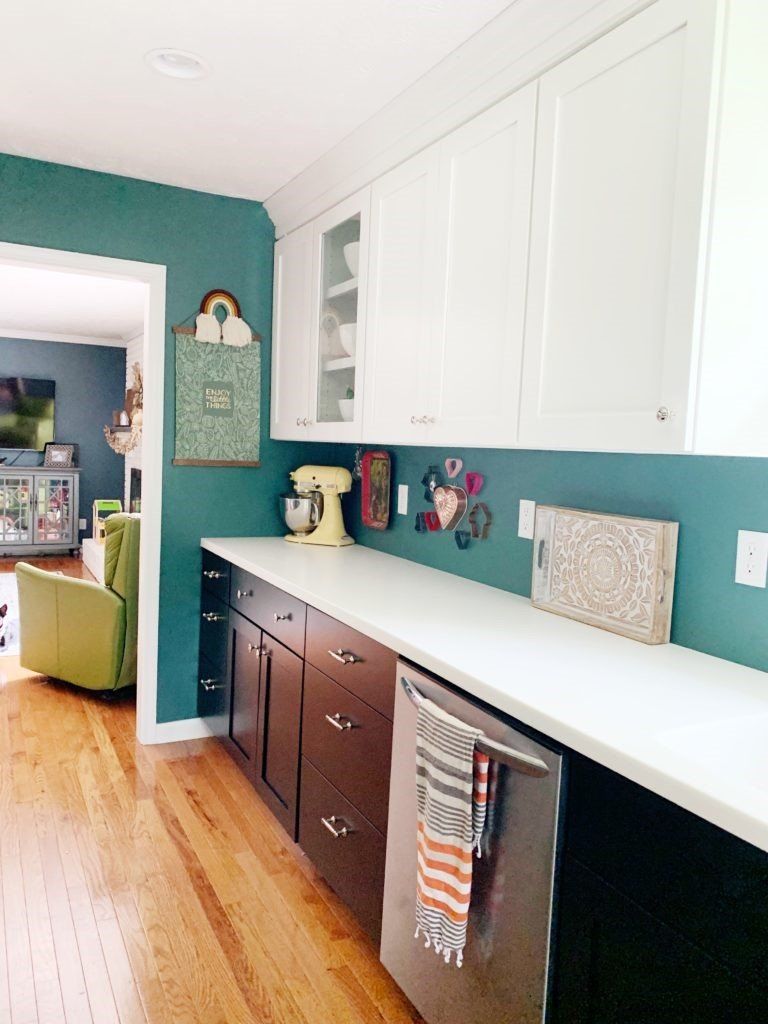
Our kitchen backsplash area is just painted drywall. I actually love the color of our kitchen walls (SW Rookwood Sash Green), but wanted an update. I still wouldn’t rule out trying to tile the backsplash area myself, at some point, but an electrician is a necessity, so it automatically makes it a larger (and more expensive) project.
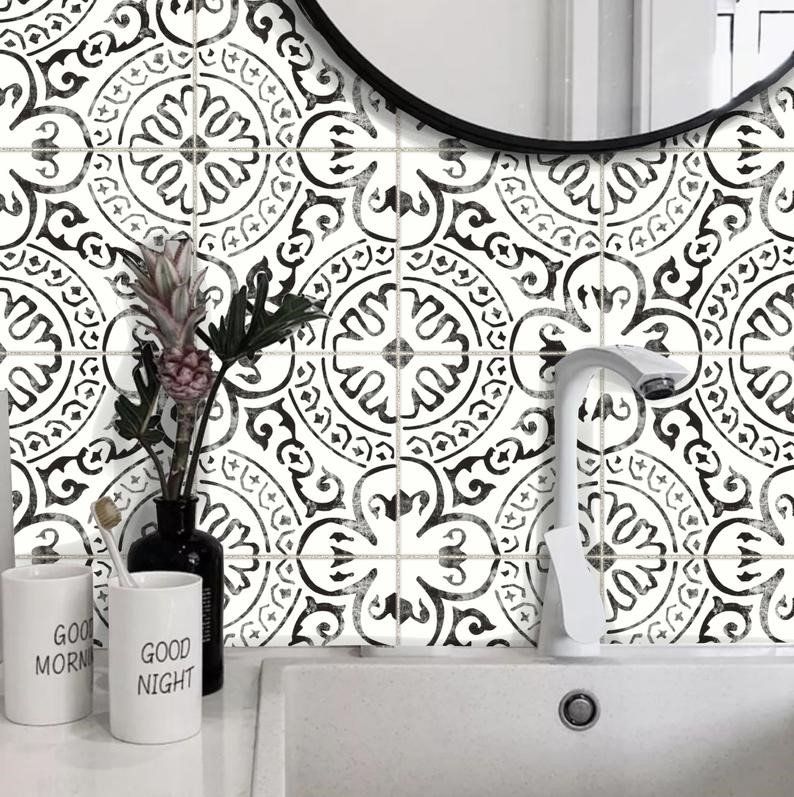
Removable Kitchen Backsplash
Hand Painting
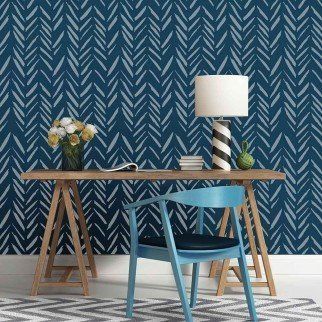
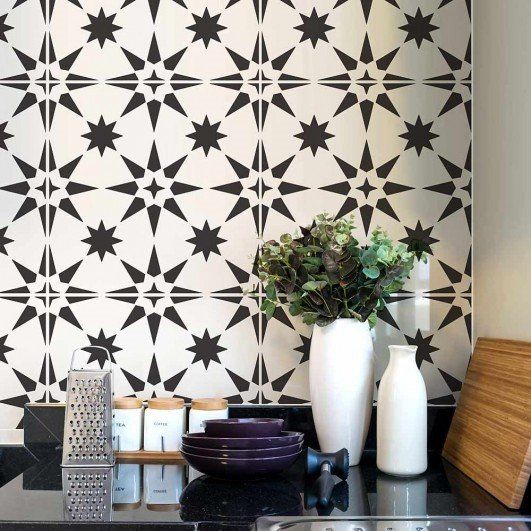
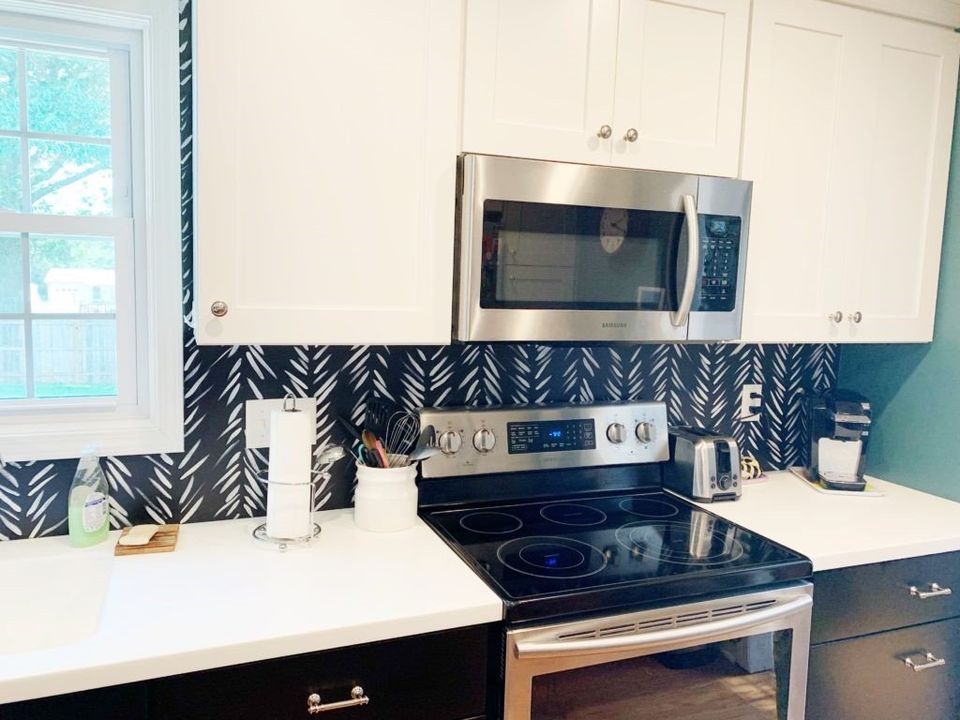
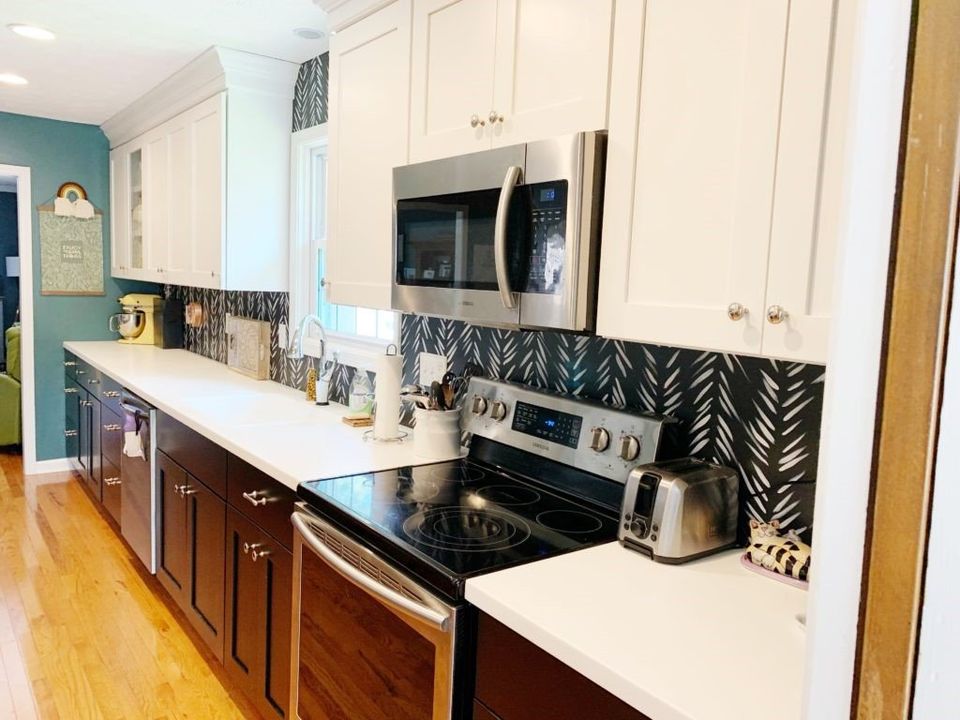
I was really wanting some immediate gratification and wanted to spend as little on this project as possible. I liked the black and white color palette, because it went with our black and white kitchen cabinets, but I really couldn’t decide which vinyl pattern I liked best. I decided I would paint my own “wallpaper” pattern on our backsplash area to see how I like the color combination, and worst case scenario (if it looked terrible), I could put a vinyl backsplash over it.
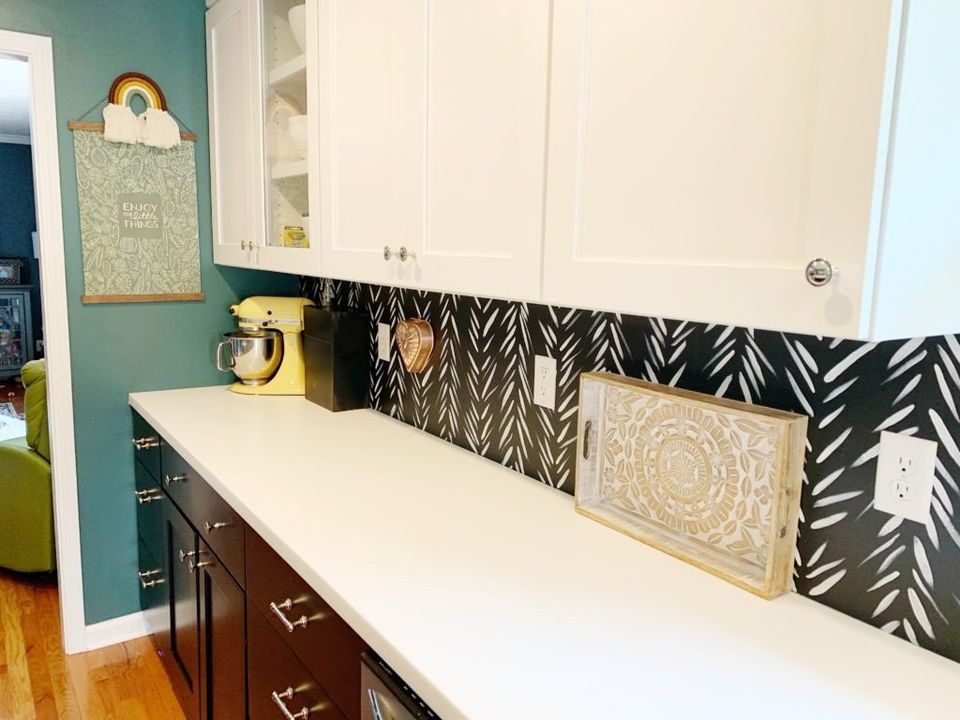
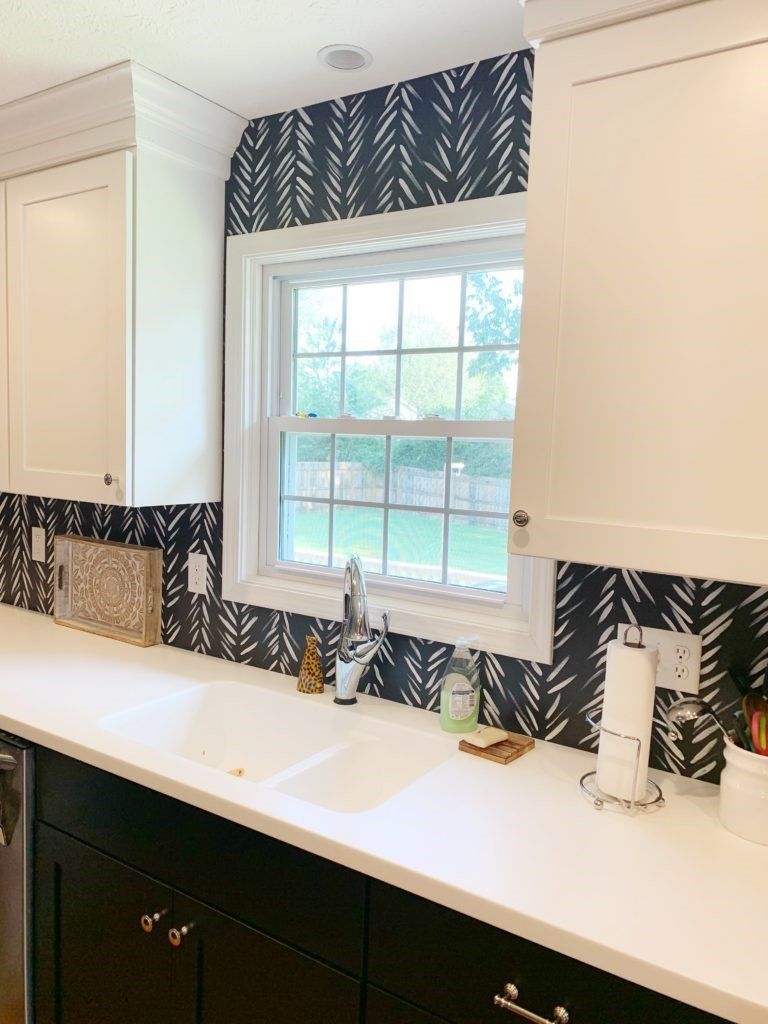
Well, turns out, I LOVE it! I literally spent no extra money to do this project, since I had all the supplies already from our laundry room makeover. It is such a fun pop of color and pattern and really looks like wallpaper.


Steps to DIY
Tape off your countertops and cabinets well! You do not want paint on them. I did mine VERY carefully with Frog Tape and did not have any problems.
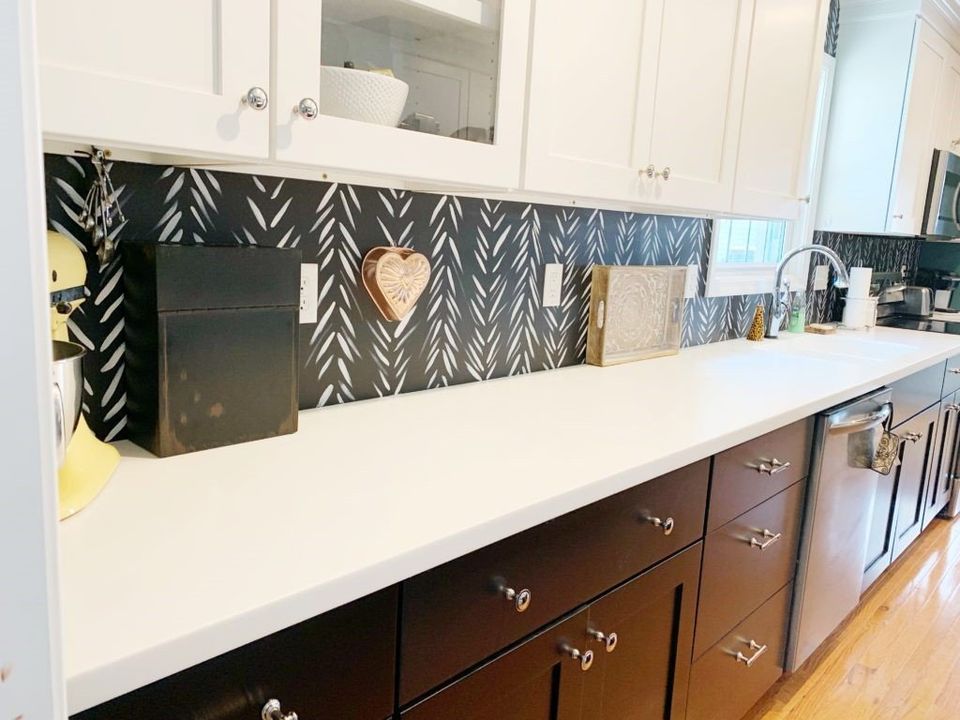
I first painted the entire backsplash wall (including the drywall surrounding the window) black(SW Black Magic), my background color. Once that was dry, I got my ruler and measured and marked every 12″. Then, I went back and marked every 6″. You could just mark every 6″, but that’s how I did it. I also drew a pencil line to be sure to keep everything straight. You could also use a laser level, but I didn’t have one at the time.
I used a small round brush and SW Pure White to make my pattern. I went through and made larger white strokes first, alternating the up and down direction of each row. After I finished, I went back and added smaller strokes in between the existing strokes with a fairly dry brush, so there appears to be more texture in the design.
Be sure to stand back every few rows and make sure everything looks the right size and consistent. You do want to be consistent with everything so it all matches pretty well. You don’t want one side to be smaller than the other.
Overall, this probably took less than 2 hours, so if you have the confidence to paint on your wall, you should try it out and tag me in the photos or use the hashtag #greysnailmakes to share.
Pin for Later!