
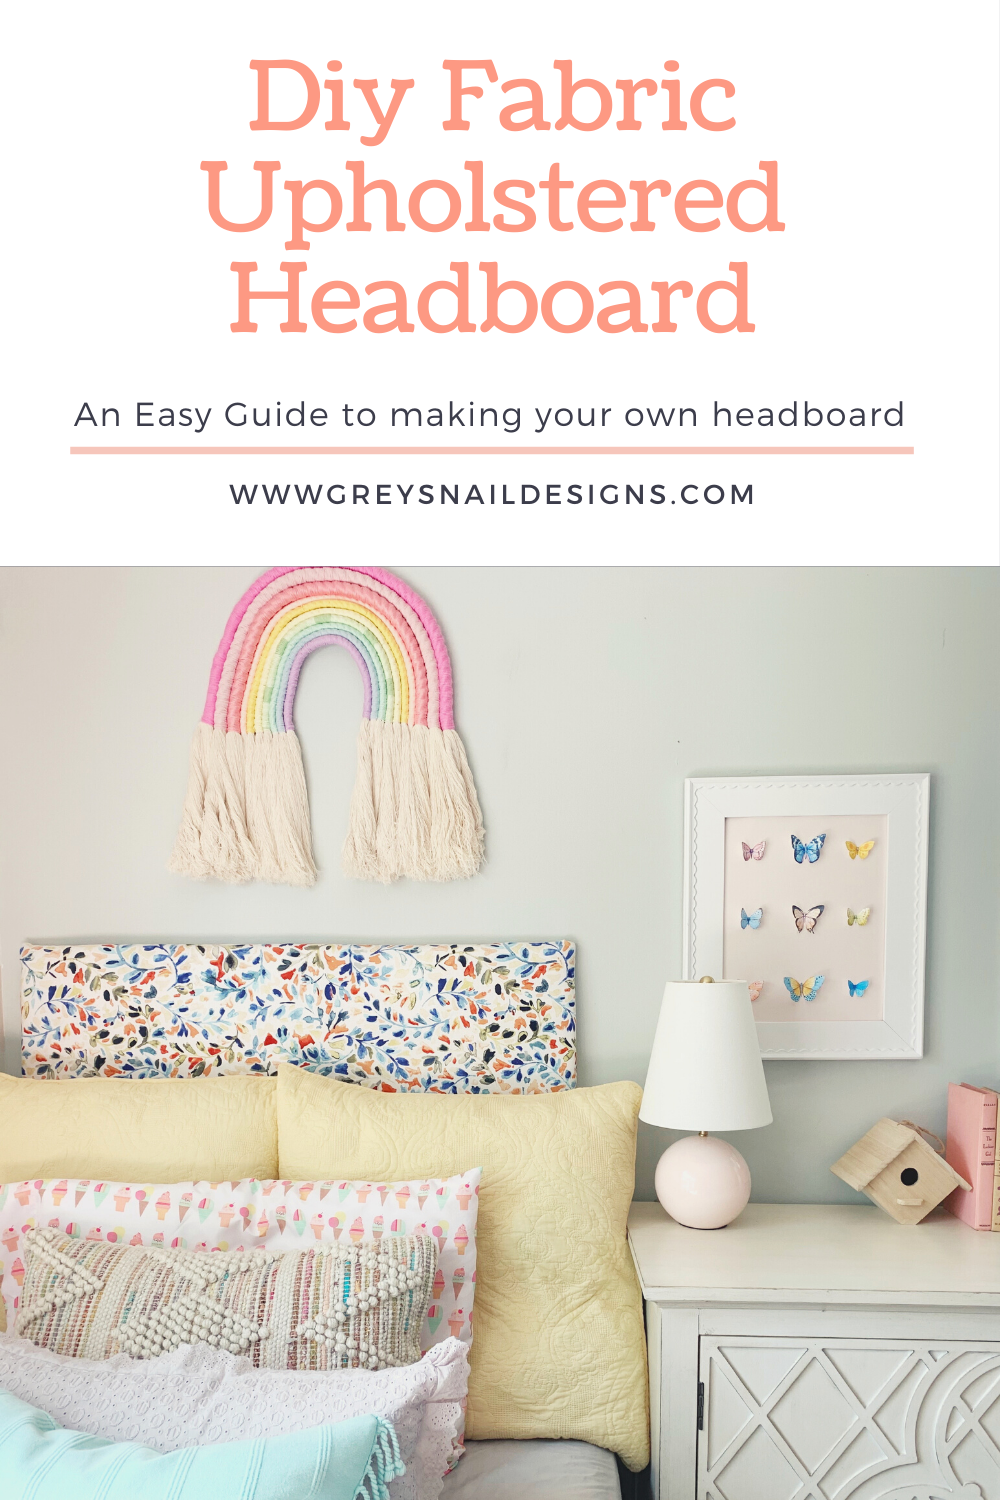
DIY Upholstered Fabric Headboard
April 27, 2020
Upholstering a Headboard
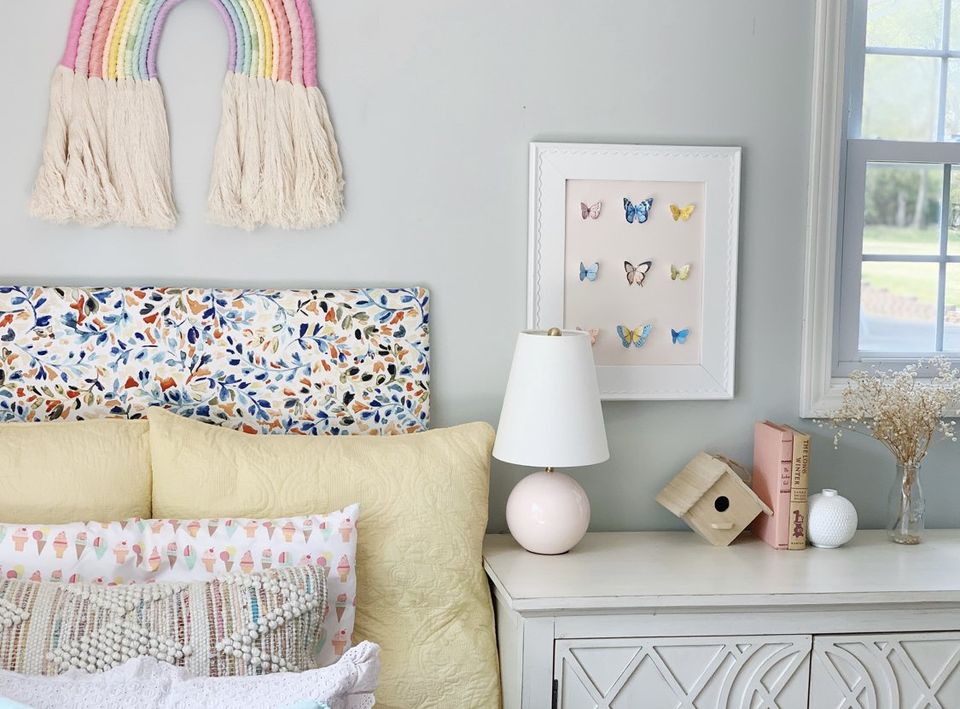
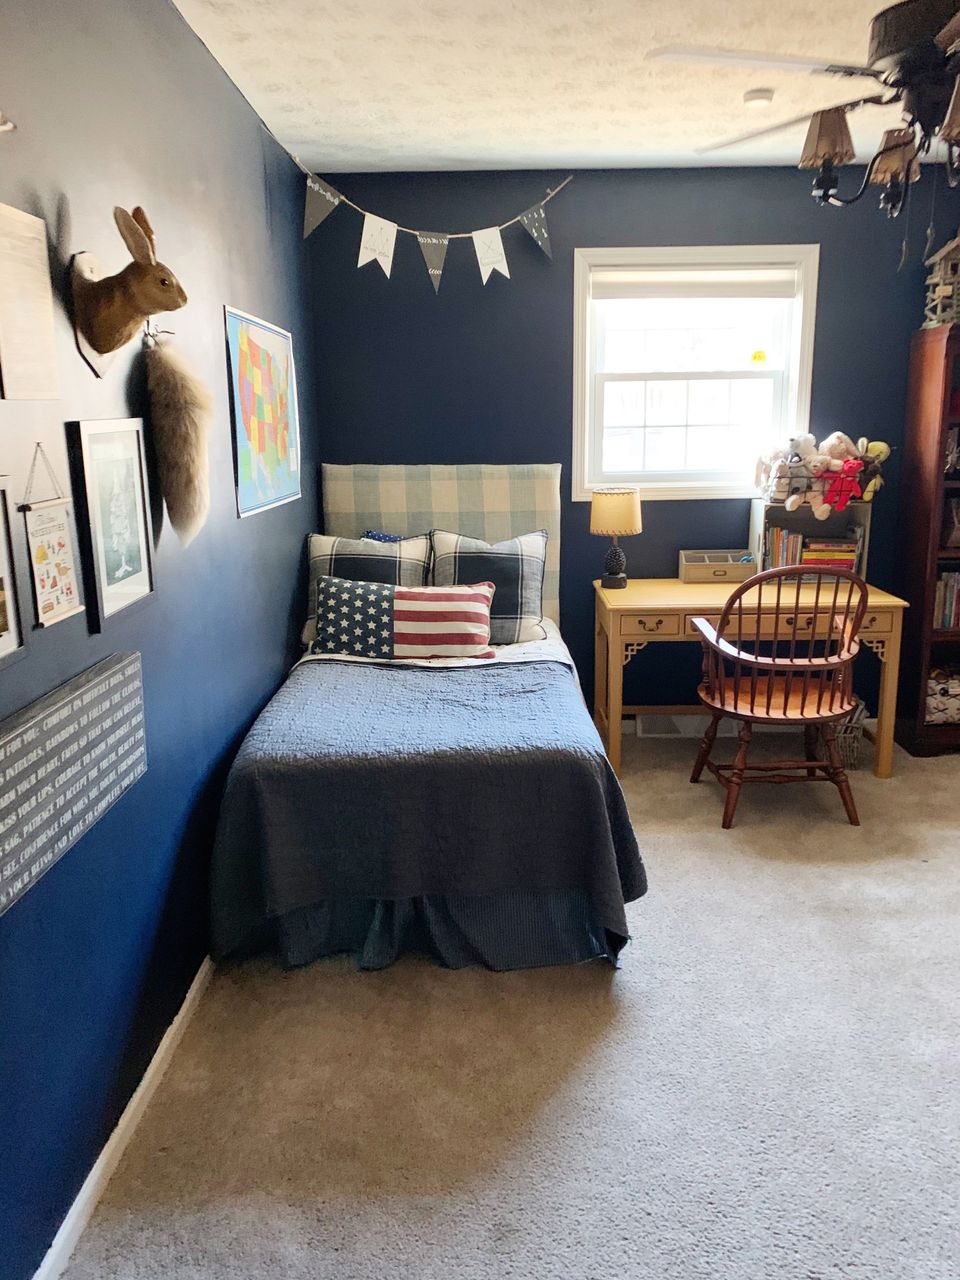
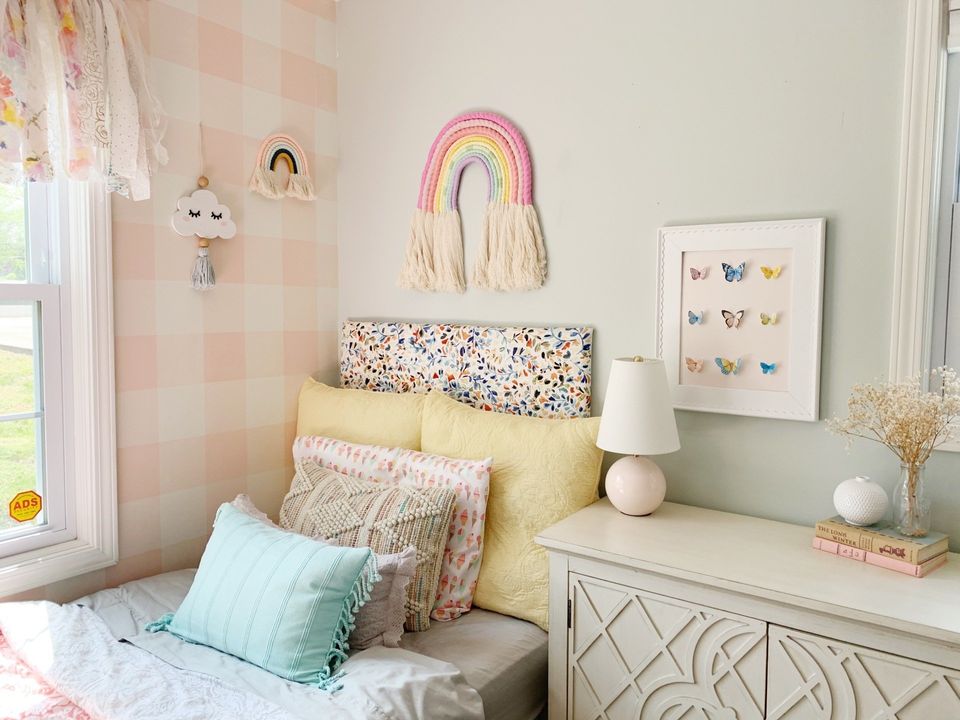
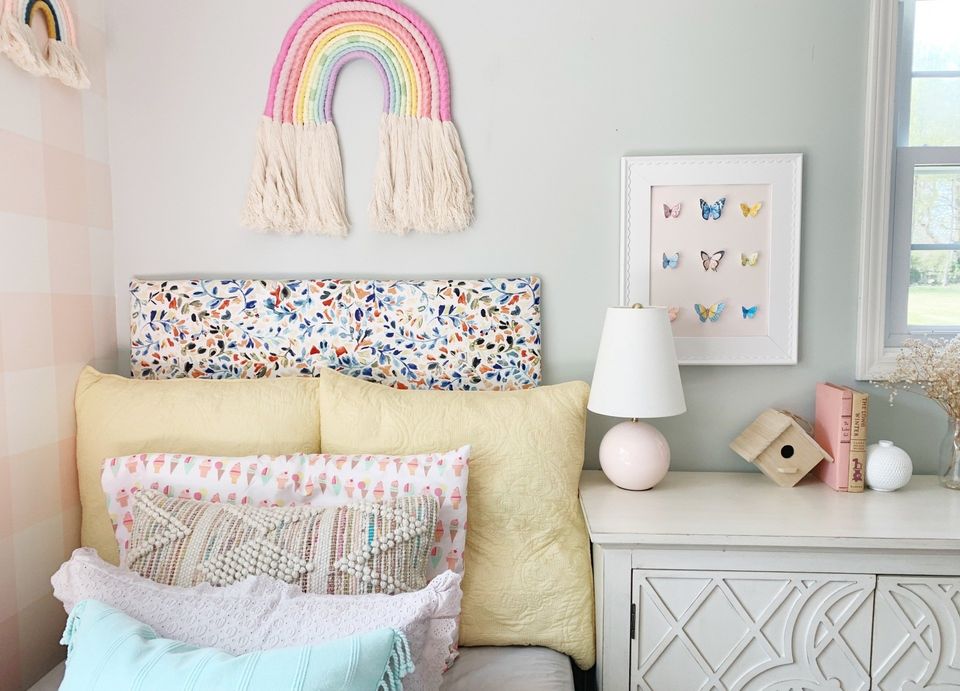
I love the look of an upholstered headboard, so I made a couple for our kids’ rooms. It’s a relatively easy and not-too-expensive project and provides a really nice finished product. Plus, I love finding things to do with fabric that don't require sewing, because that's a skill I don't have!
Supplies
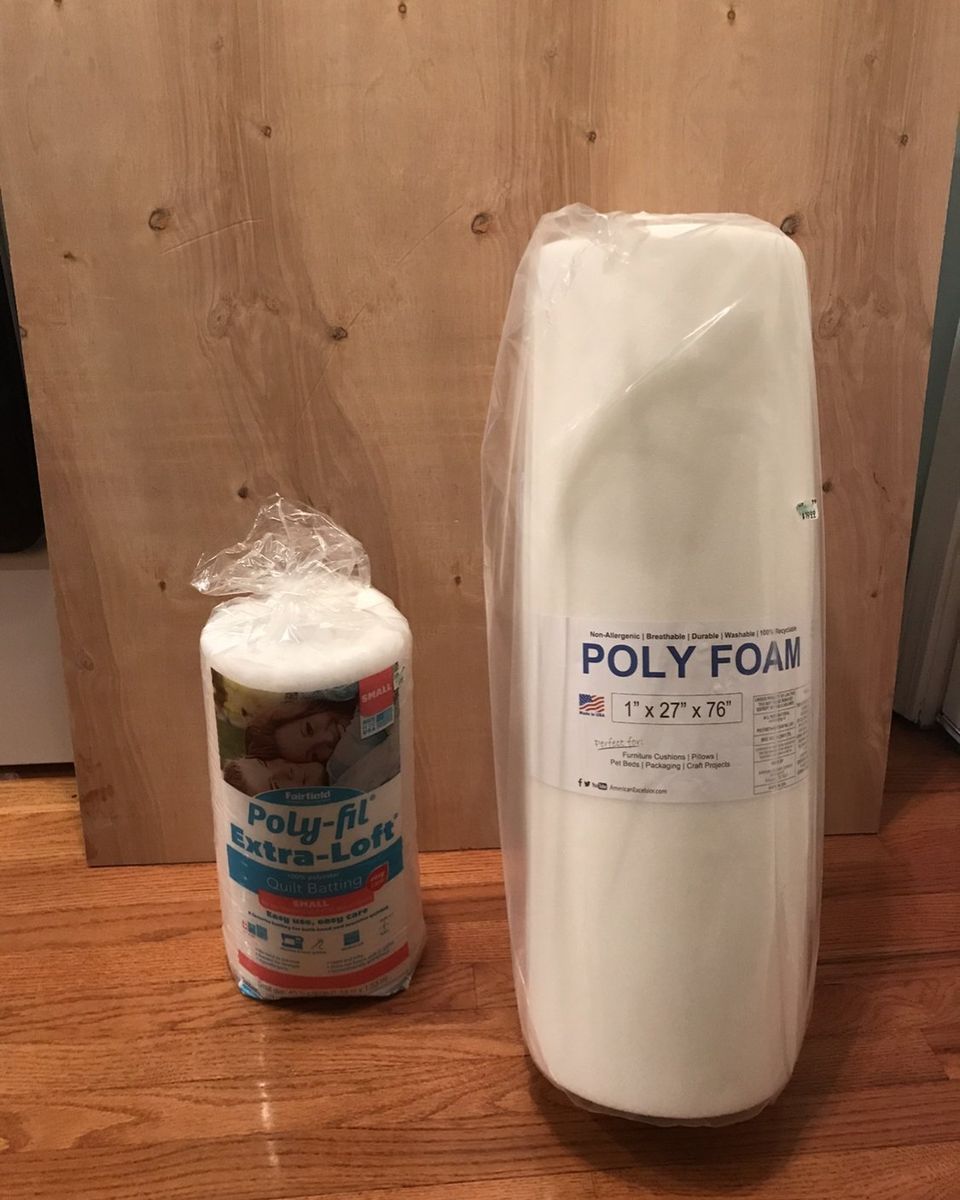
You need a the following supplies and tools:
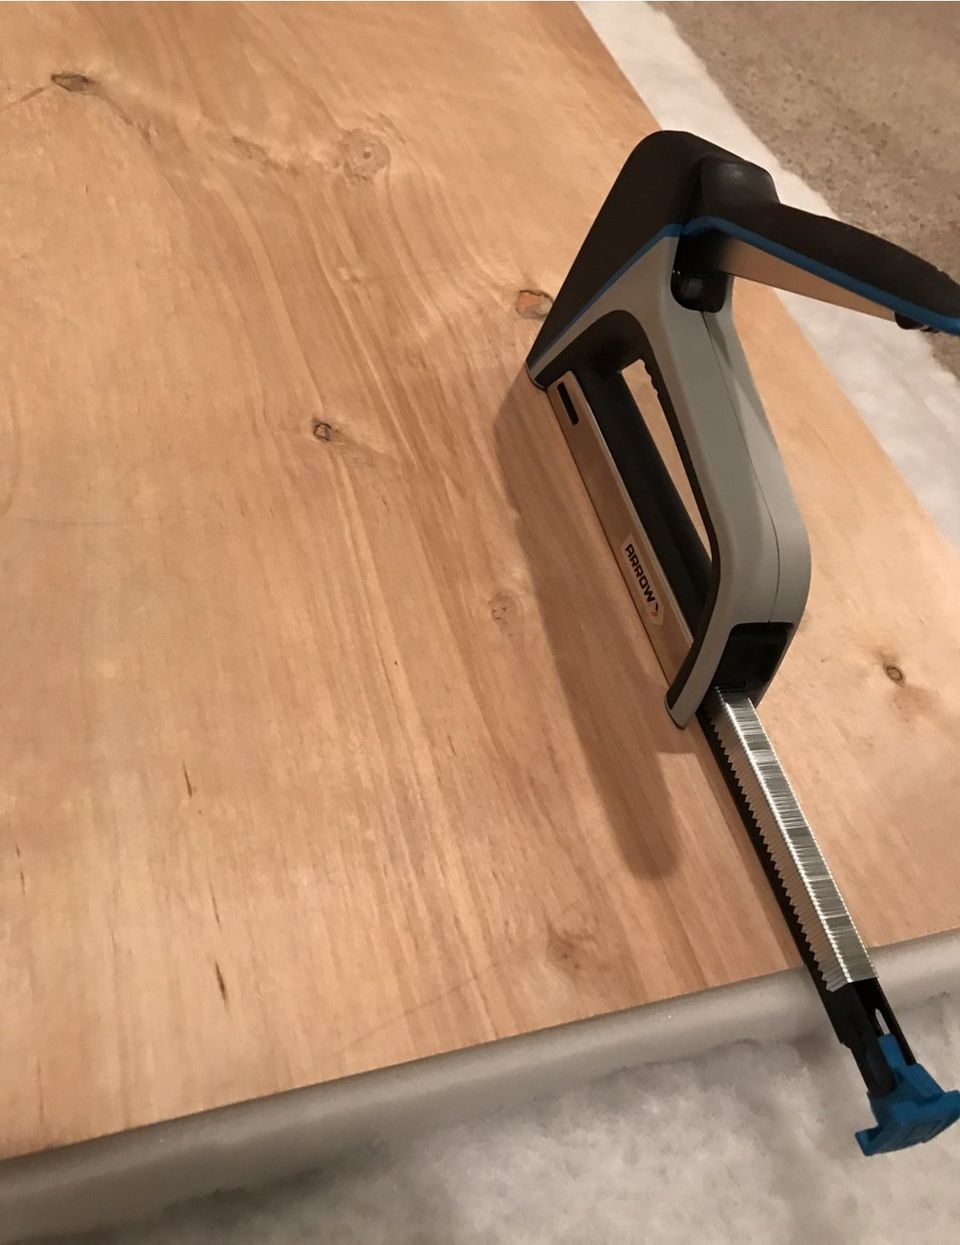
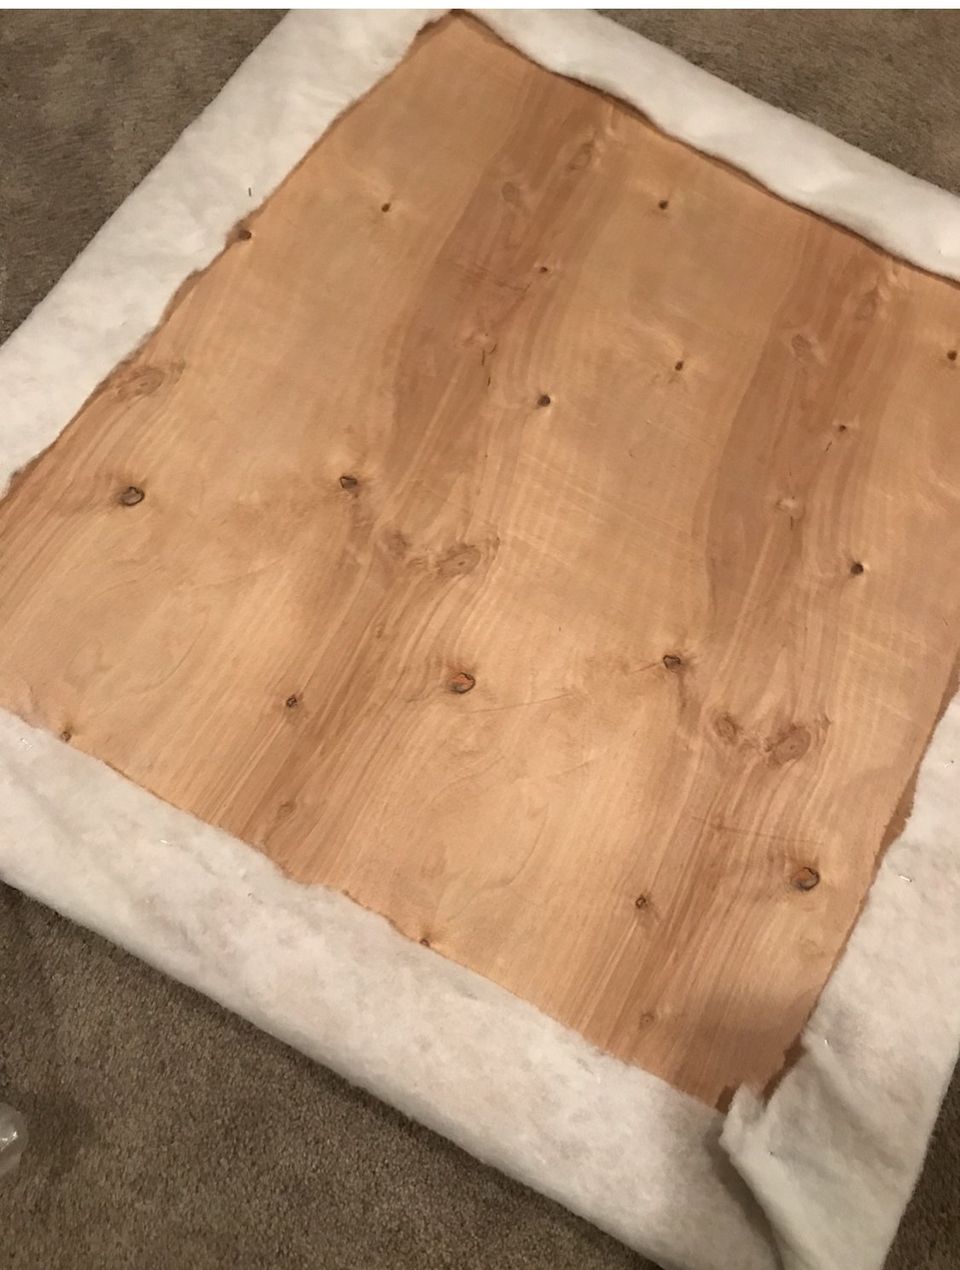
Thin wood board cut to 36 x 38” (for a twin size)
Quilt batting
1-2” foam (to cover the front of the board)
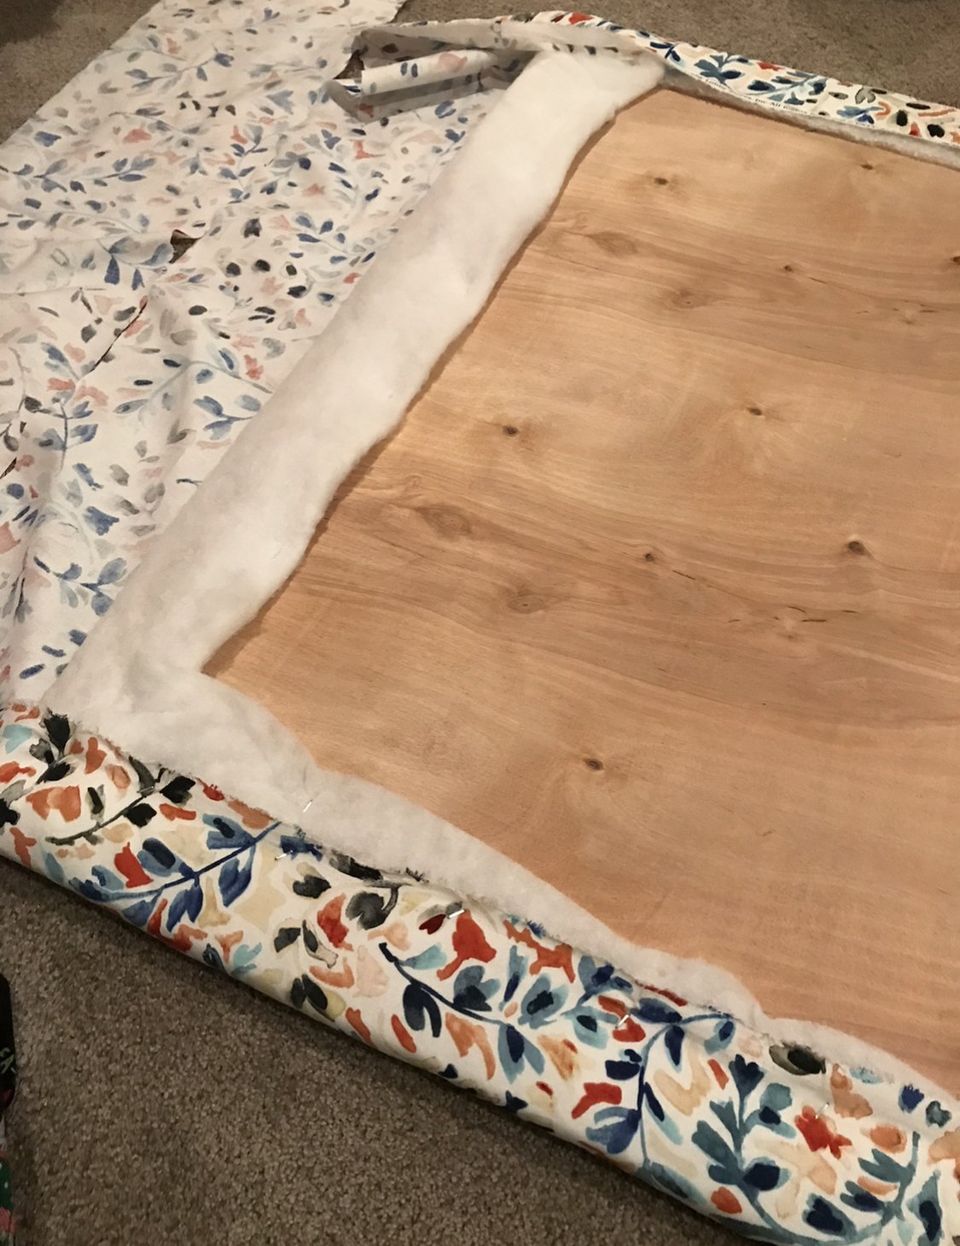
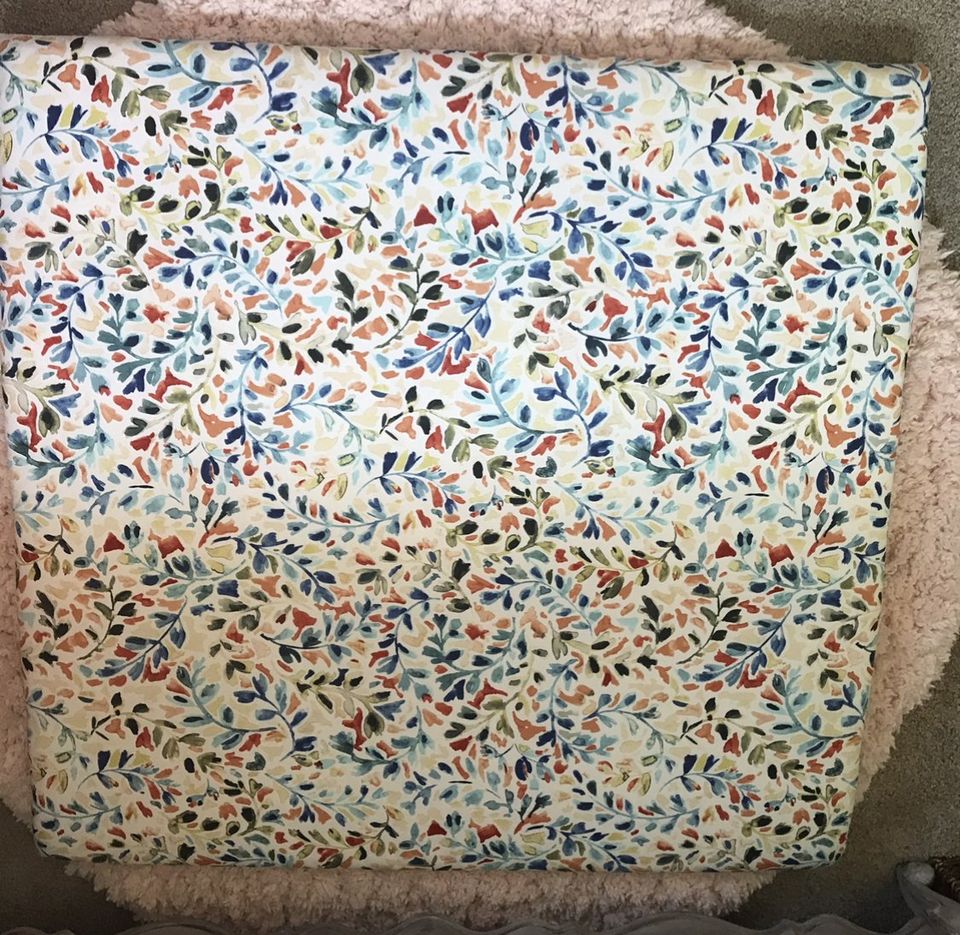
Fabric (to cover front of board & wrap around a few inches)
Staple gun & staples (make sure they are long enough)
Process
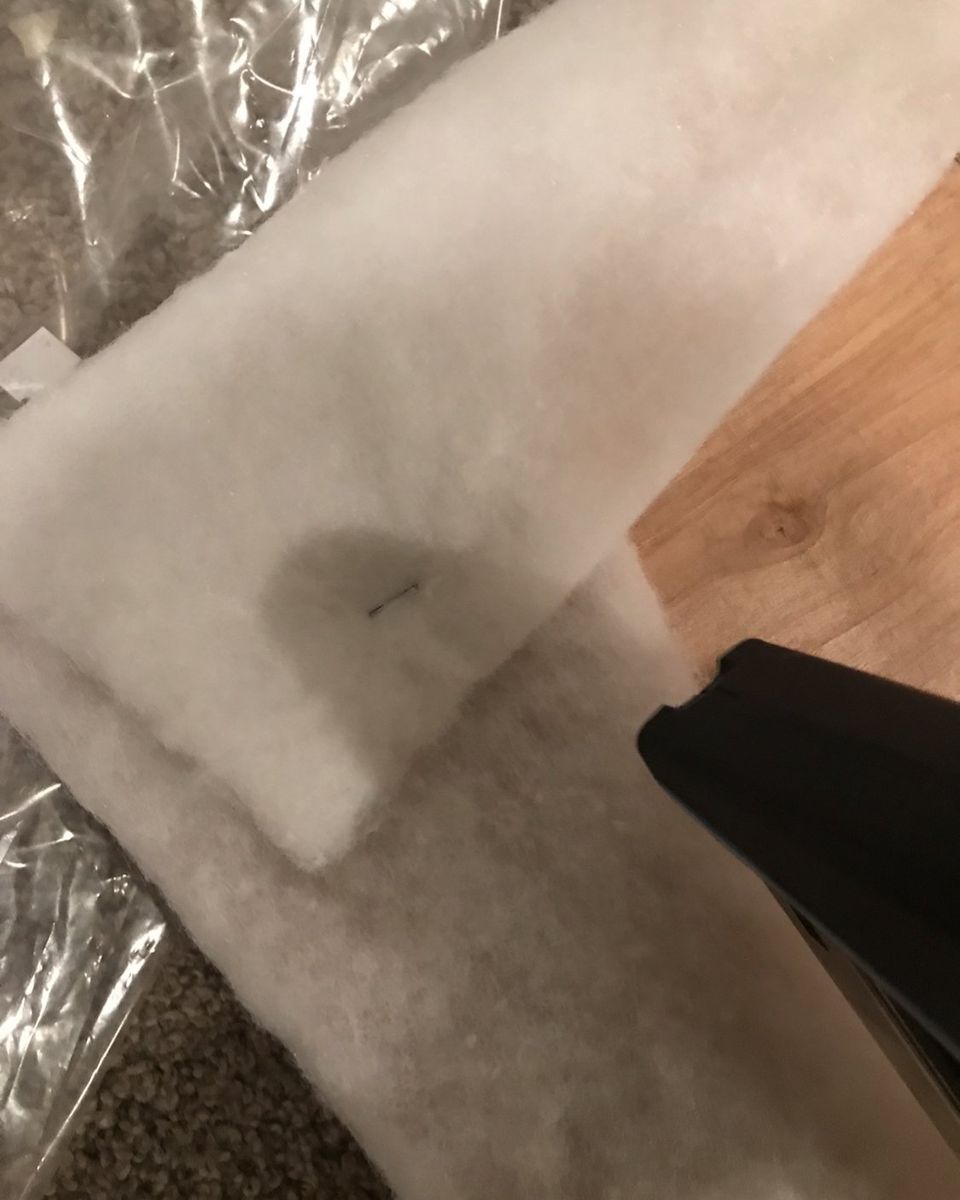
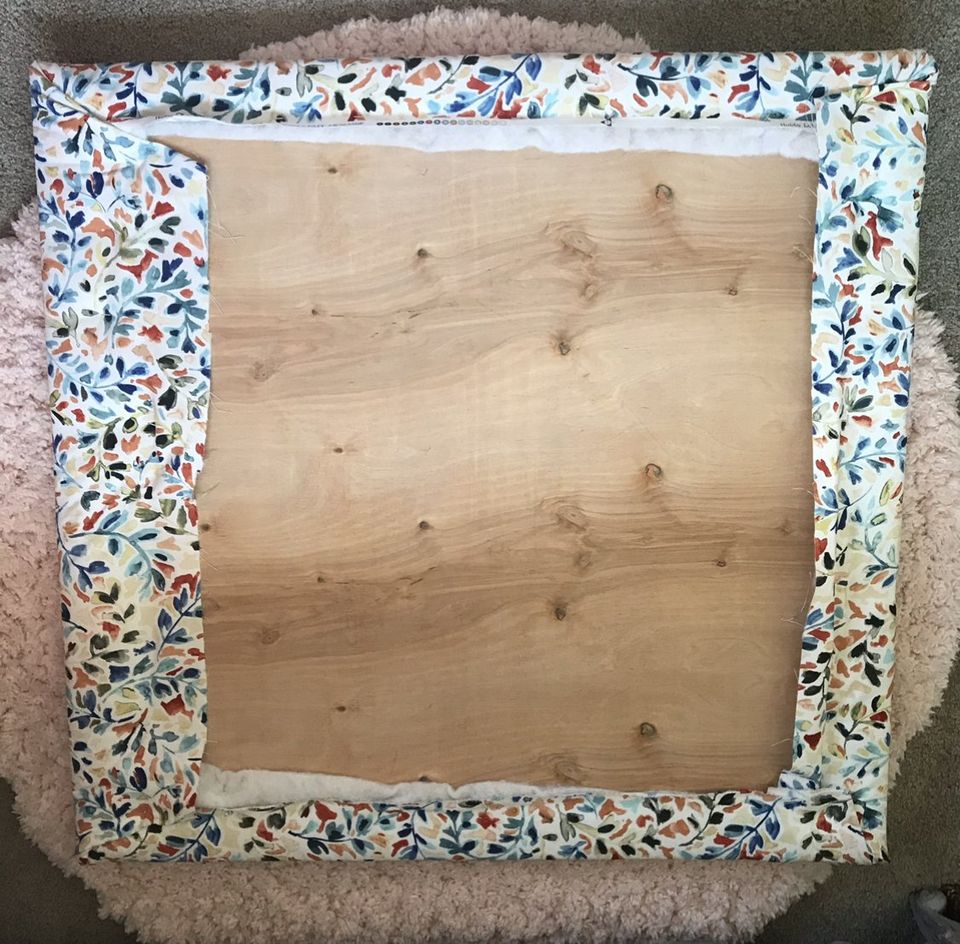
Lay the board down on the floor and roll out your foam to cover the entire surface. It’s okay if you cut it and piece it together like a puzzle. It don’t matter because we are covering it.
Place your quilt batting over the top of it and wrap it around the edges on all sides. Now, carefully turn it all over, so the foam side is facing the floor. Starting on one side, pull quilt batting tight and staple into place on the back. Work your way
around, repeating this process along the edges. When you are doing a corner, kind of fold the batting a little to make a nice corner without bunching.
I prefer the 2” foam over the 1”. It’s a little more expensive, but it makes a thicker, more comfy headboard—think reading in bed and leaning back. It also makes the headboard look more substantial. I’ve done it both ways.
Once you’ve staples the foam and batting into place, repeat the process with the fabric. Be sure to iron or steam the fabric first and lay it down on the floor, pattern side down. Now, center the foam side of your board on top and start pulling the fabric around d the edges and stapling into place.
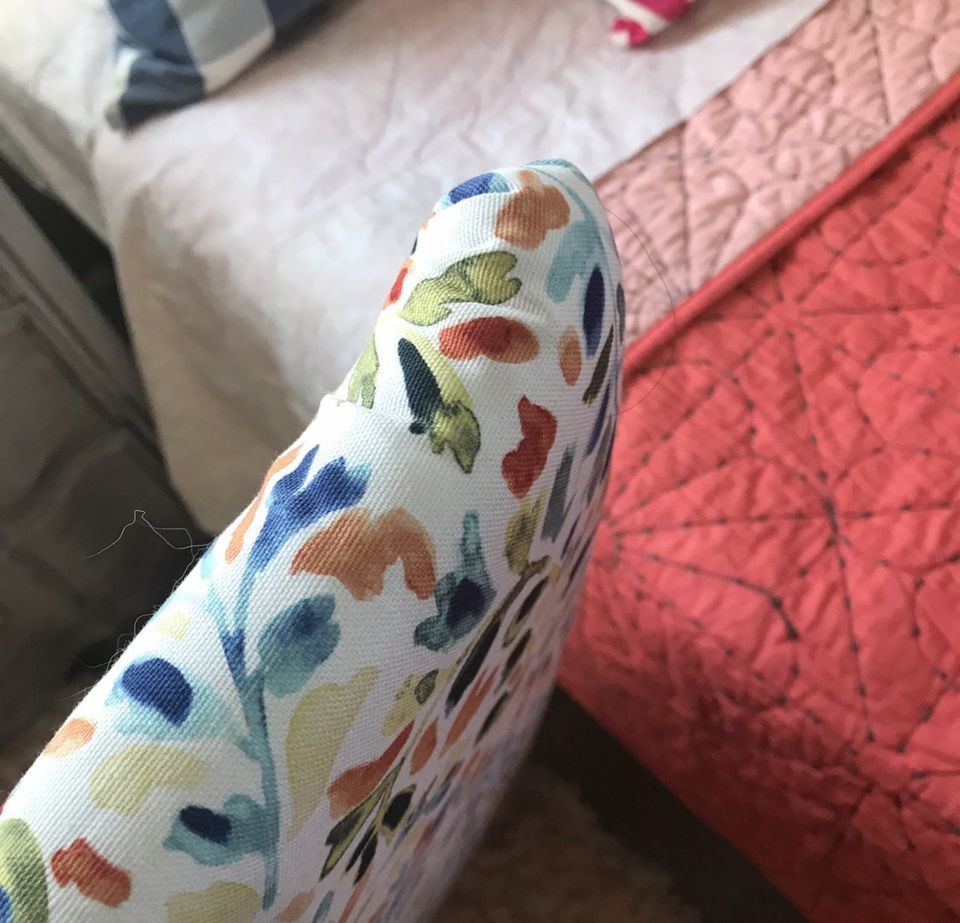
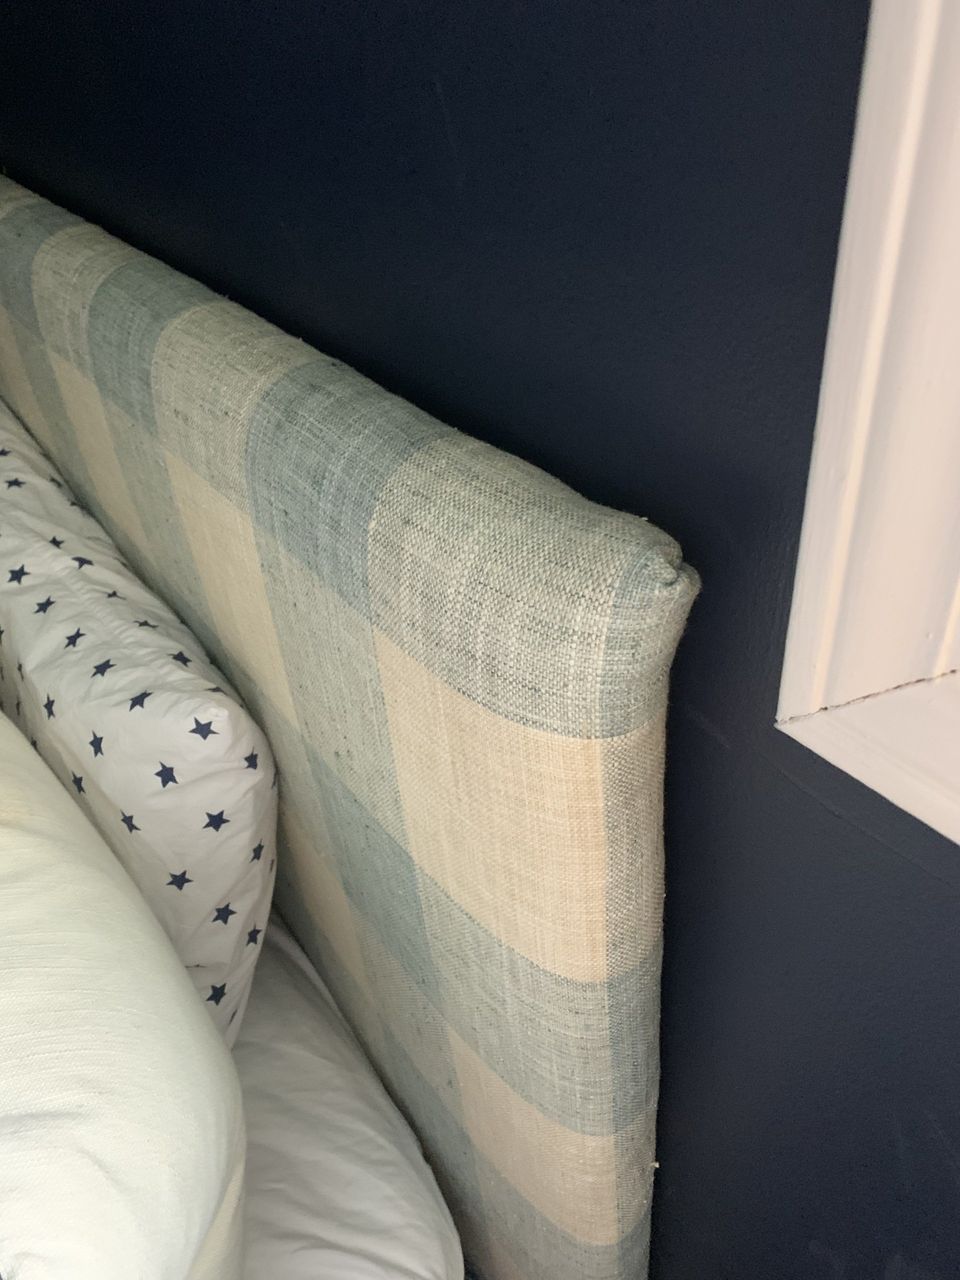
You’ll want to be sure to keep the wrinkles out of the fabric on the front and make sure everything is even. This is even more important with a pattern like stripes or checks—a more abstract, irregular pattern is a little more forgiving.
Do the same thing on the corners, kind of folding pleats into the fabric so it rounds the corner better before stapling. Once you’ve made your way around, you’re done!
At this point, I’m done with my headboards, because I just set them on top of the box spring and press the mattress up against it so it sets straight on the wall. You could attach some sort of “legs” on it, too, or find a way to hang it from the wall, but I haven’t found this necessary.
I’ve used upholstery fabric and thicker canvas for the headboards I’ve done and find the thicker, sturdier fabric yields the most professional result. Even if all you have is a bed frame, this headboard will make it look like a real bed!
Pin for Later!

Rifle Paper Co Wallpaper

Space Planning

Rifle Paper Co Wallpaper

Designer Drapes

Rug Roundup January 2024

Booth at Christmas Market
Grasscloth

What not to do

Romabio Velatura Mineralwash

I can't remember the first example of fluted wood furniture I saw, but it was probably either this gorgeous custom wood bathroom vanity from Chris Loves Julia , or the DIY fluted coffee table Fariha shared on Pennies for a Fortune . The custom cabinetry was done professionally using a router for each line, which isn't something I possess the skills to do. This did help inspire the colors I used in our bathroom remodel, though! I really connected to the method Fariha used to build the coffee table--wooden dowels. What a fabulous idea!