
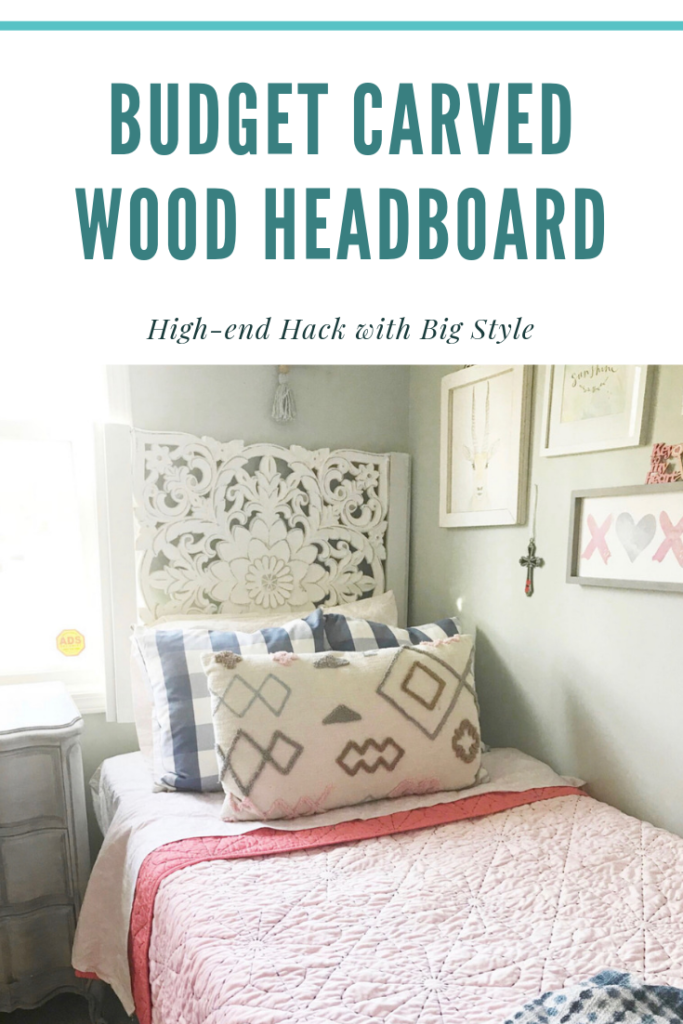
Carved Wood Pottery Barn Headboard Hack
April 27, 2020
Inspiration
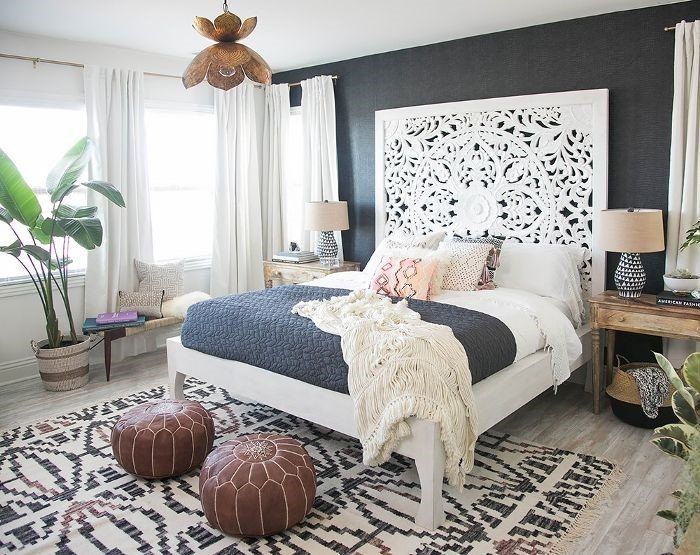
My inspiration for this budget carved wood headboard was a long time coming. I have been CRAZY for white, carved headboards since I first caught a glimpse of Audrina Patridge and Corey Bohan’s bedroom last year. It is oozing with California cool with its modern, boho style, and my absolute favorite part is the big statement headboard.
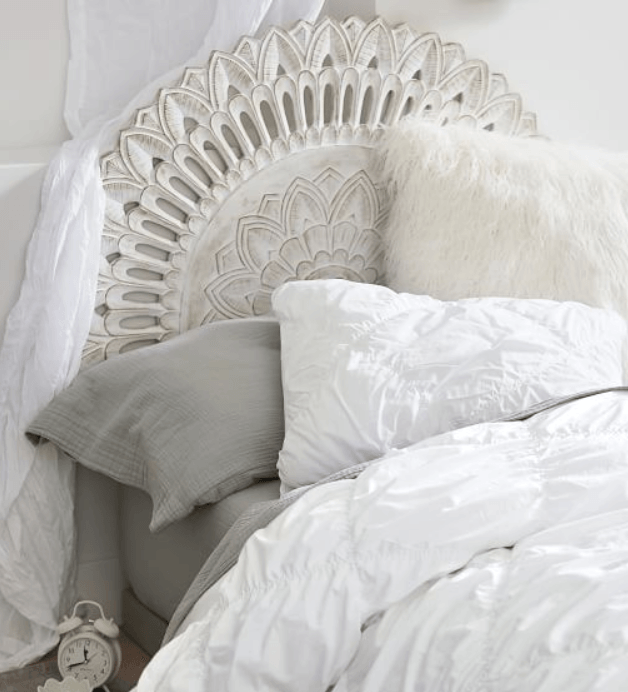
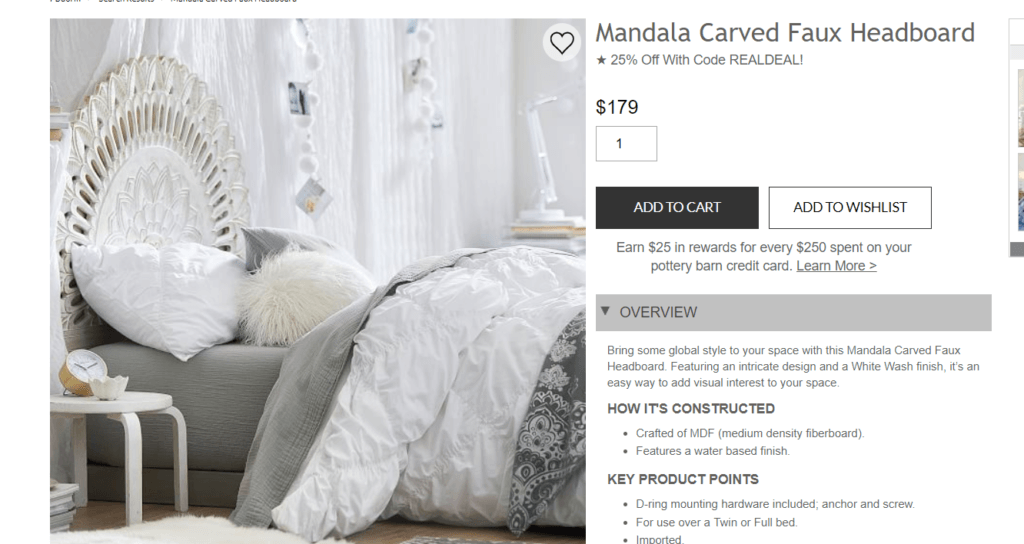
After looking at different options for a twin bed or headboard for a little girl’s room for a while, and I stumbled upon an ad for Pottery Barn Dorm featuring Mandala Carved Faux Headboards for $179.00. The headboard hung on the wall, behind the bed, which was pretty cool. Unfortunately, it was more than I hoped to spend for this project, so I went on to other options when it an idea hit me!
Supplies
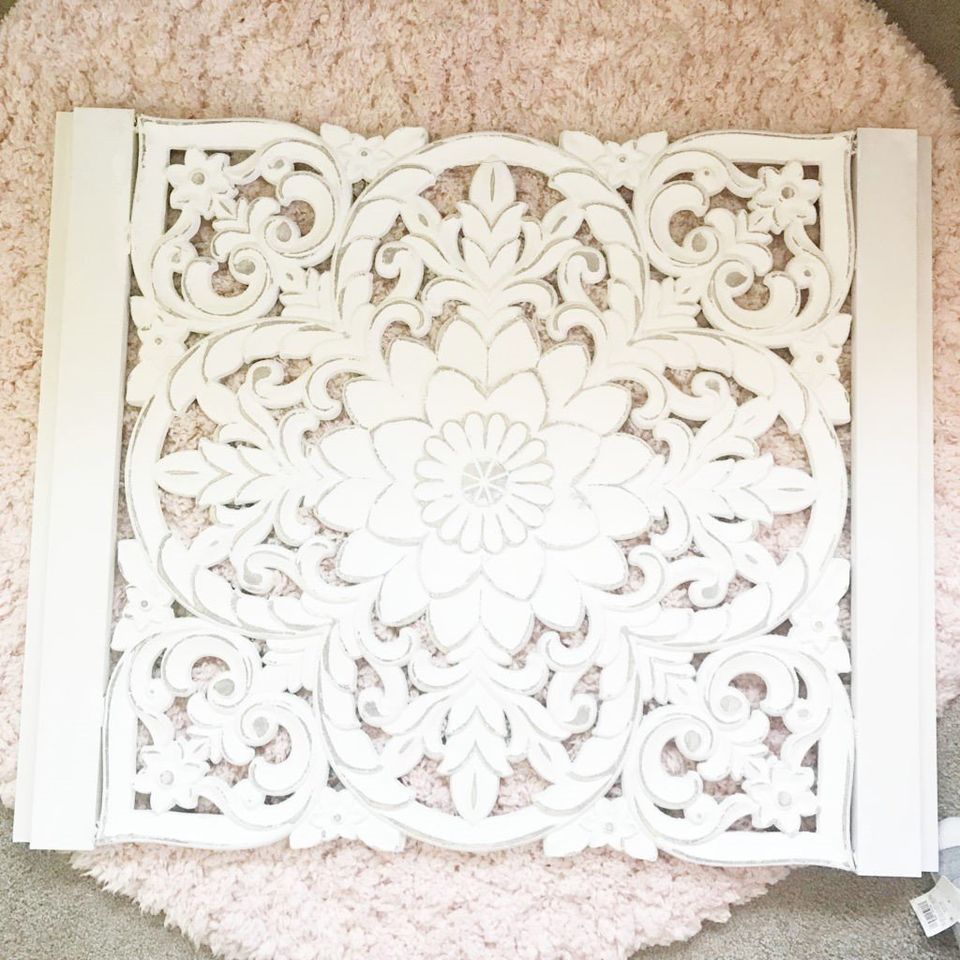
· Large white carved-wood wall art
· Staple gun
· Long staples
· Tube of Liquid Nails
· Clamps
· Small white pre-primed boards (1.5-3.5″ work great)
· Flat white spray paint
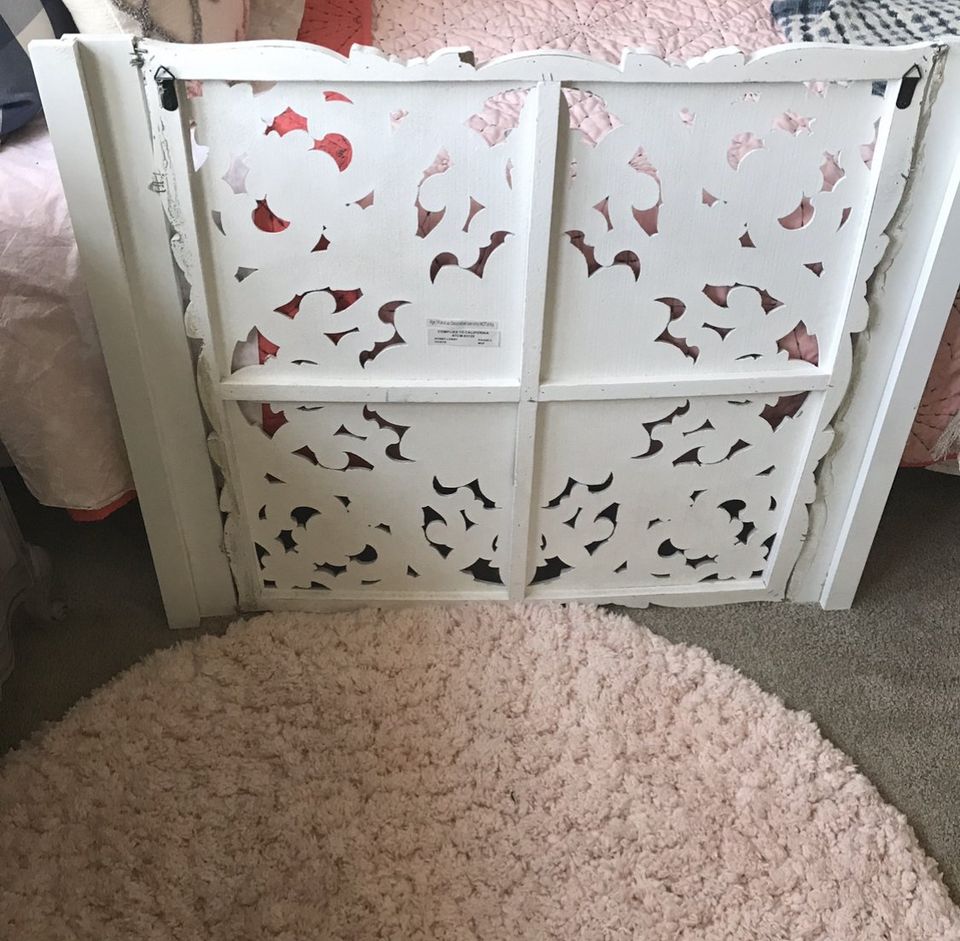
I found a large white 30″ x 30″ carved wall hanging at Hobby Lobby for the main portion of the headboard. It already had D-ring hangers mounted on the back to make for easy hanging.
Putting it Together
A twin bed is around 40″ wide, so you need to add some length to the main piece on either side to fit the bed, so I bought a 1.5″ and 3.5″ board at Home Depot and had them cut each into two 30″ pieces. You’ll have leftover.
Once I had all the pieces, I started with the four pre-primed boards and sprayed them with two coats of paint on all sides. Once dry, I overlapped the 1.5″ slightly over the 3.5″, and put together with a good squirt of liquid nails and clamped tightly for 24 hours.
It’s tricky to get the boards attached to the main piece. I used liquid nails, but couldn’t get it clamped properly, so I stapled them into place with the staple gun. Be sure to get longer staples to get a better hold. I used a LOT of staples to get is as secure as possible. An electric staple gun would make this a breeze, but my regular old one got the job done.
Now you’re ready to mount your budget carved wood headboard to the wall, which just involves hanging it in place over the bed. Easy peasy! I’d love to see your take if you decide to try this project, so please share on Instagram with #GreySnailMakes.
If you liked this project, please check out my DIY upholstered headboard, too!
Conclusion
Since completing this project, I have actually found reasonably priced carved wood wall hangings for around $50.00 at HomeGoods. You could simply hang one of these pieces above your twin bed and call it a day. However, if you can't find something large enough, you can add some width with my process.

Pin for Later!

Rifle Paper Co Wallpaper

Space Planning

Rifle Paper Co Wallpaper

Designer Drapes

Rug Roundup January 2024

Booth at Christmas Market
Grasscloth

What not to do

Romabio Velatura Mineralwash

I can't remember the first example of fluted wood furniture I saw, but it was probably either this gorgeous custom wood bathroom vanity from Chris Loves Julia , or the DIY fluted coffee table Fariha shared on Pennies for a Fortune . The custom cabinetry was done professionally using a router for each line, which isn't something I possess the skills to do. This did help inspire the colors I used in our bathroom remodel, though! I really connected to the method Fariha used to build the coffee table--wooden dowels. What a fabulous idea!