
DIY Large Scale Art
June 1, 2020

Large-Scale Art
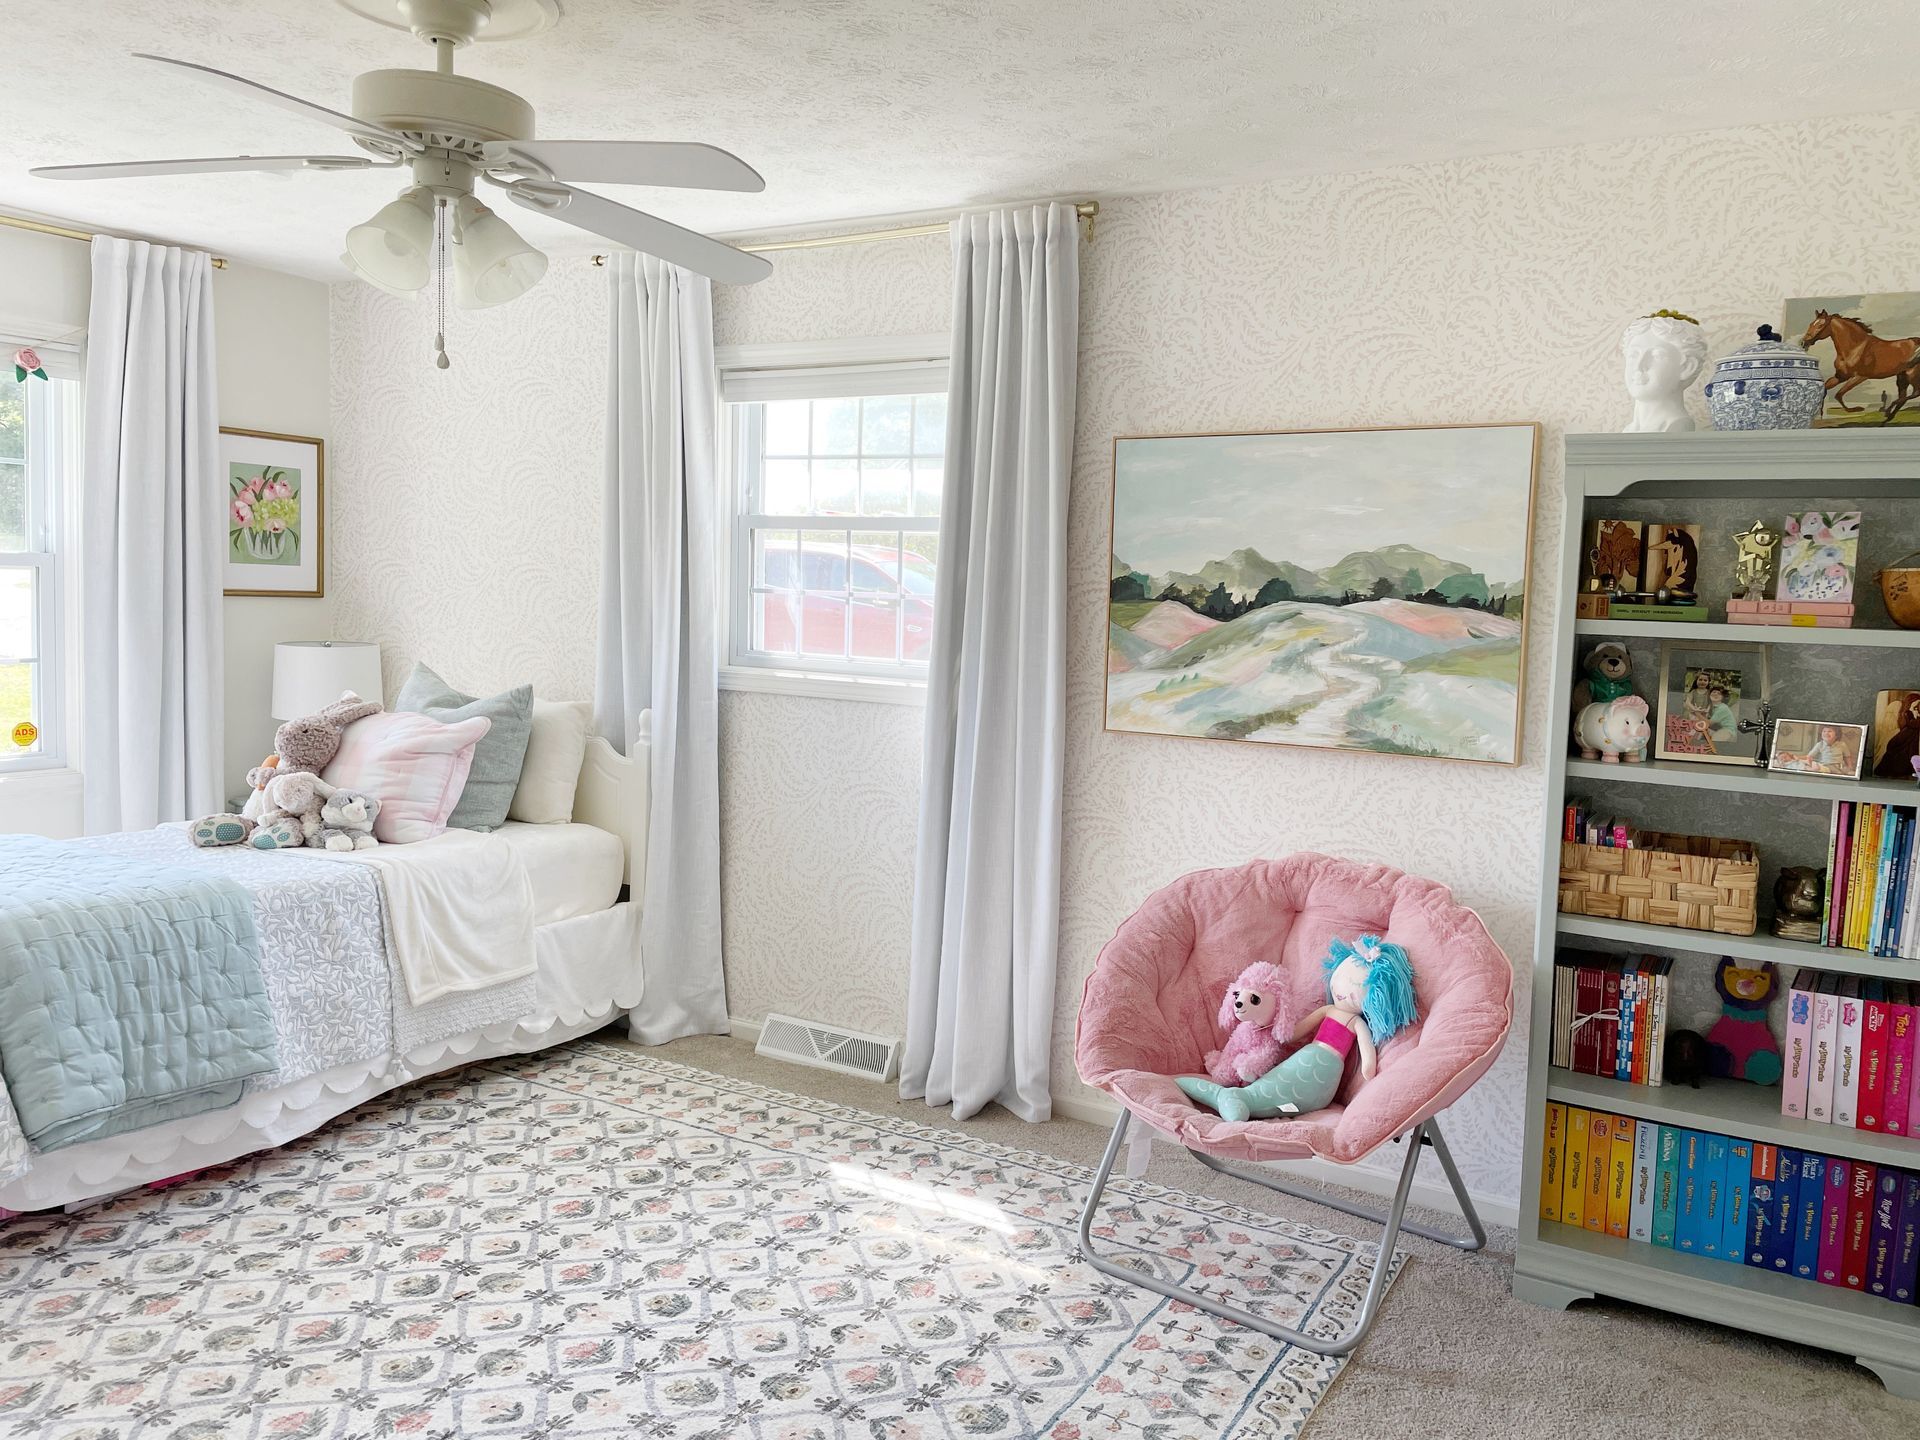
I originally planned to order a large-scale art print from Juniper Print Shop, but for I wasn't totally sure what I wanted. I also wanted to save a little budget for adding cabinets and shelving to the window wall first, so that order may have to wait. I loved these botanical wood block prints, but I was also toying with the idea of a single large landscape, so I decided to try my hand at making something similar.

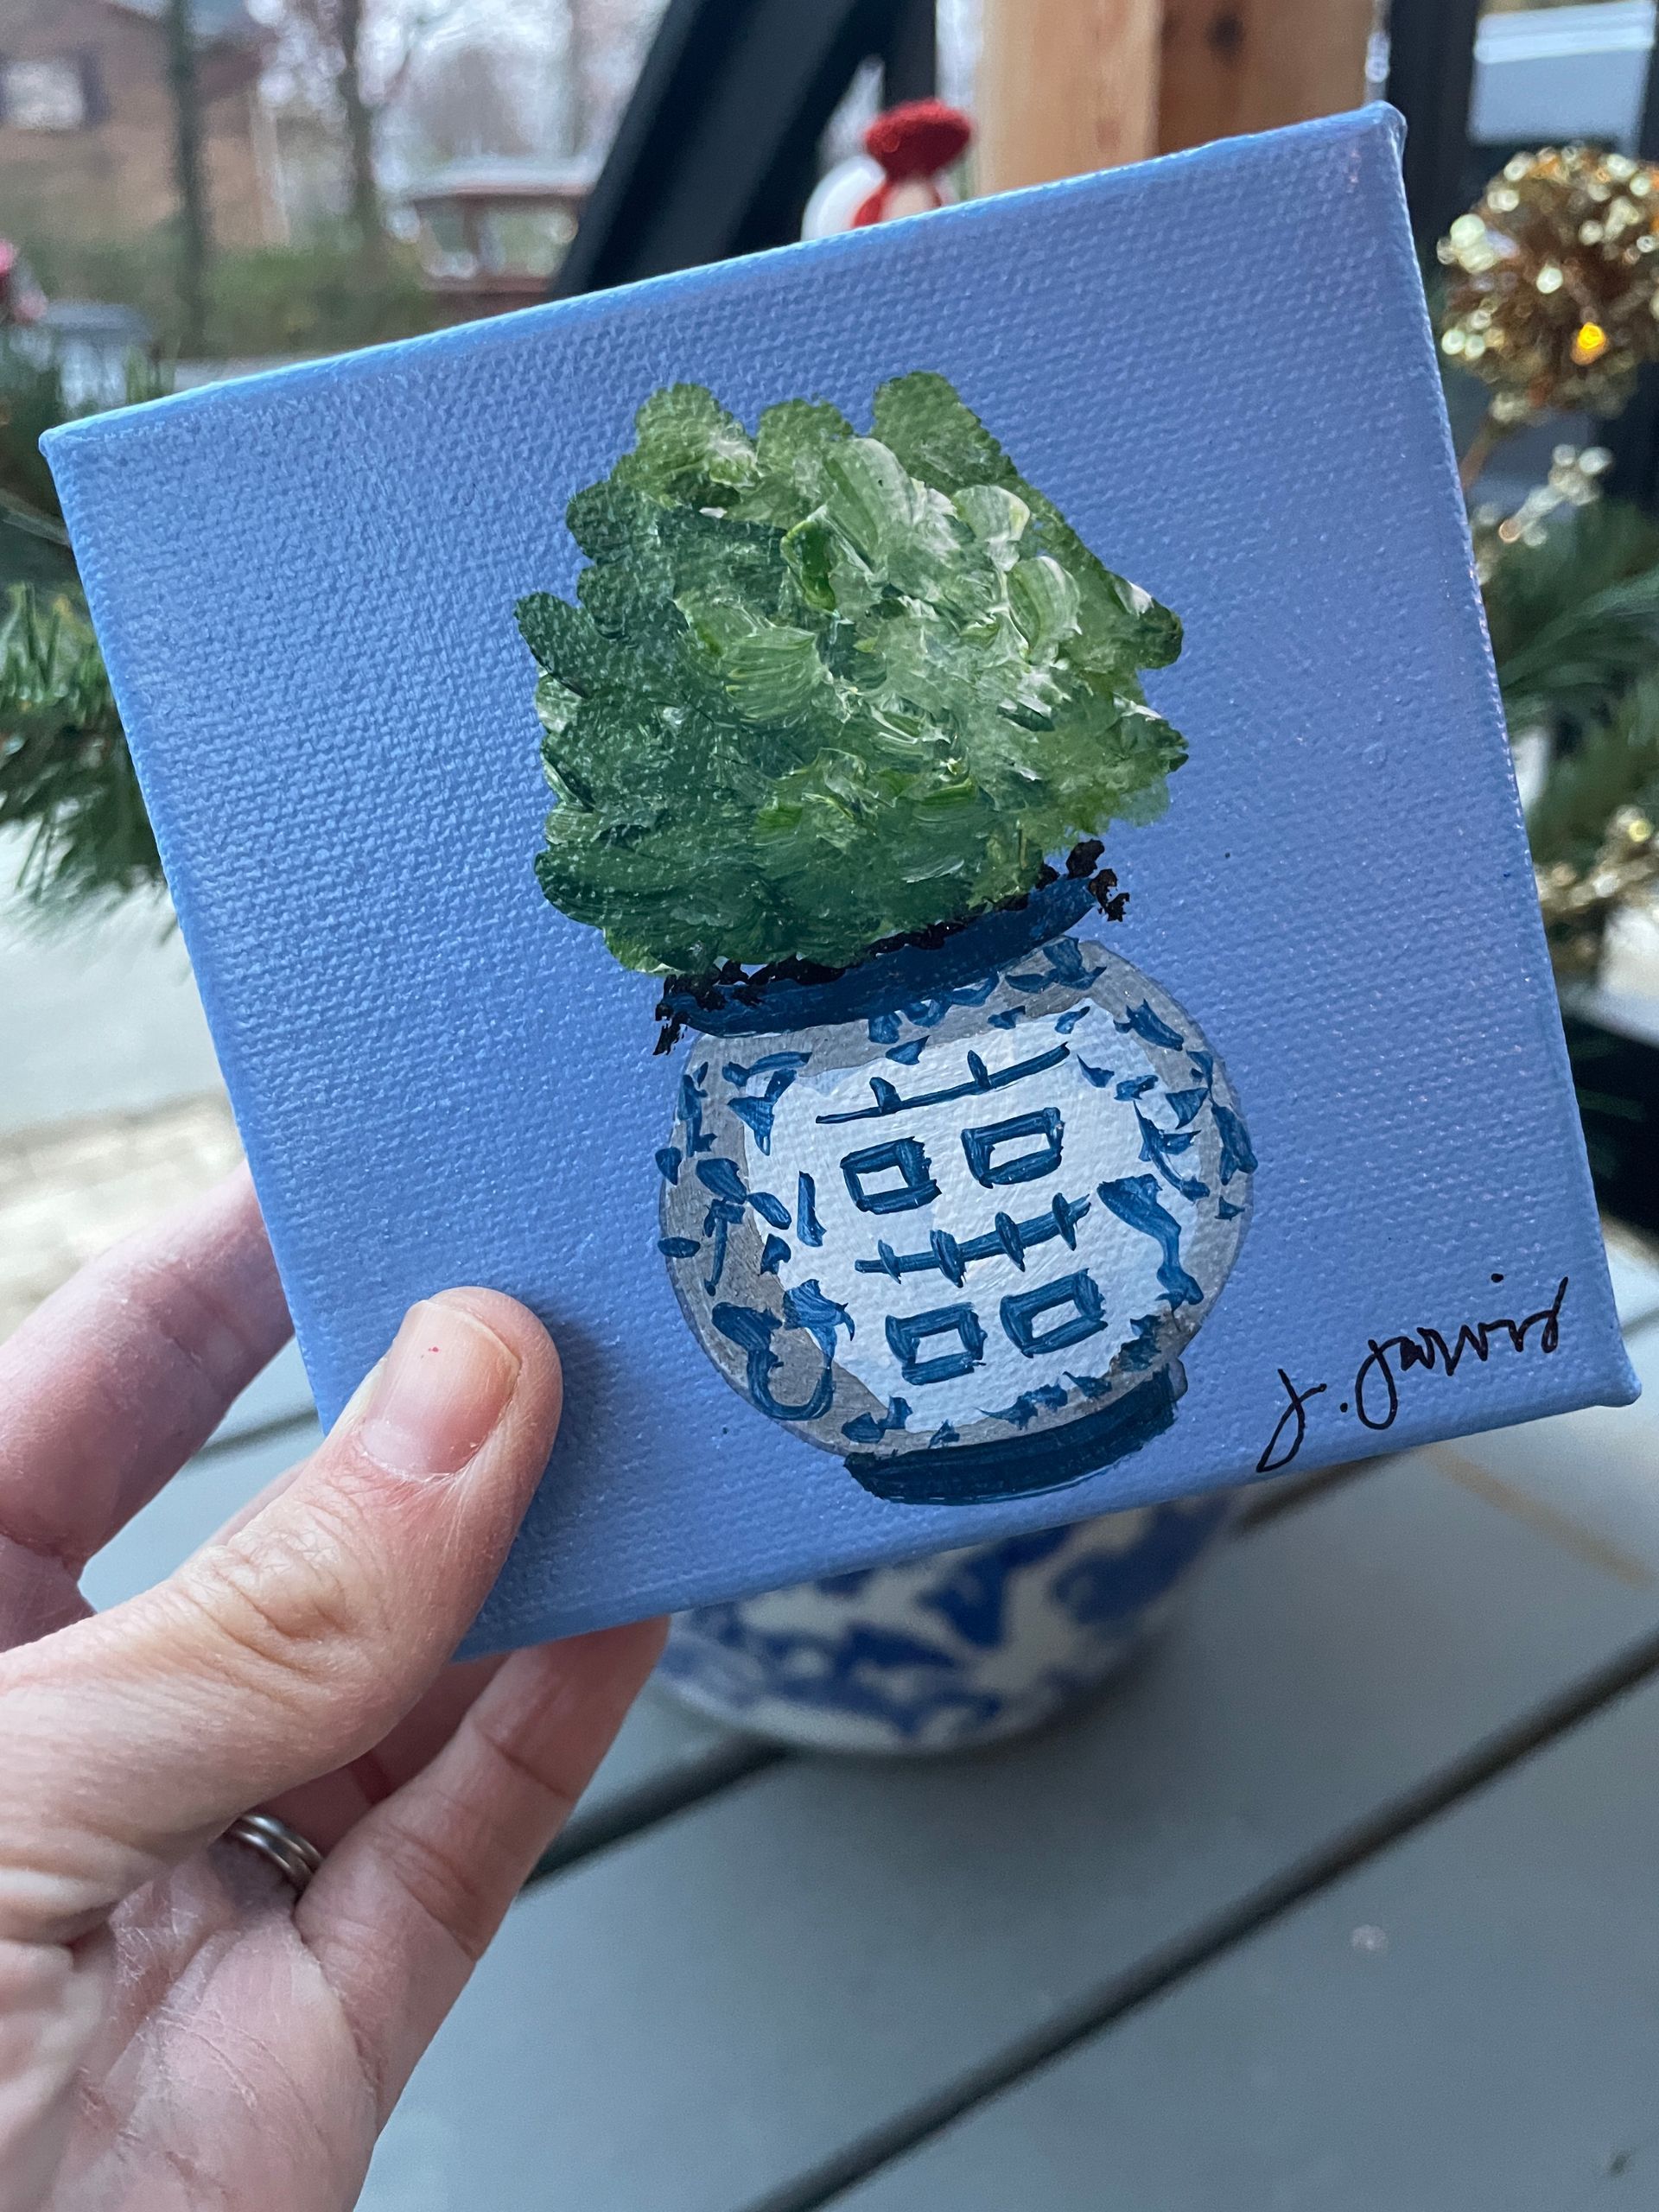
I sketched out the basic shapes of the duo on paper and drew more organic, unstructured leaves. I had planned for them to stay black and white, but the designs were just lost in the room, so I added greens and golds, which accidentally turned out to match the room perfectly!
Canvas
I bought a huge roll of canvas from my husband's cousin the other day, so it was the perfect time to try it out. I primed it with leftover white paint from the board and batten wall
in the dining room. Then, I stretched it around a 20x30 foam core board from Michael's and used my staple gun to staple the canvas in place. Nothing fancy. I sketched the design from my paper onto the canvas and then used acrylic paint to paint the design.

Framing
Since I was trying to keep this SUPER economical, I didn't want to go out and buy giant frames, so I decided to make my own! Using two leftover 1x2x8 boards from our board and batten project, I had plenty of wood to make both 20x30 frames.
I measured each canvas with a tape measure and marked the length on all my boards. I double checked the measurements by laying the boards directly on the edges of the canvas to make sure they were correct. I made the 45-degree cuts with my Craftsman mitre box.
Once all the boards were cut, I used wood glue to put them together and a staple gun on the back to keep them in place.

My mom helped me with the next step--actually it was HER idea! To give the frames actual structure, one person held each joint in place while the other put a finishing nail through the side. This held them together well.
Painting the Frames
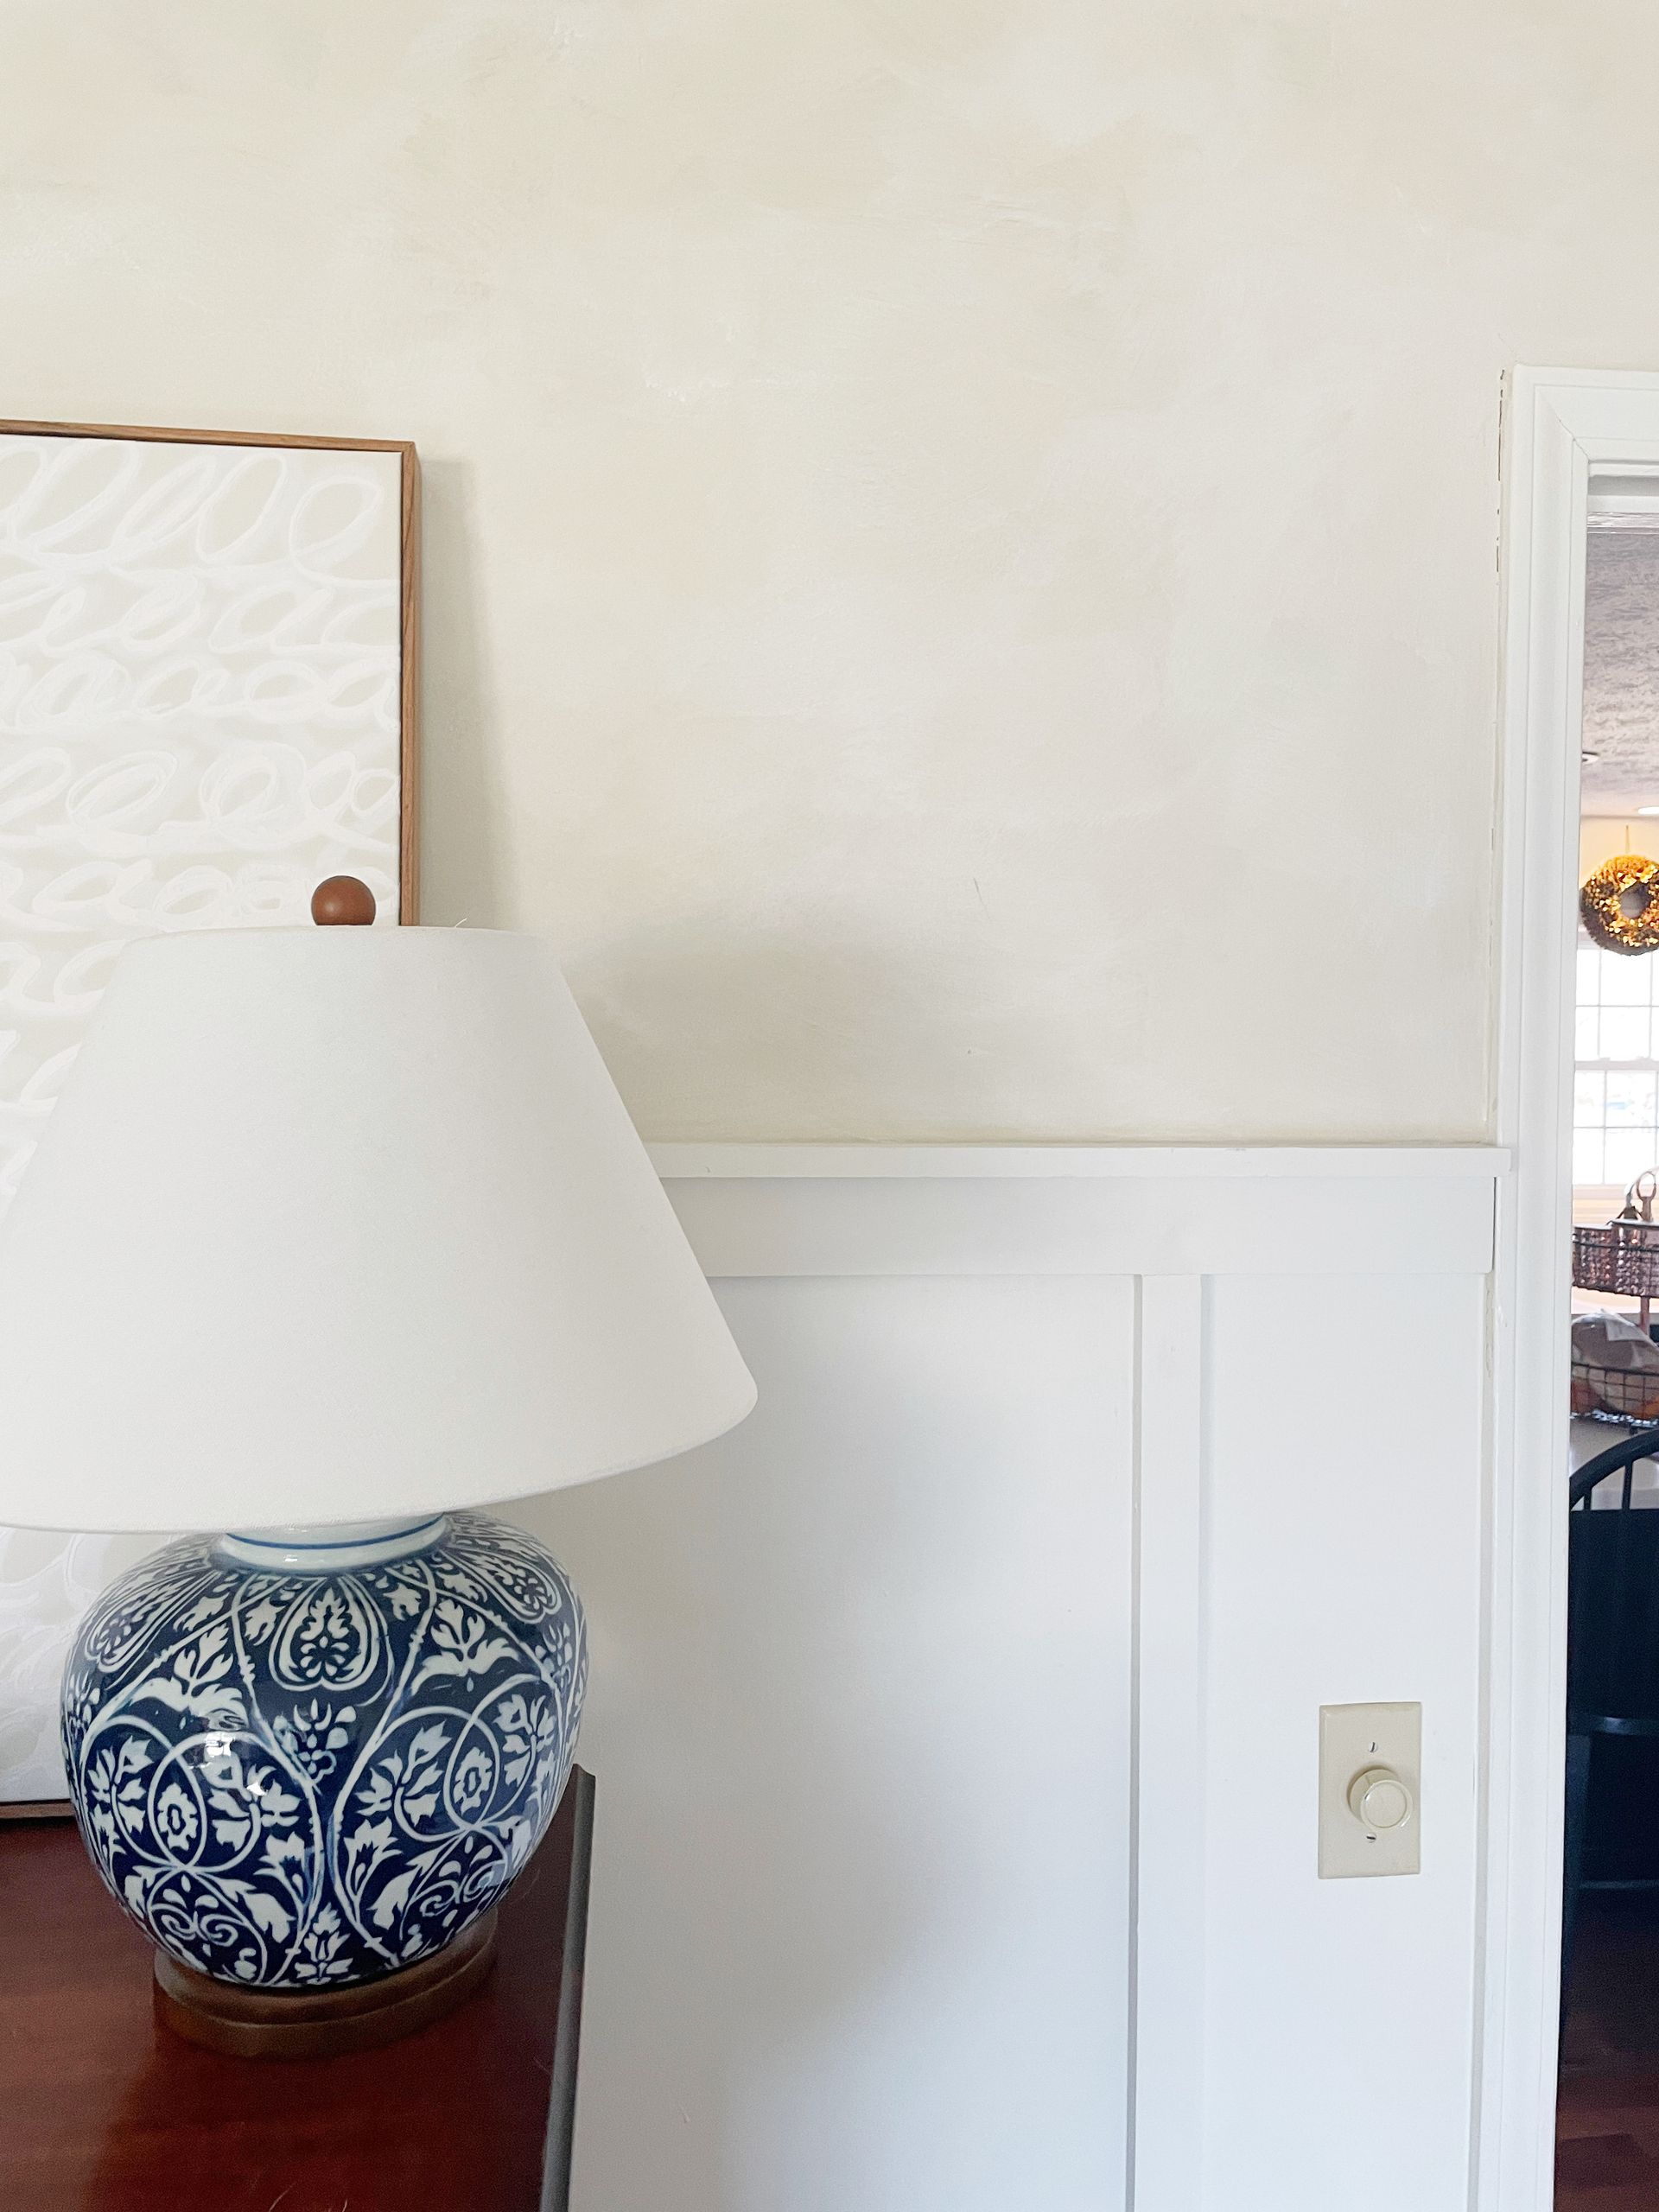
I intended to paint the frames black or stain them. Actually, I DID use several coats of gel stain on them until they were a dark walnut, but ultimately, it didn't look great in the space, or with the art, so I ended up spray painting them white again. It would've been a five-minute project if I'd done it originally, but who wants to do things the easy way? Oops. Haha.
Framing
These are pretty forgiving things to frame. The canvas and foam boards are flexible and soft, so it's easy to wedge them into the frames. The stay really well. I just pushed the canvases all the way back in the frames.
To attach something to hang them with, I just drove a small nail with a head partially into the back of the frame in the exact same spot on each side of the frame. I used some heavy-gauge wire to wrap around each nail and pulled it taught when I did it on the other side. It worked perfectly and they are very lightweight and easy to frame.

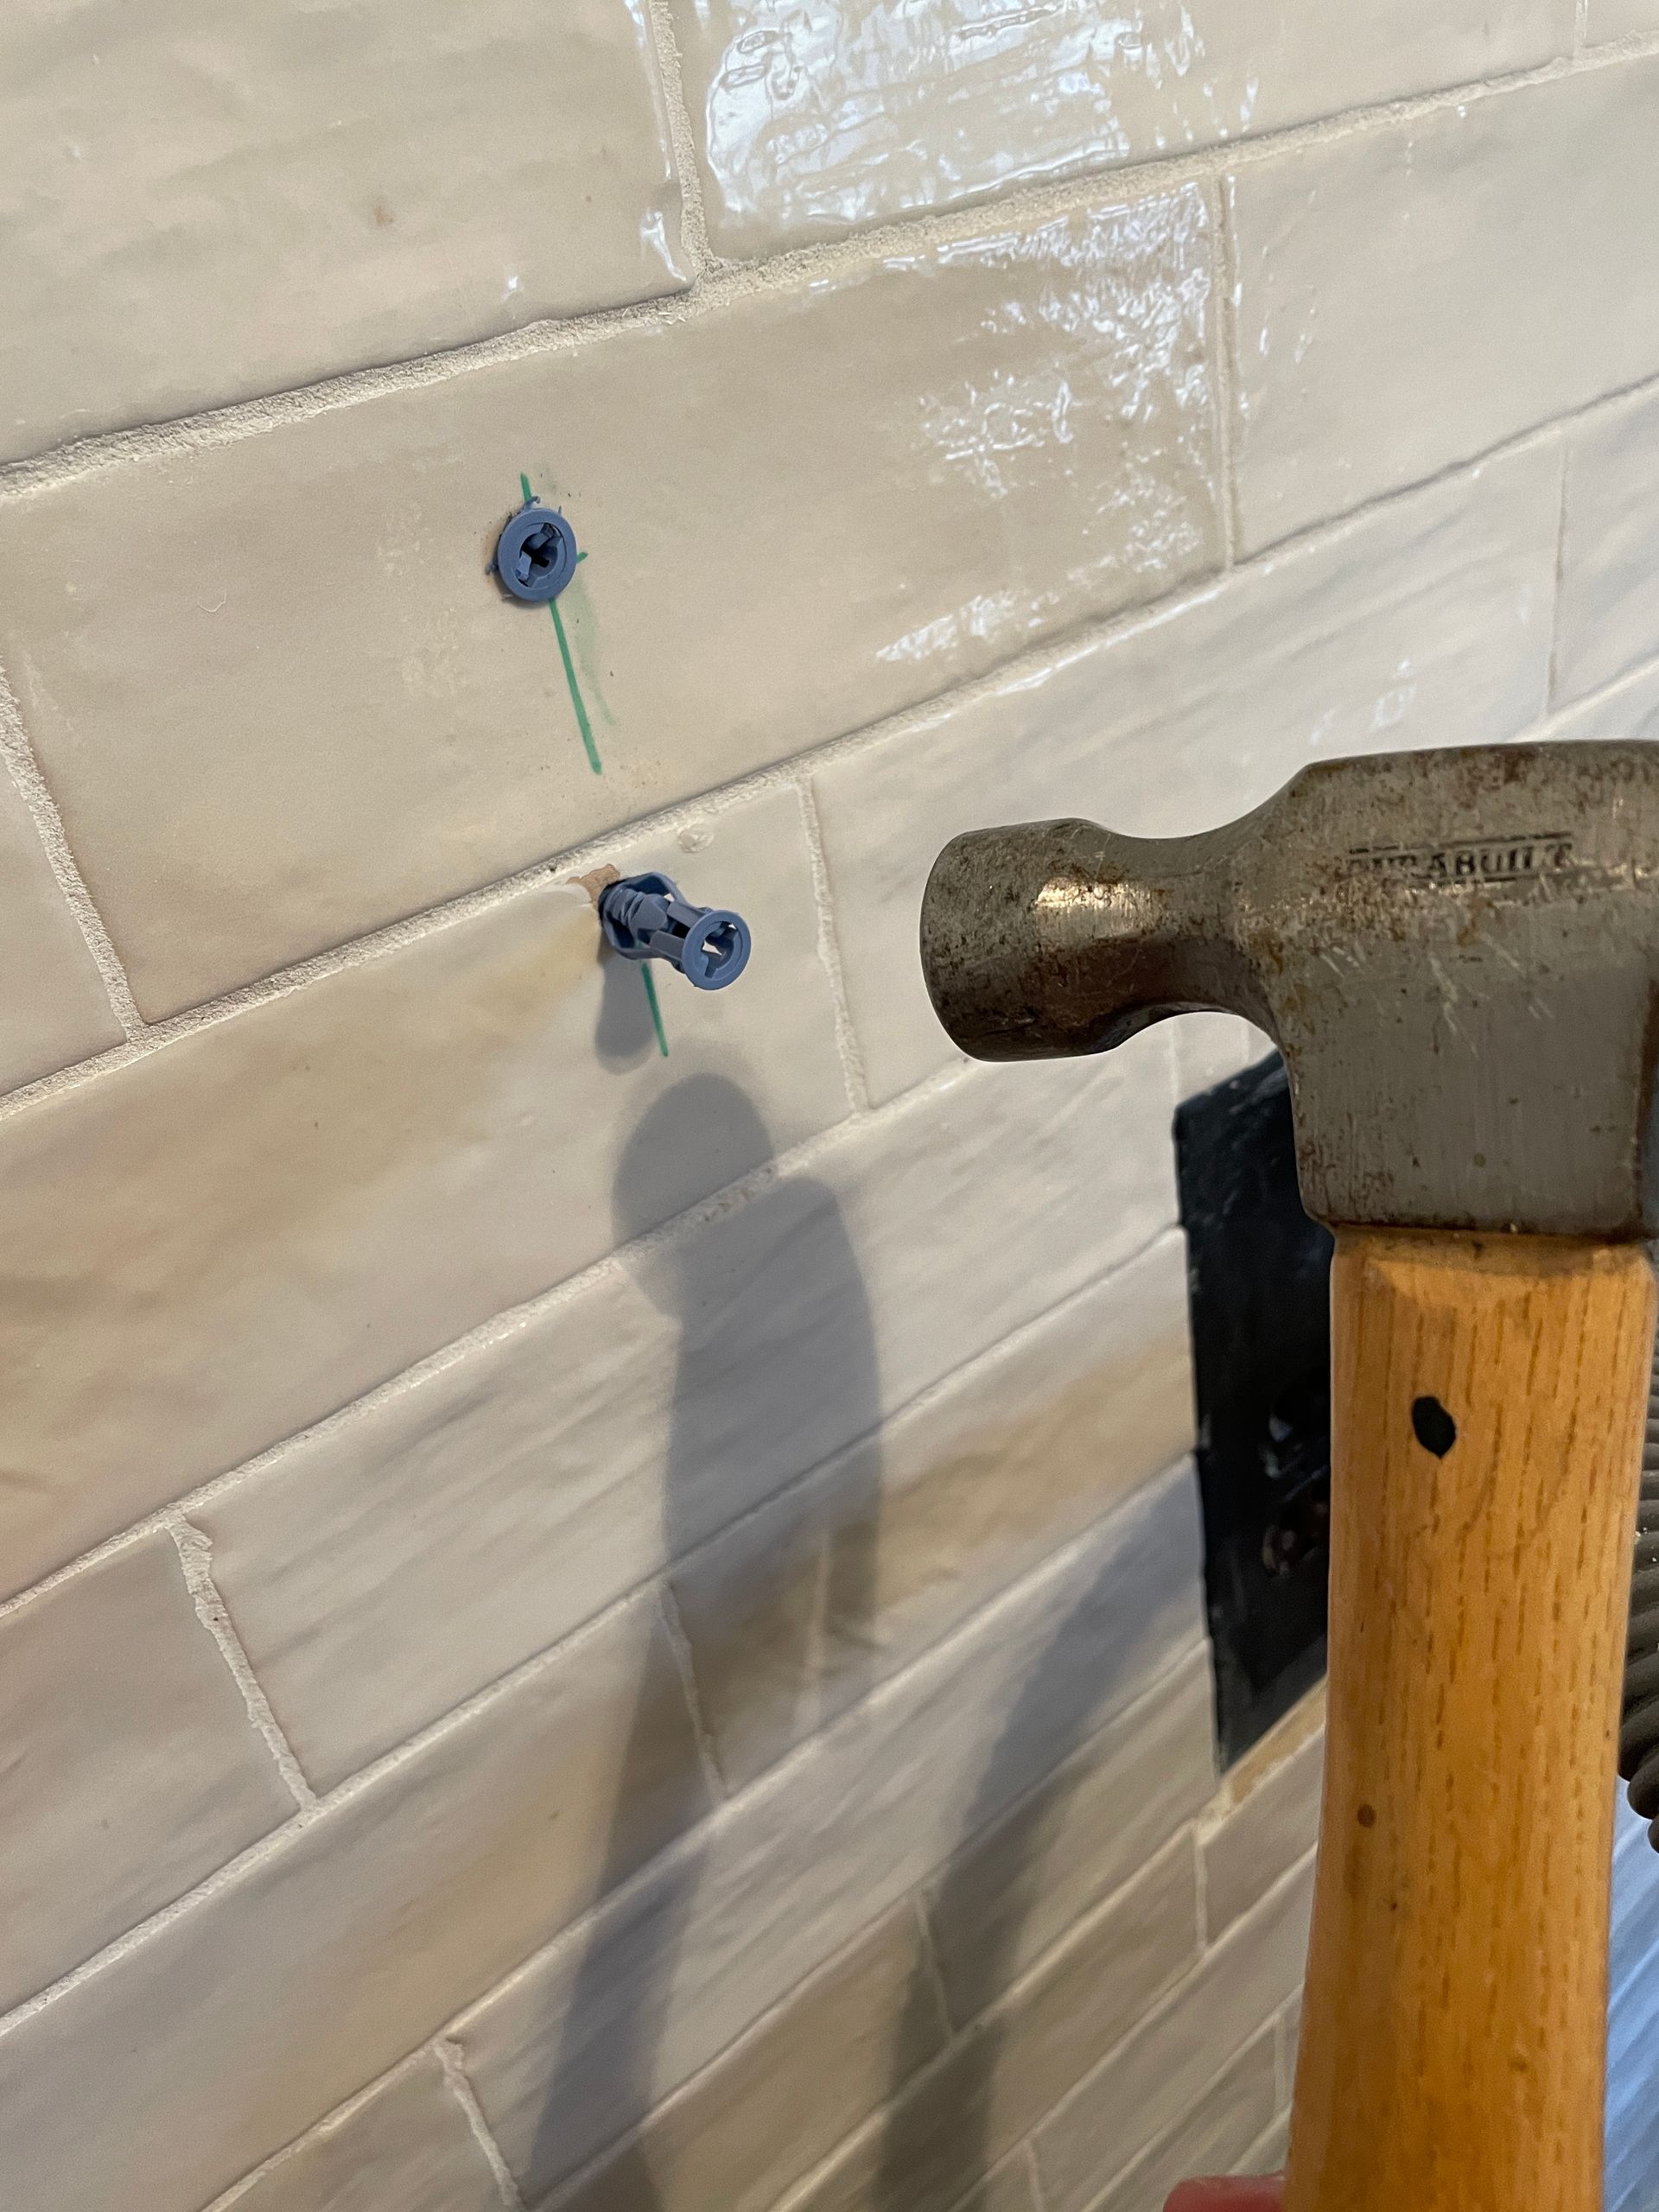
I hung these over my board and batten, which takes a little trick. If you need to know how to do it, check out my post here.

Pin for Later!

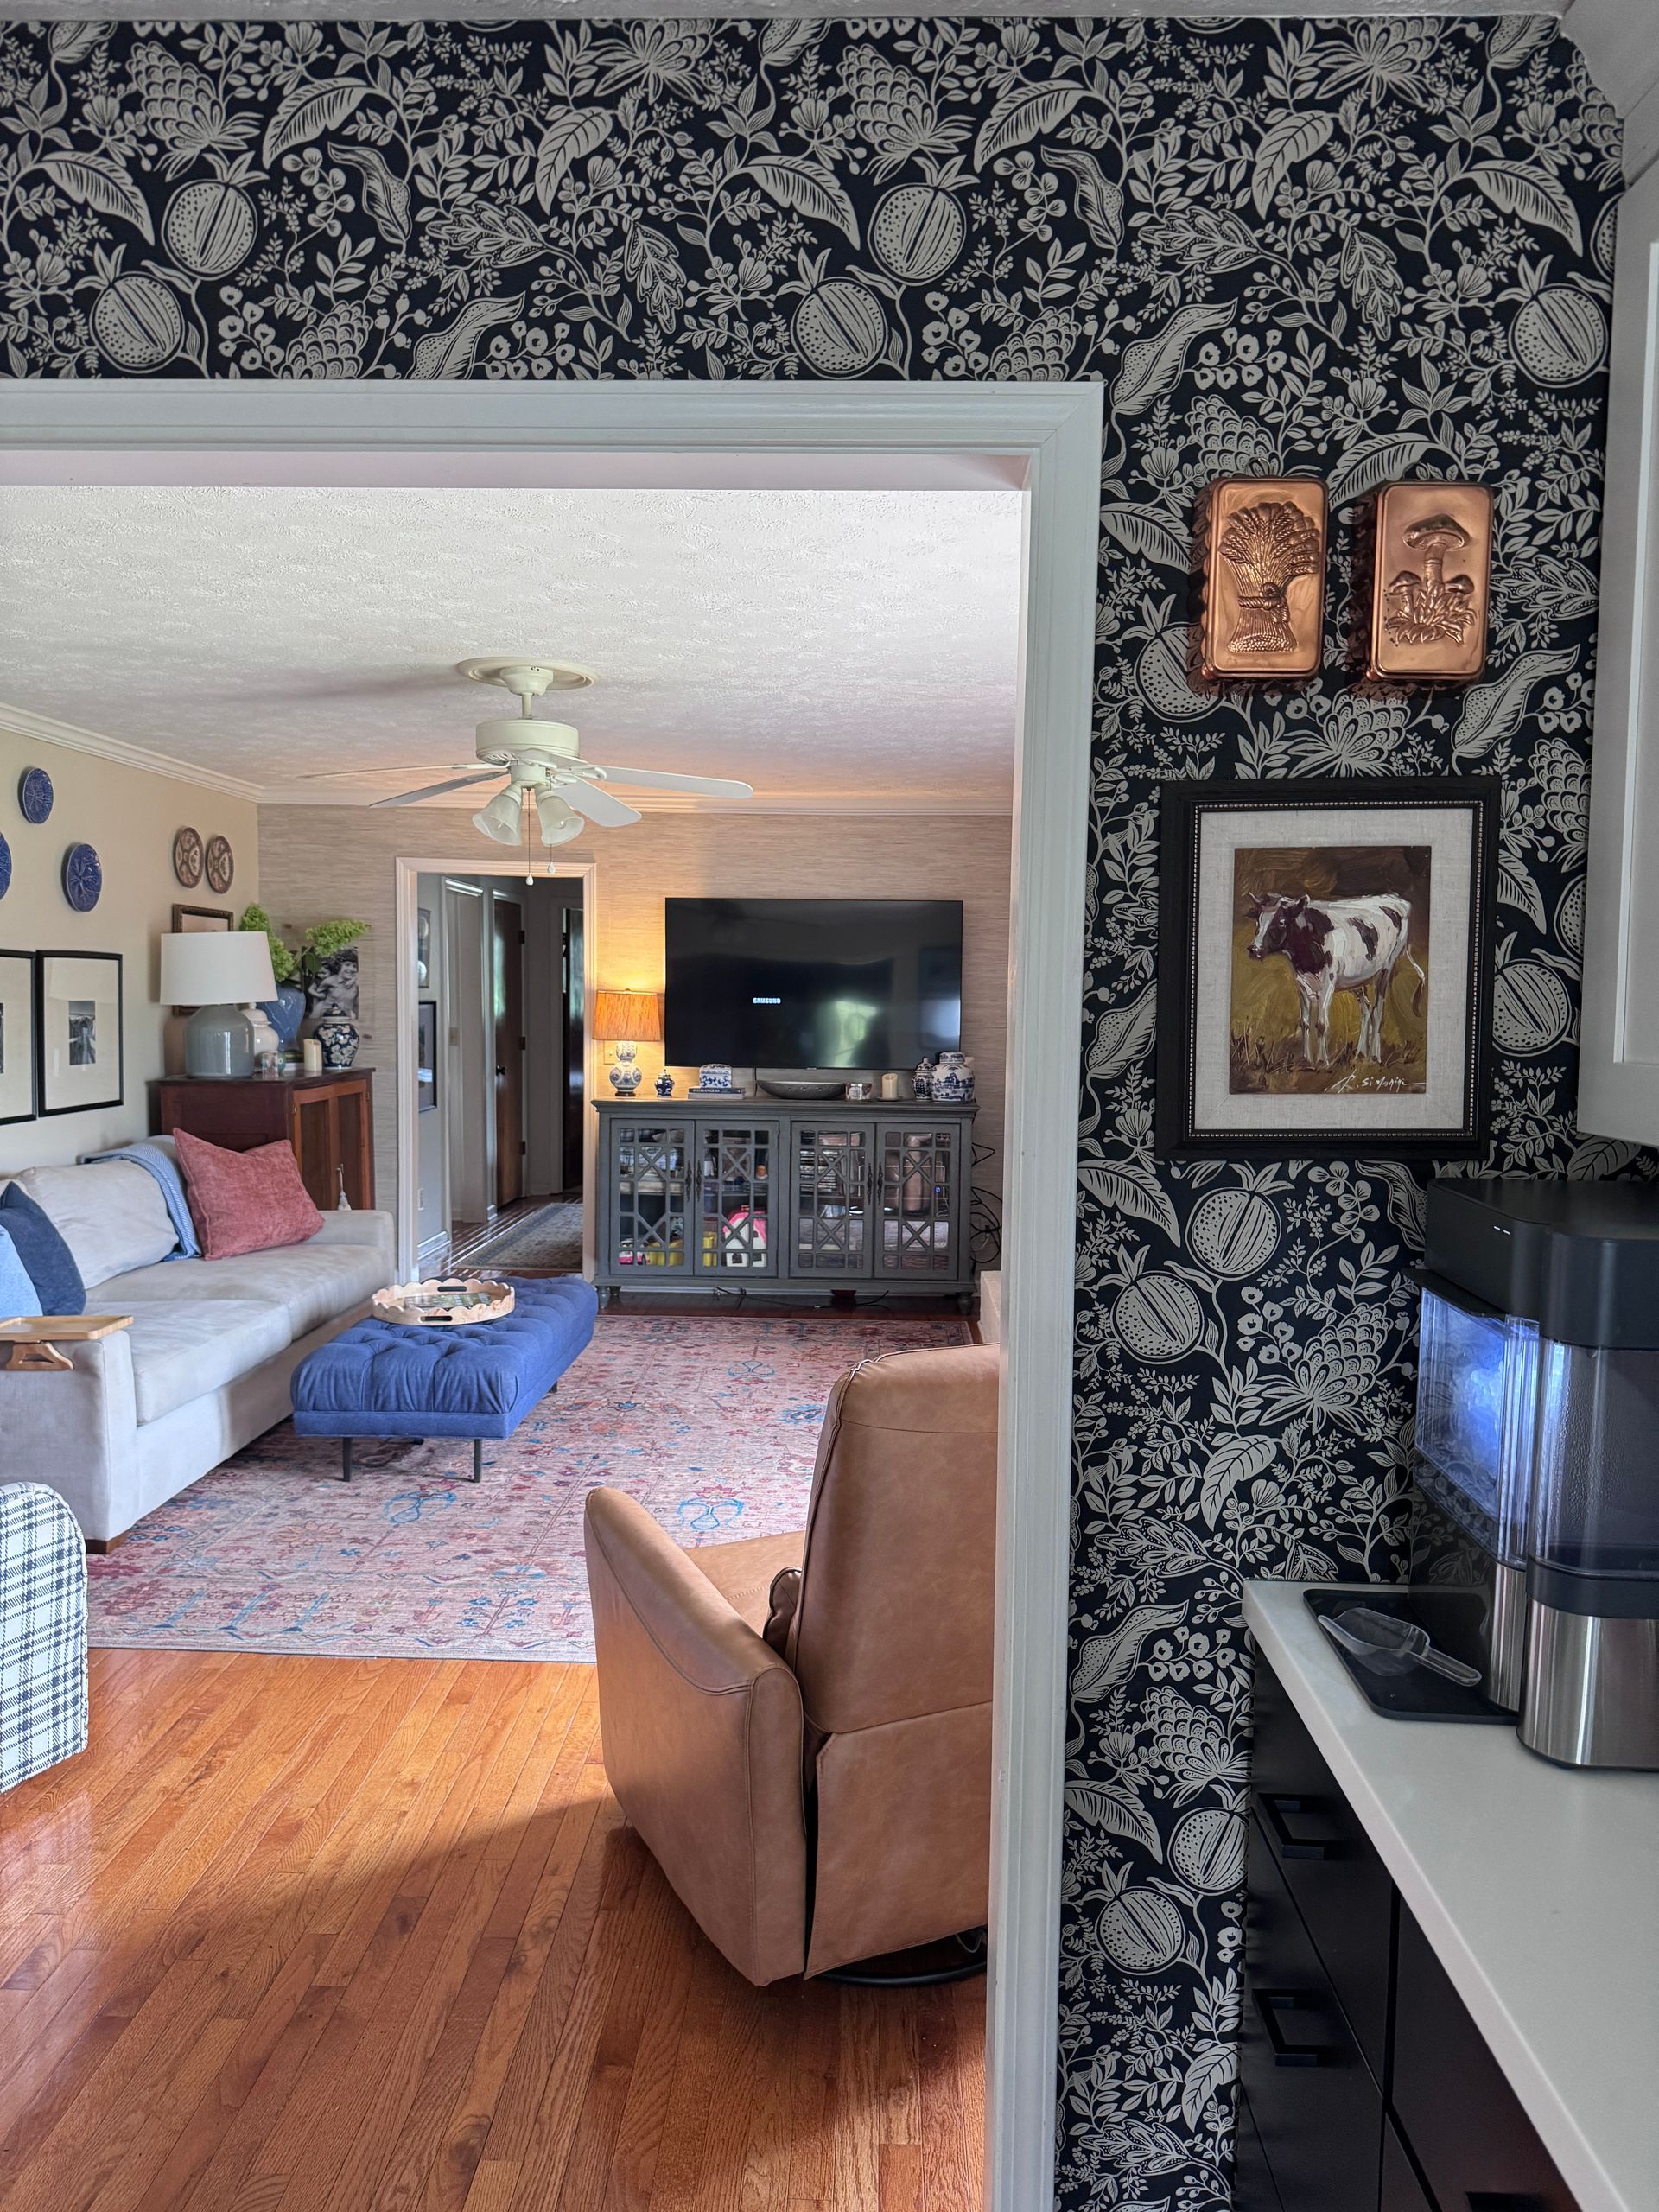
Rifle Paper Co Wallpaper
Space Planning
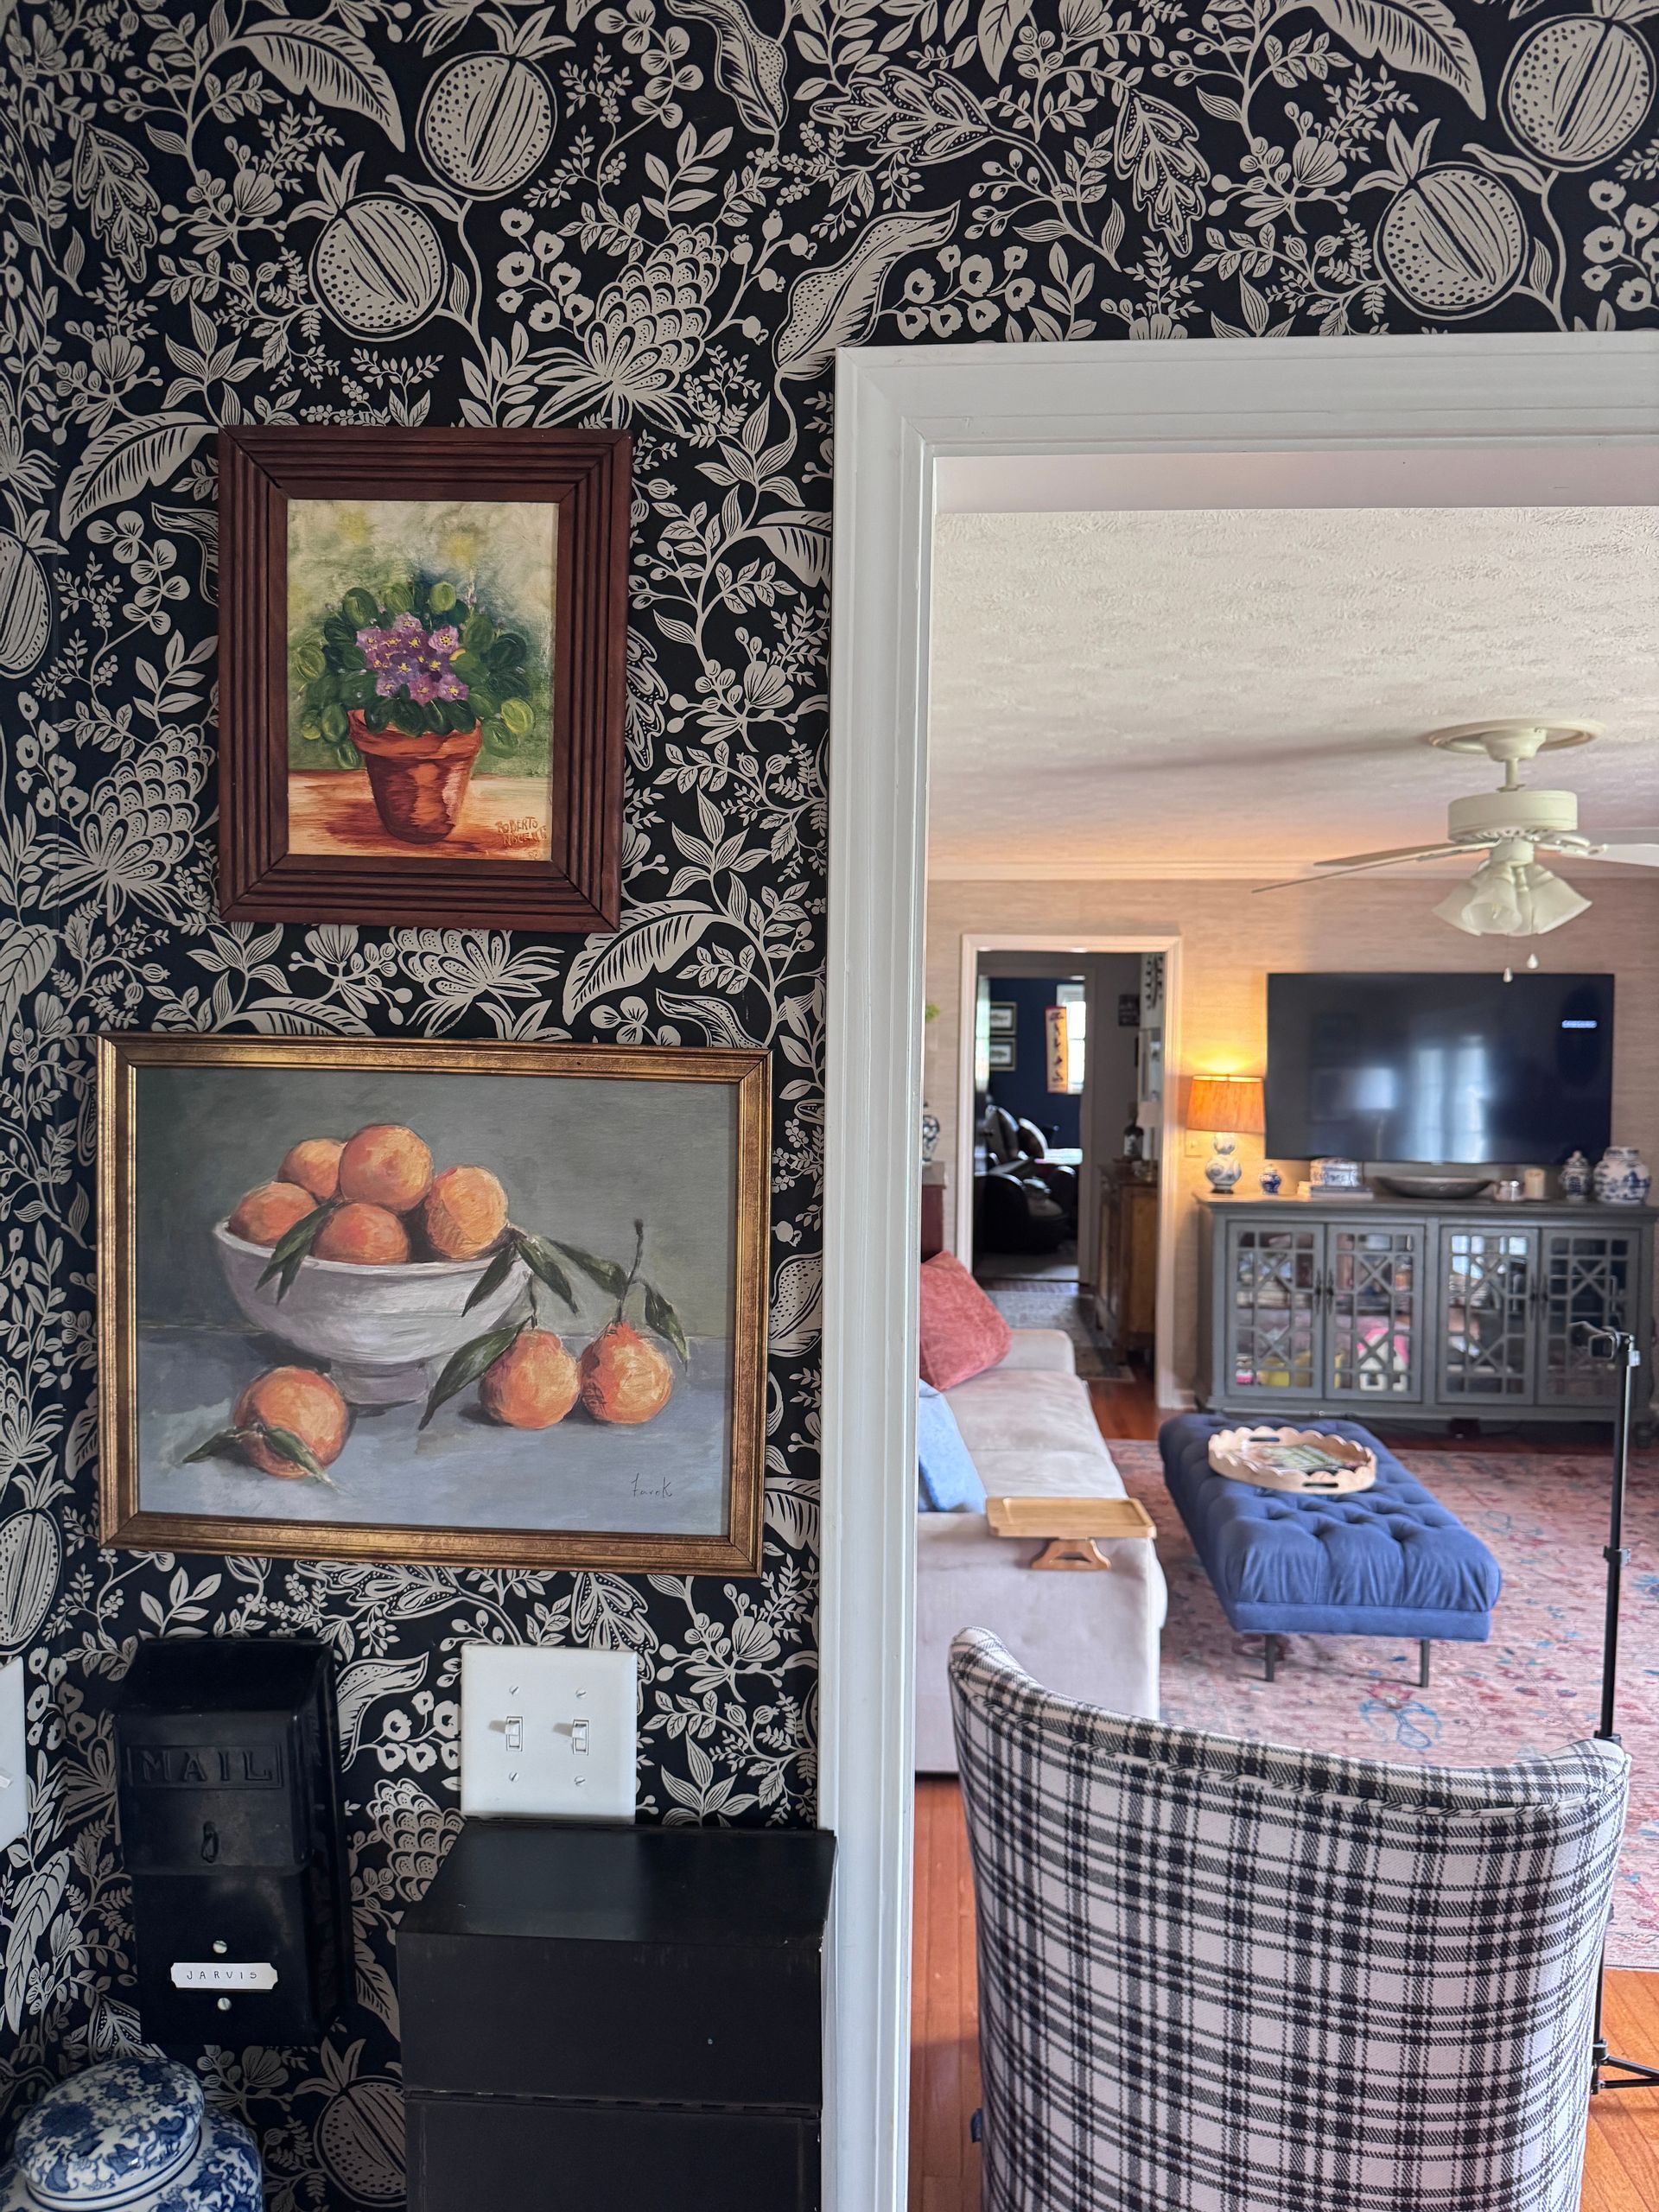
Rifle Paper Co Wallpaper

Designer Drapes
Rug Roundup January 2024
Booth at Christmas Market
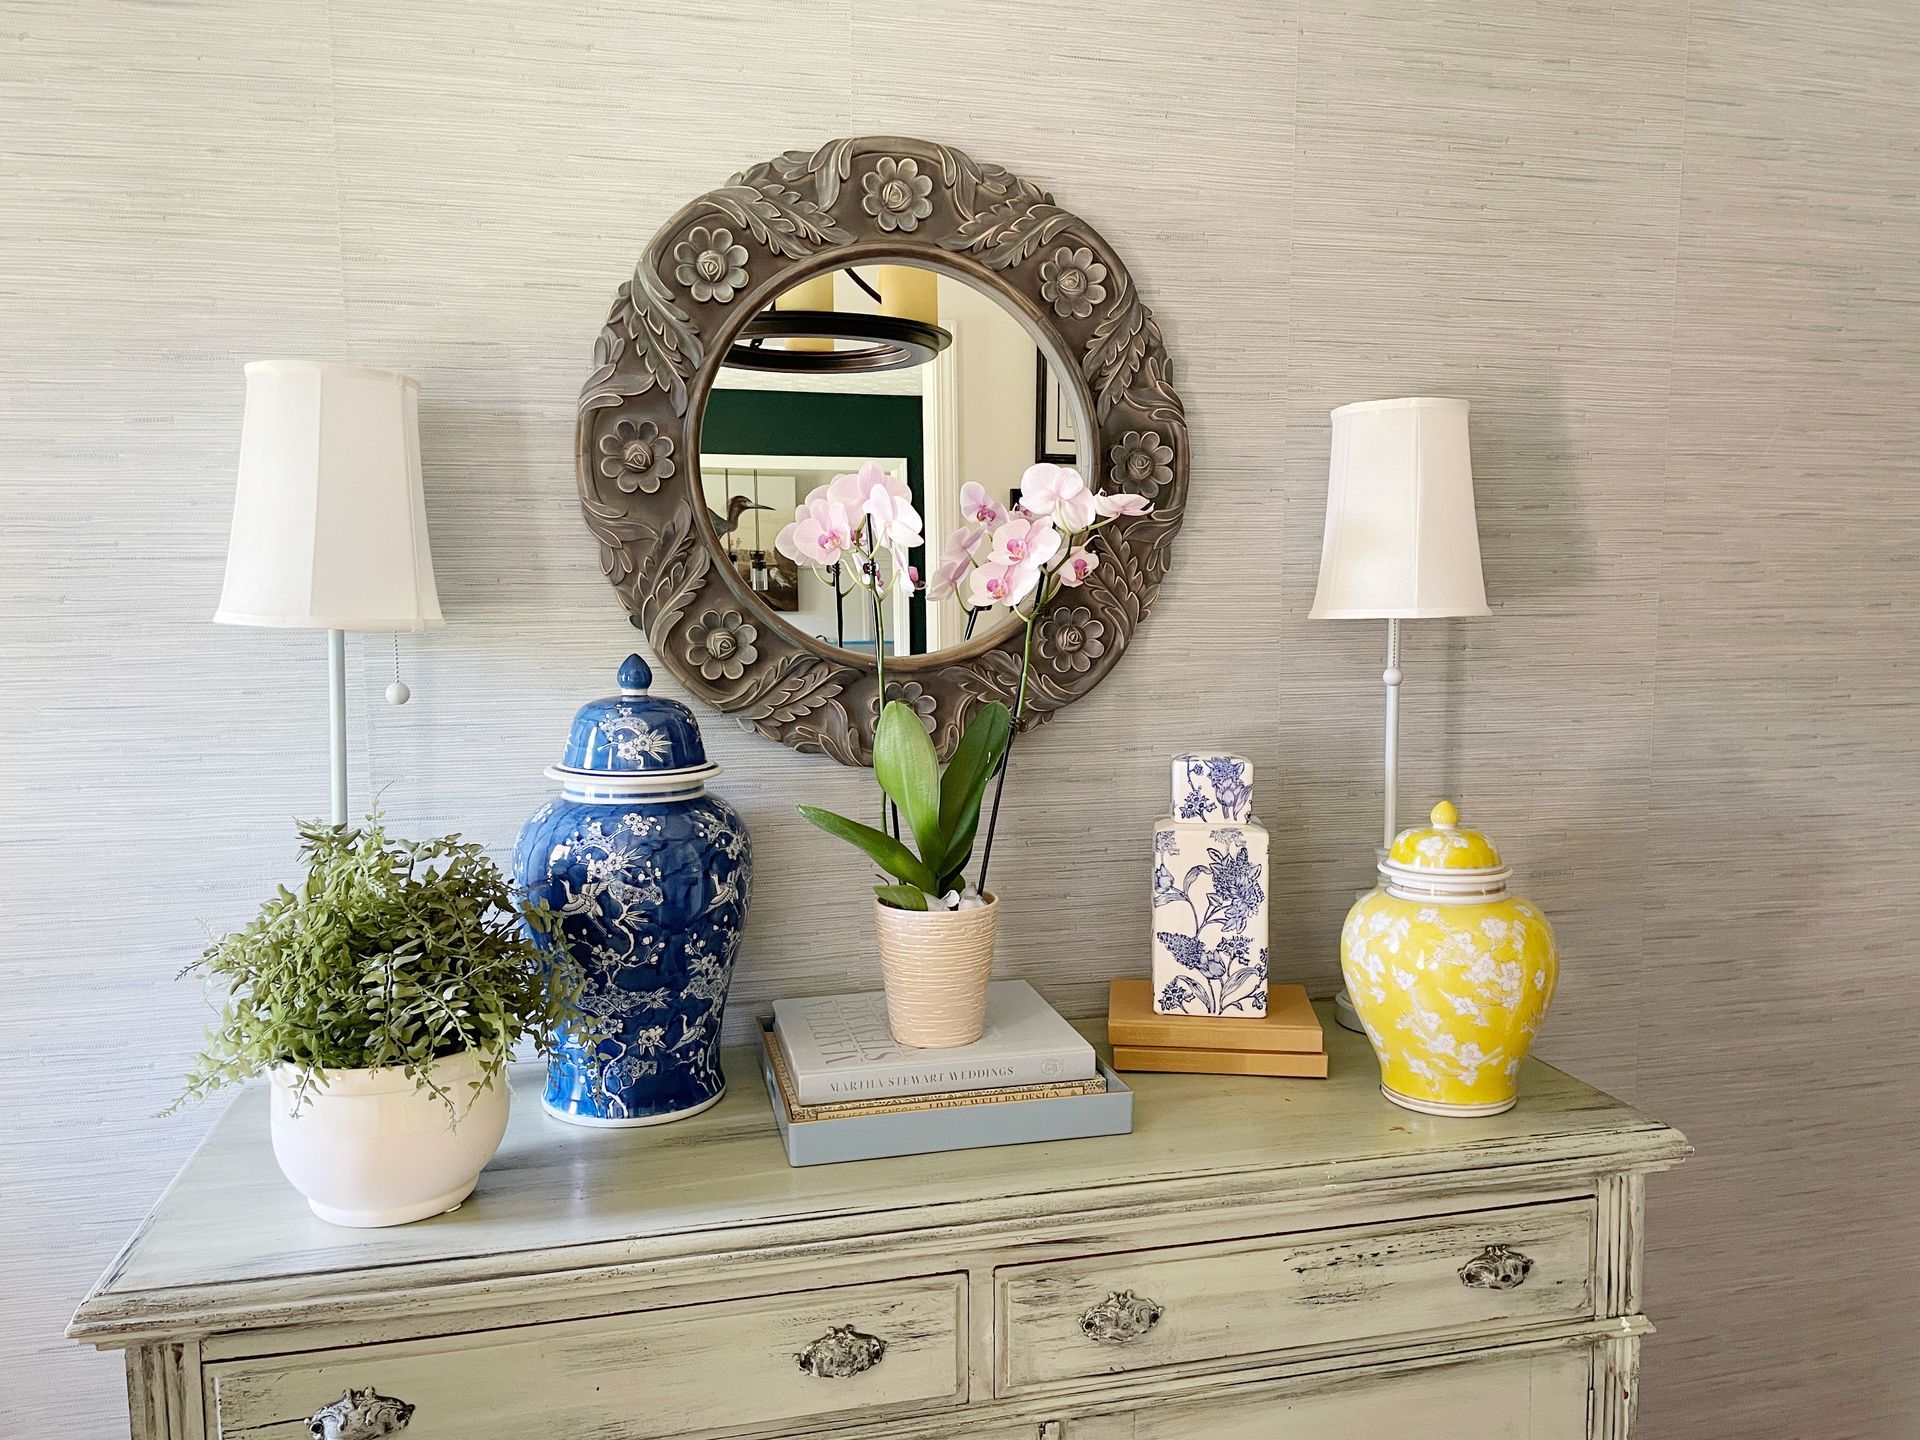
Grasscloth
What not to do
Romabio Velatura Mineralwash
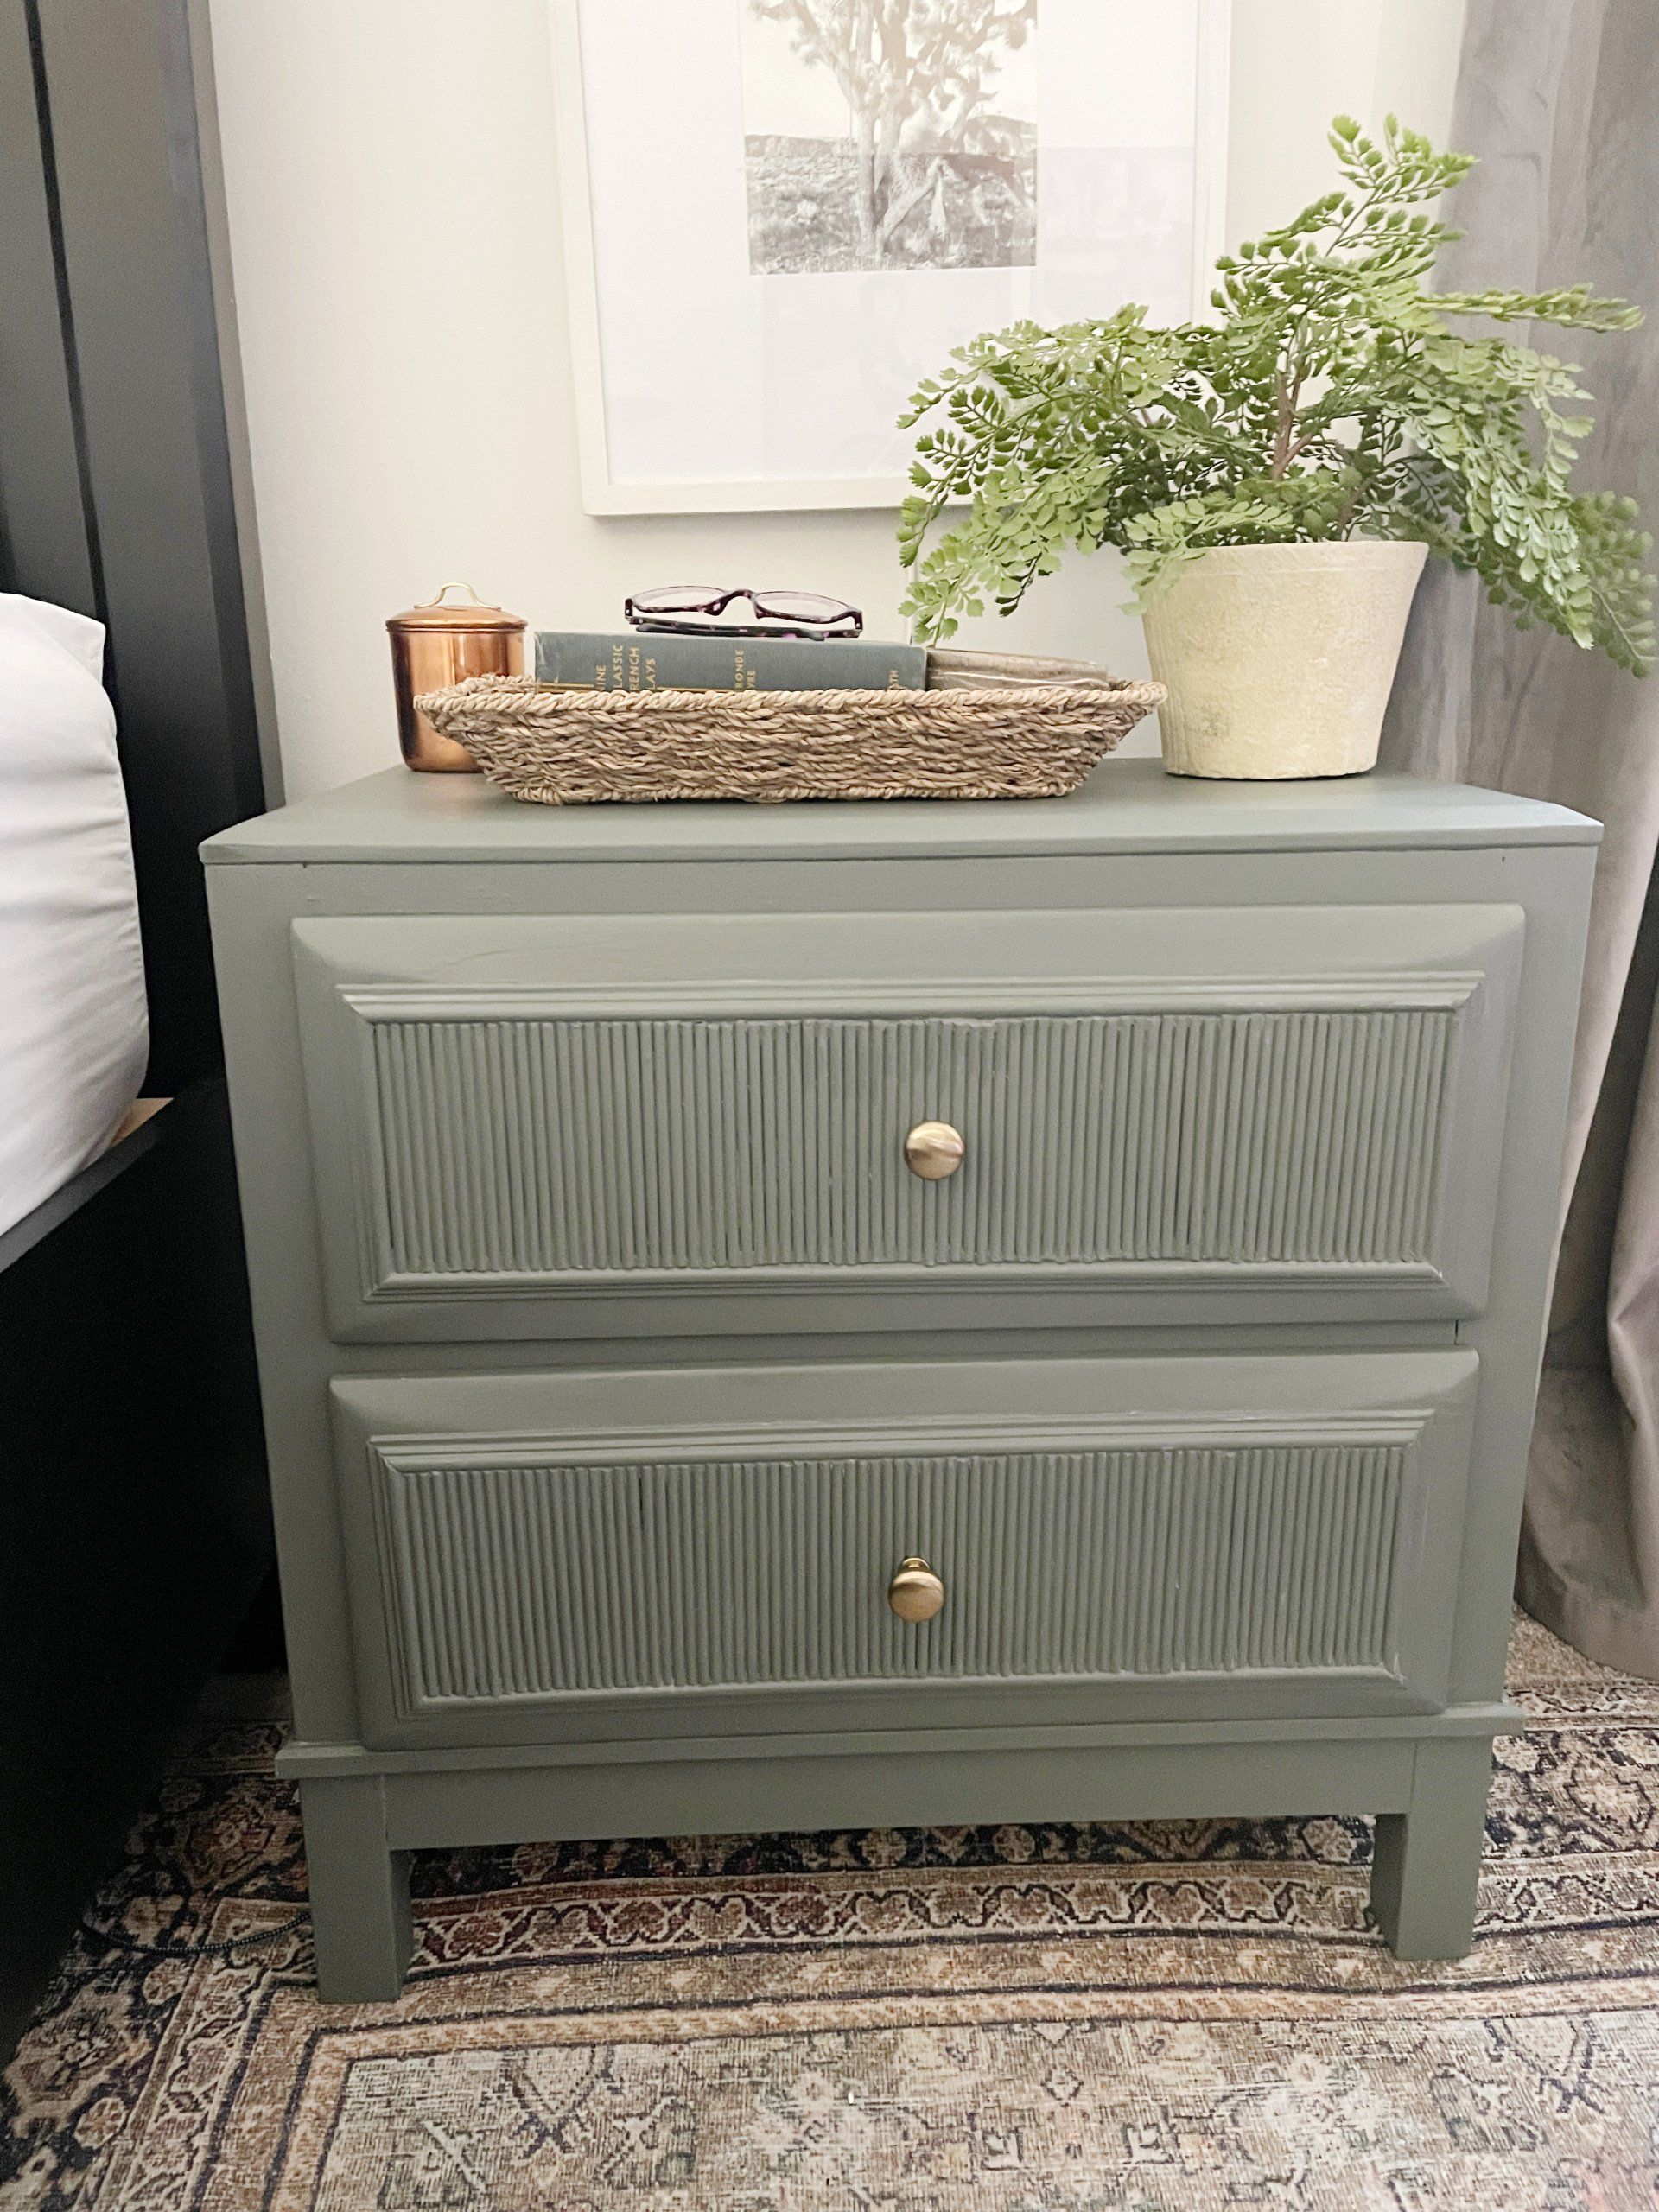
I can't remember the first example of fluted wood furniture I saw, but it was probably either this gorgeous custom wood bathroom vanity from Chris Loves Julia , or the DIY fluted coffee table Fariha shared on Pennies for a Fortune . The custom cabinetry was done professionally using a router for each line, which isn't something I possess the skills to do. This did help inspire the colors I used in our bathroom remodel, though! I really connected to the method Fariha used to build the coffee table--wooden dowels. What a fabulous idea!