Art Prints
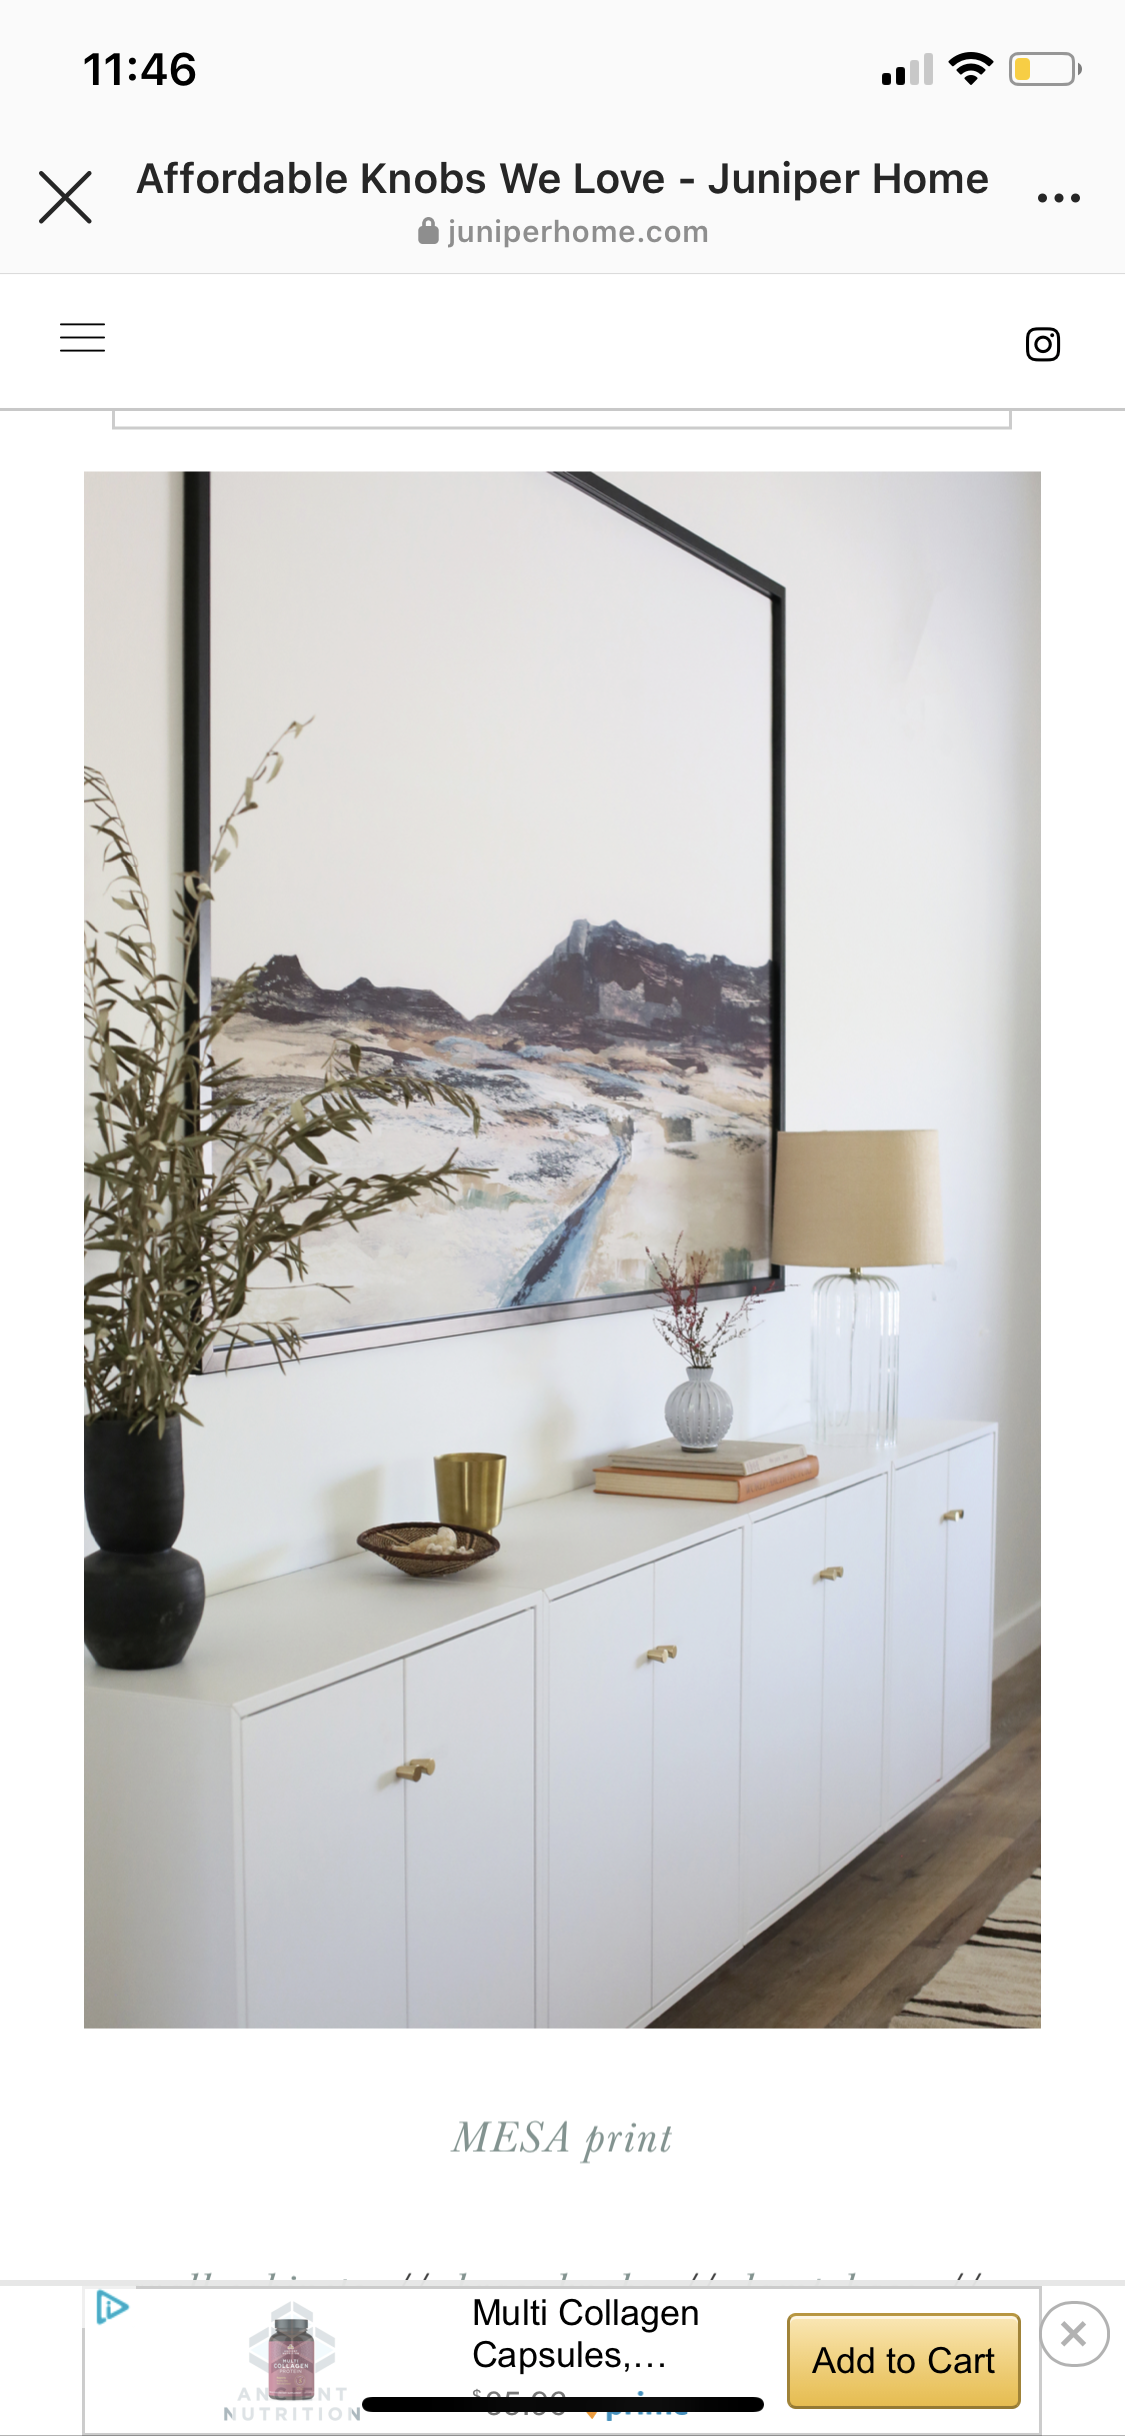
I've been really admiring some of the unique vintage prints, landscapes, florals and abstracts at
Juniper Print Shop. Designer Jenny Komenda not only styles beautiful interiors, but also runs Juniper Home with her husband and team, and they provide gorgeous large-scale art at affordable prices. I'm eyeing several I want now. Oh, and they even offer instant downloads if you want to print yourself!
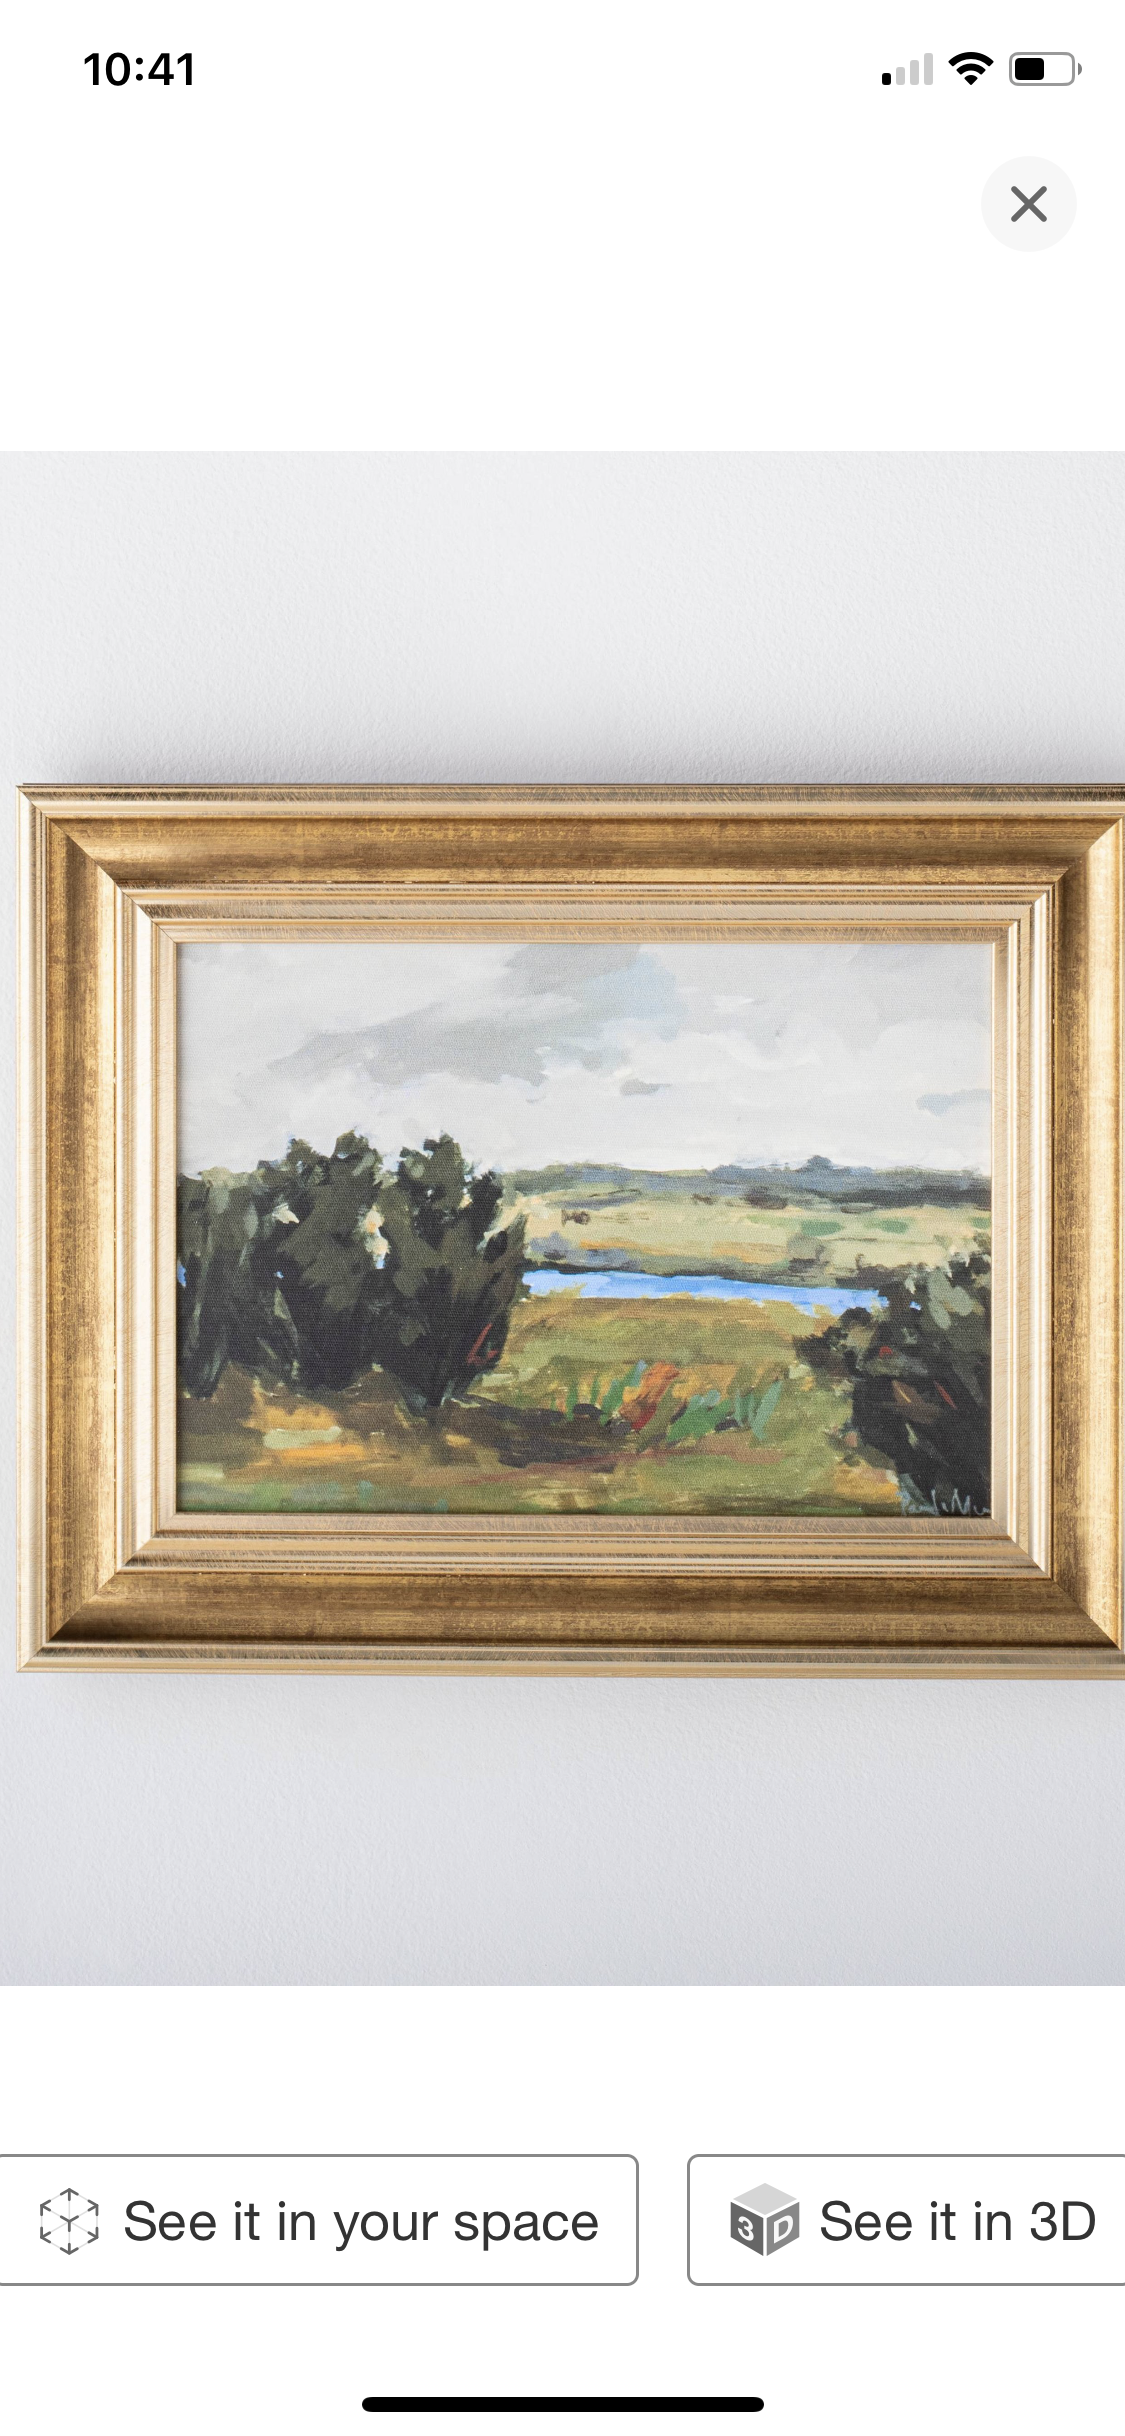
Here are some prints I'm loving. The first two are from Juniper Print. The third is Studio McGee for Target, but is currently sold out! As you can see, these beautiful landscapes are everywhere right now.
McGee and Co. print for Target
Button
Existing Art
I love to buy art prints at Hobby Lobby. They are always really on-trend and you can't beat the prices. Sometimes I even buy a piece I don't love with the intention to use it another way. I've done a technique with
joint compound on a canvas
with a great result.
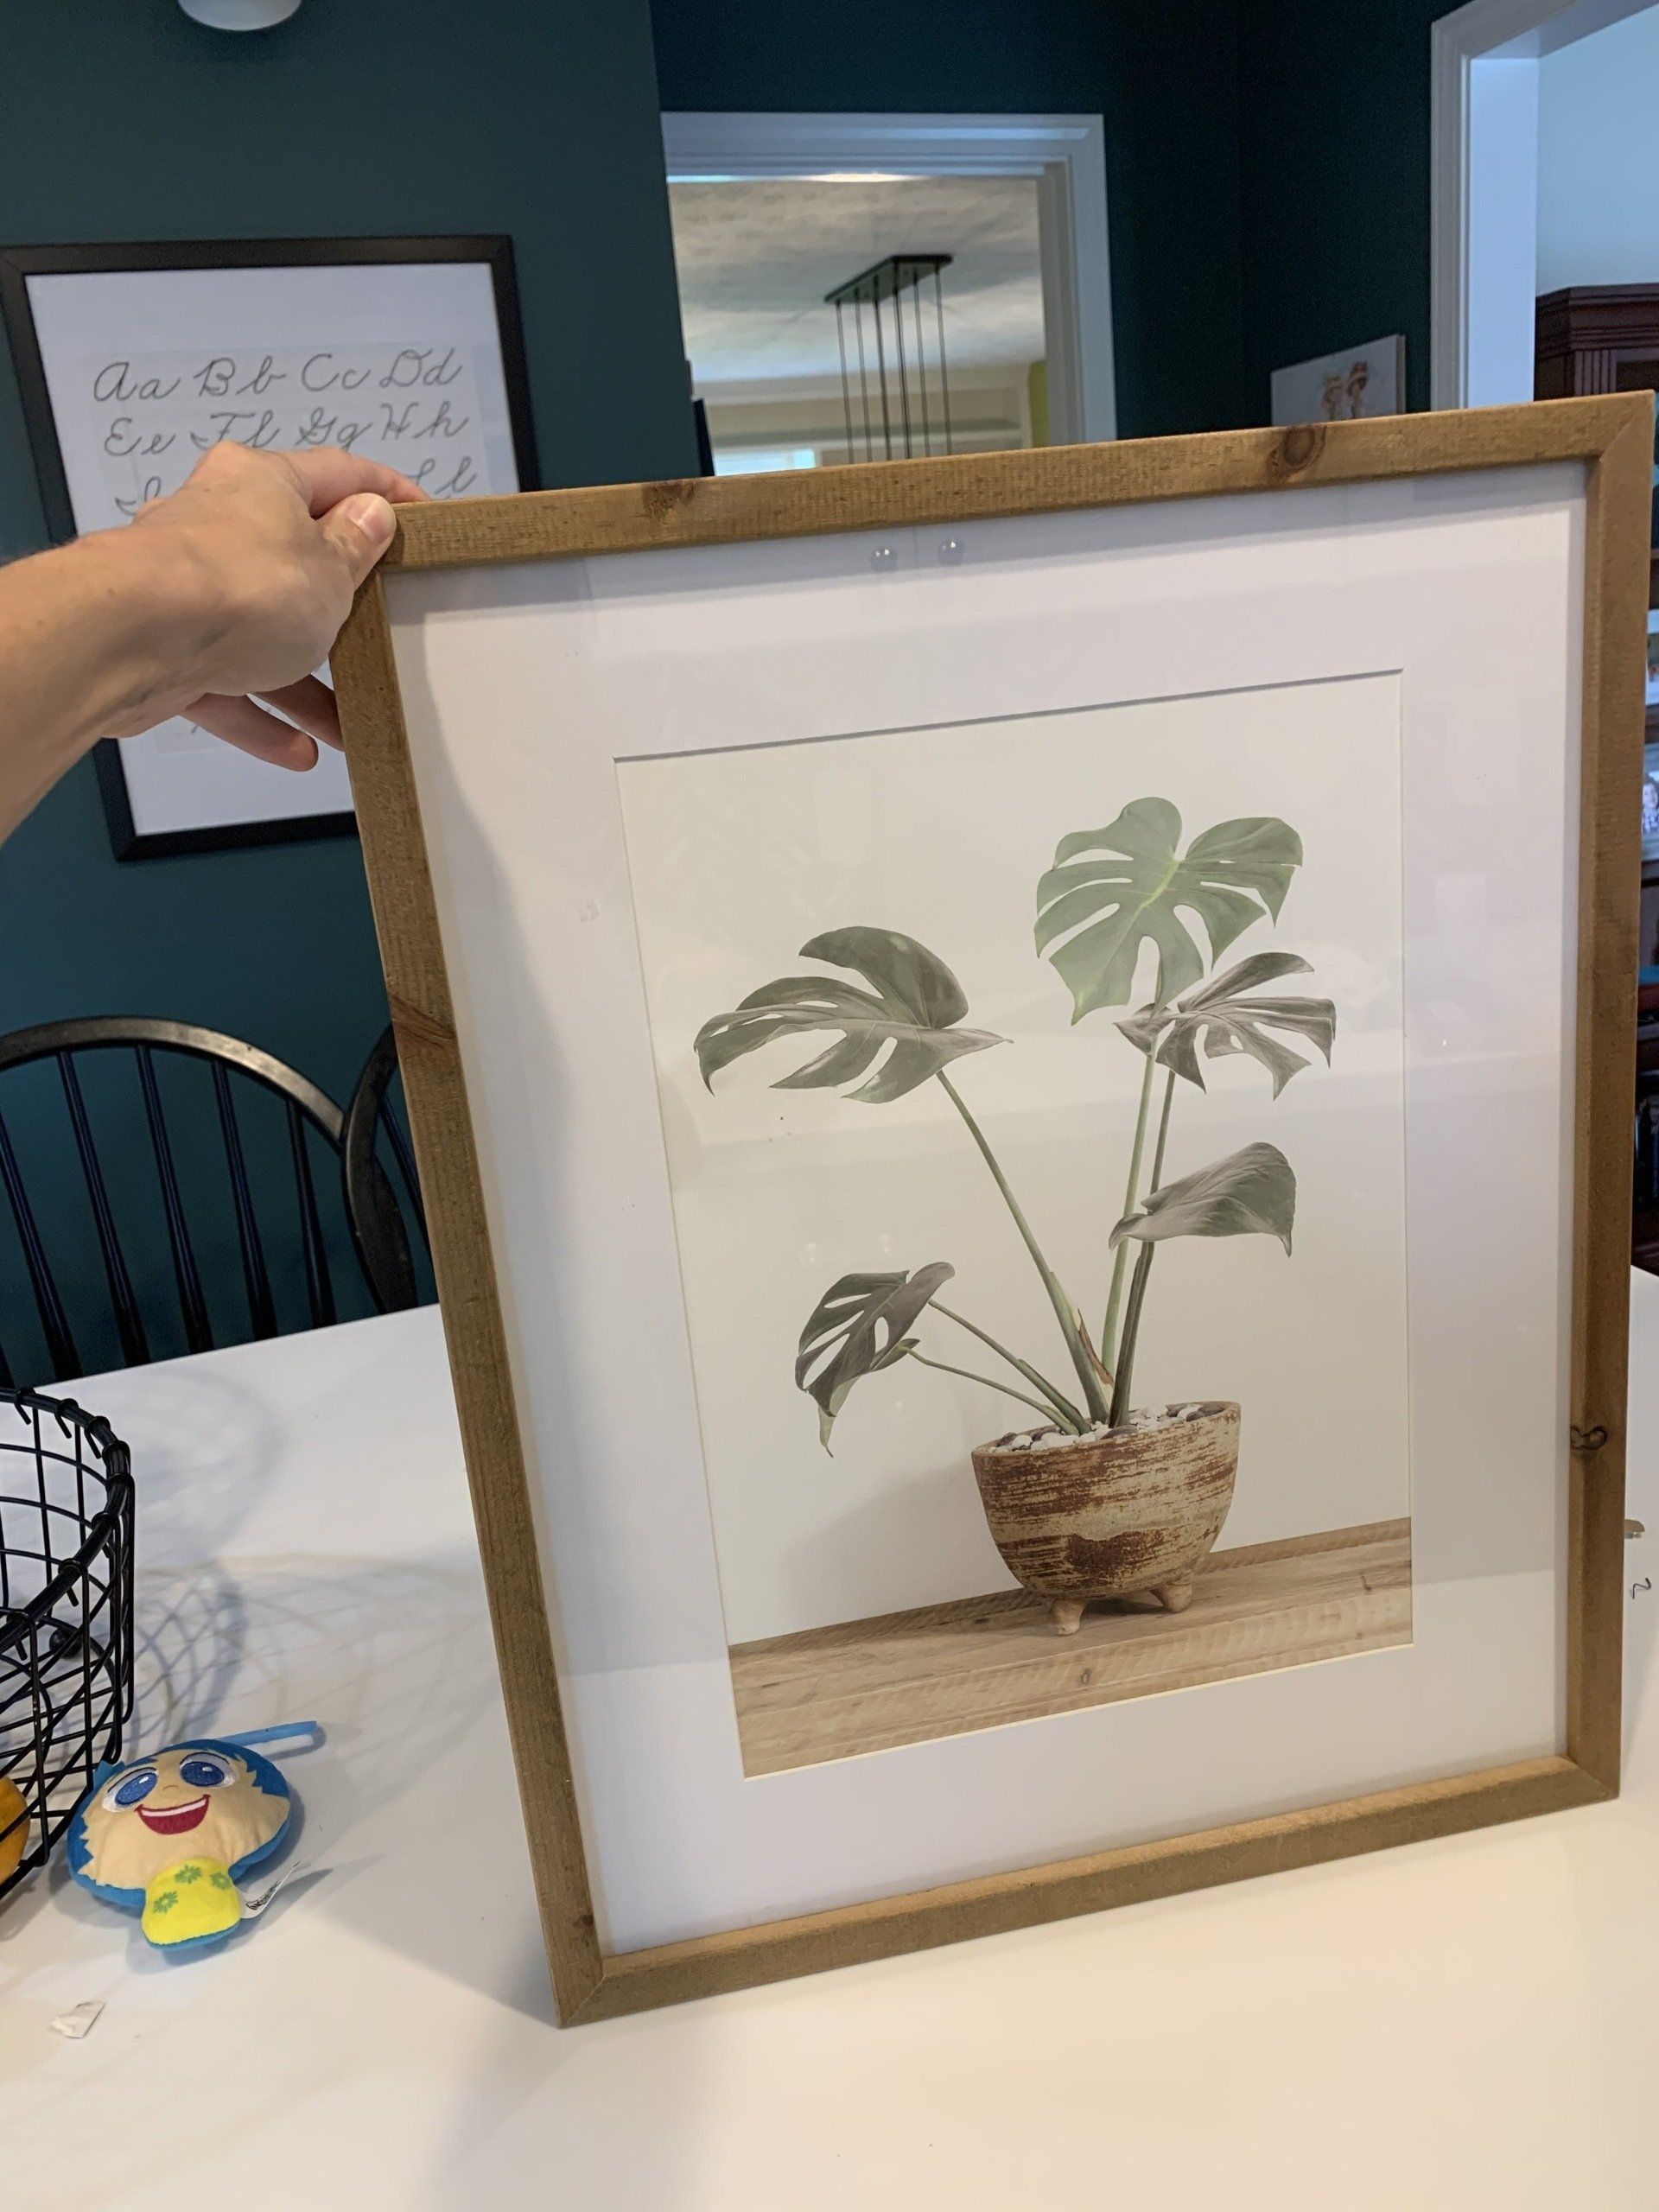
I noticed the other day that I had an almost hilarious number of prints of potted plants. LOL. So, I decided to take matters into my own hands and get out my acrylic paints and get to work to change that. We just painted to den SW Creamy to brighten things up, so I was ready to refresh everything, anyway.
Old Art print of a potted plant from Hobby Lobby
Button
Another print of a potted plant from Hobby Lobby
Button
And ANOTHER plant here!
Button
Are we sensing a trend here yet??
Prep Work
You'd think you'd be able to take off the back of the frame, pop out the print and stick in another, but that's not how cheap Hobby Lobby art works. The print is glued on top of foam board, then glued onto the mat, so if you were to try to take the print out off the mat, it would likely rip. I tried cutting the print out with an utility knife, but since it's attached to the foam, you end up seeing a cross-section of the cut foam around where your print would go, so that didn't work. Basically, you have two options for re-purposing these: tape off and paint over the existing art OR taping a new art print on top of the other art.
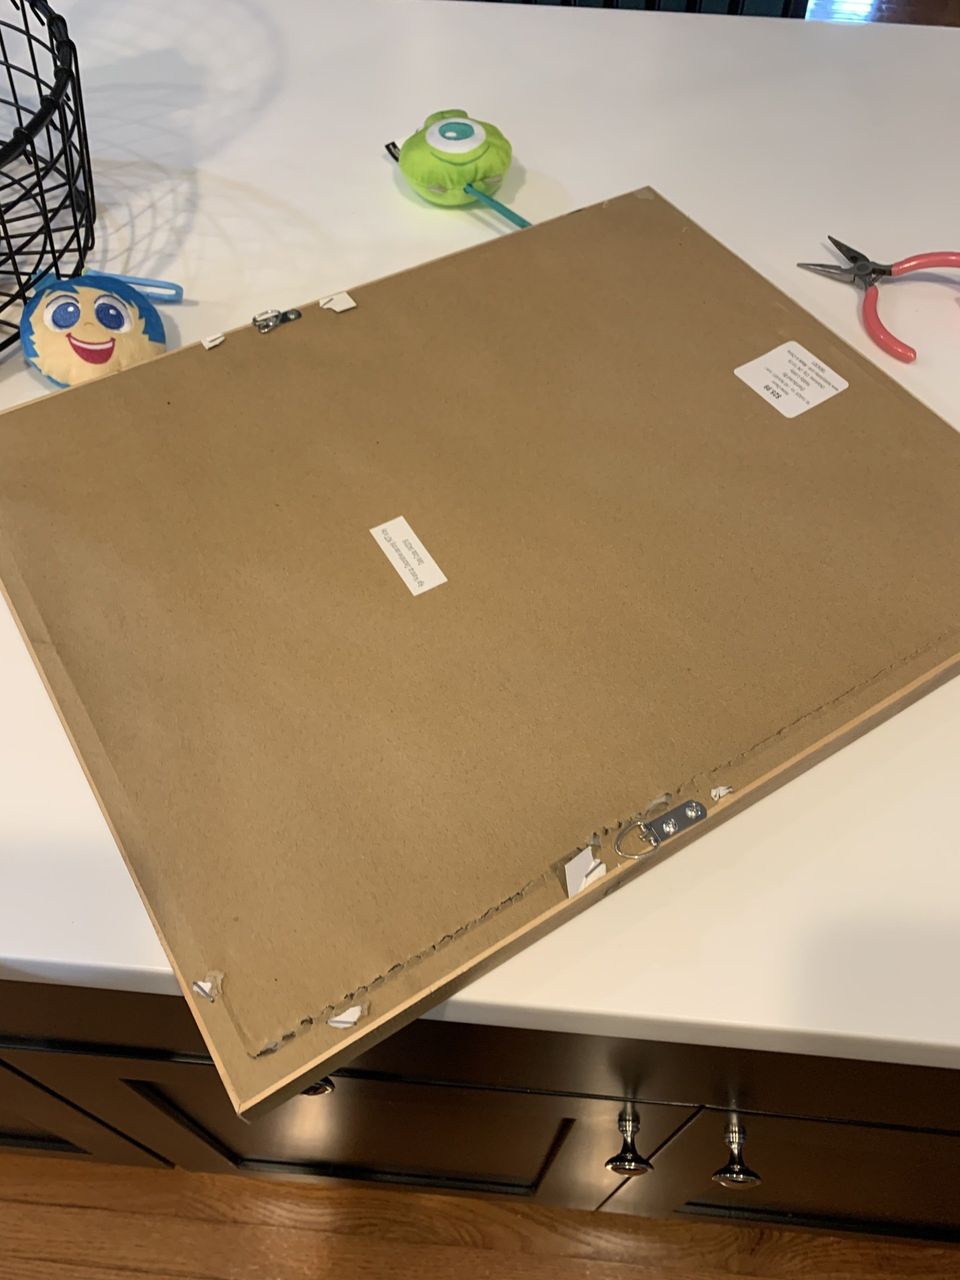
Taking the Old Art Apart
First, you'll need to remove the paper off the back. Just slice it along the edge with something kind of sharp and rip it off. Then, use a flat head screwdriver to pry out the staples along the edge. They'll probably only come halfway out, so use some pliers to coax them the rest of the way out.
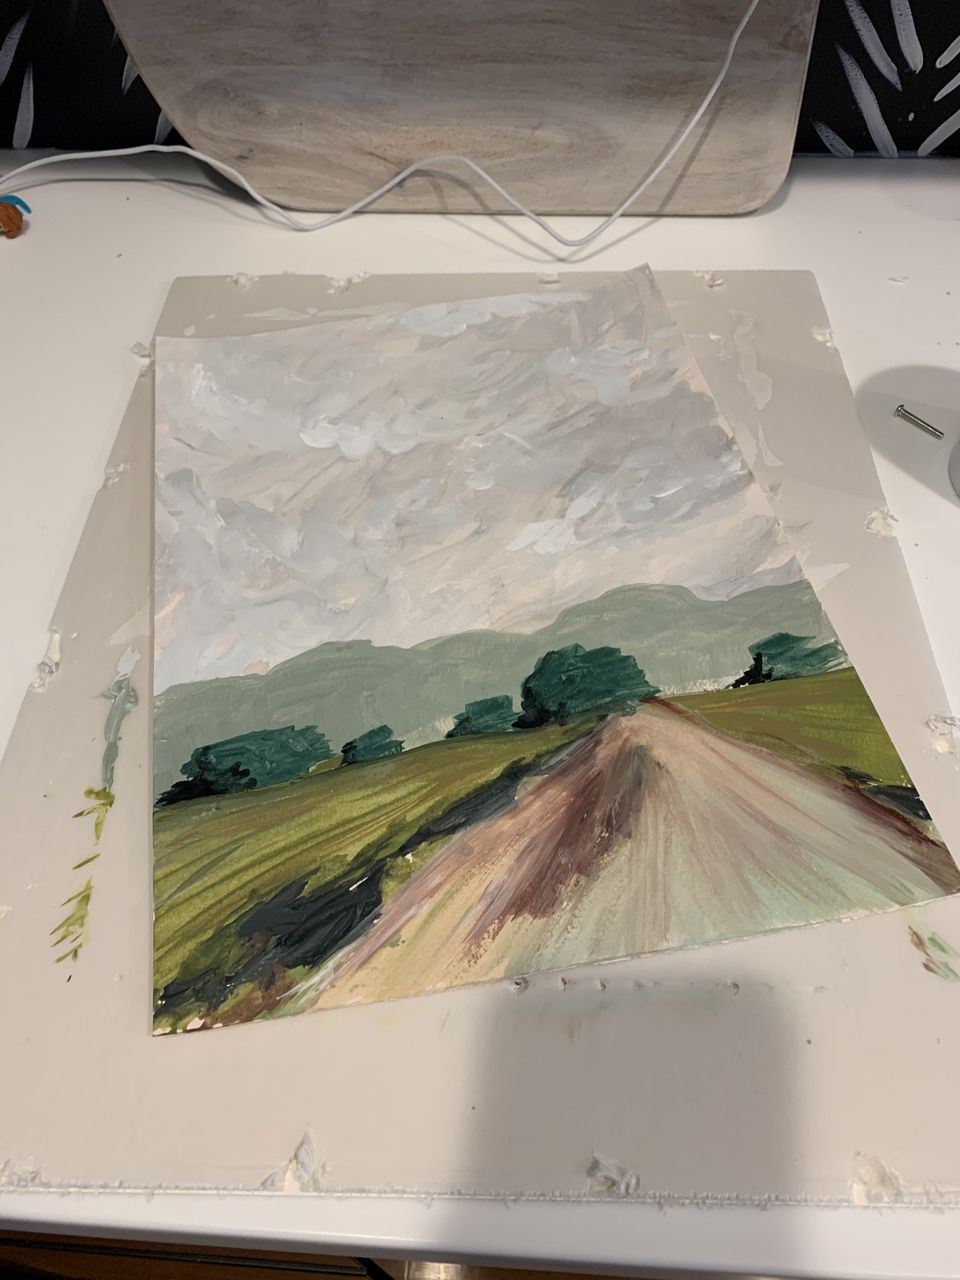
New Art on Top
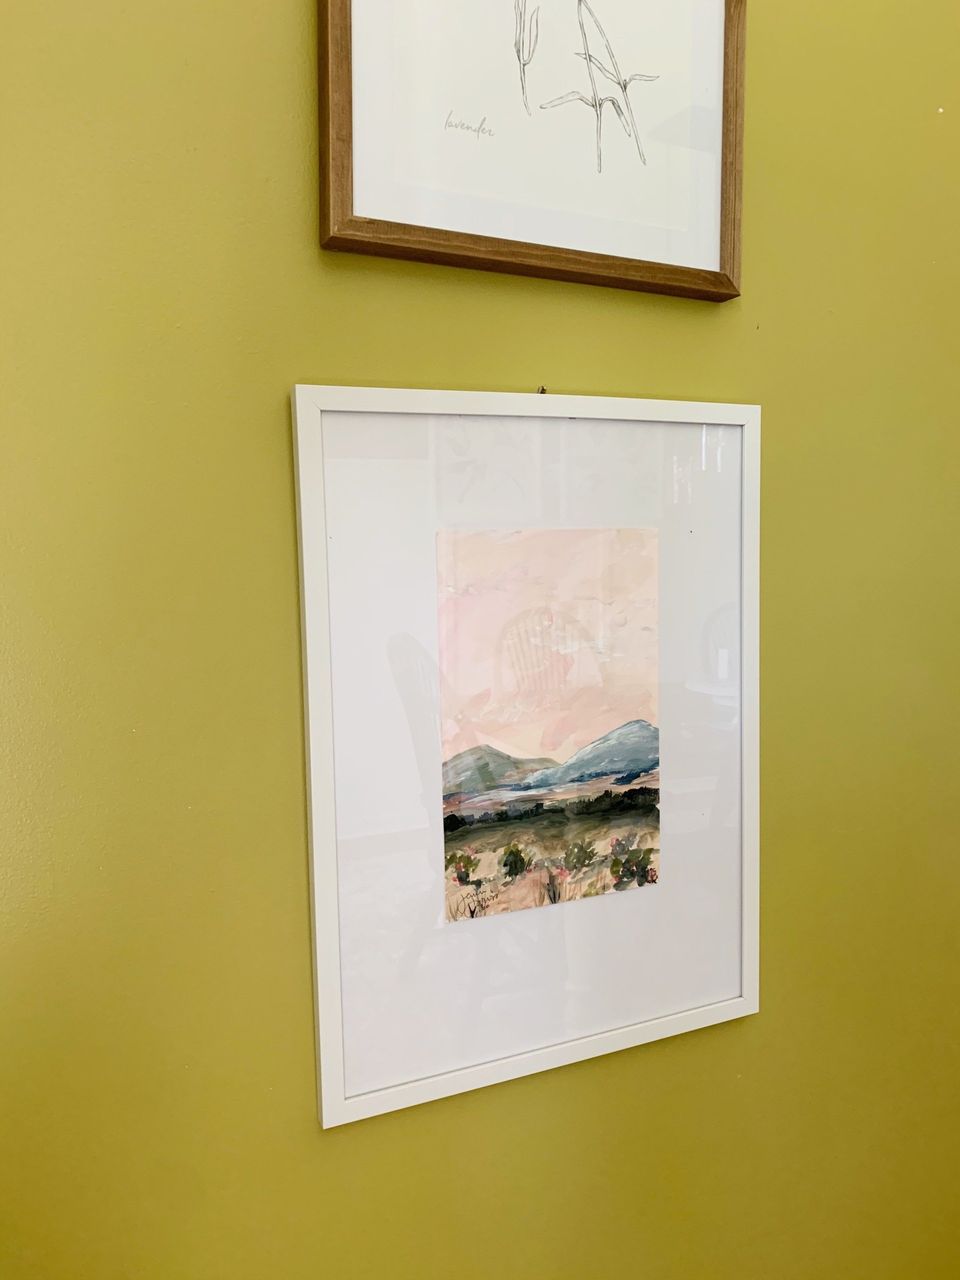
This is the easiest and safest route. If you mess up, you can simply start again with a new page. I used a large piece of textured cardstock (I had on hand from my job selling wedding invitations) and cut it to JUST larger than the opening for the print. I made my painting on the cardstock and positioned and secured it into place with tape on the back along the perimeter. I cleaned off the glass, but the foam board with new art back inside and secured it with a few staples from a staple gun along the back.
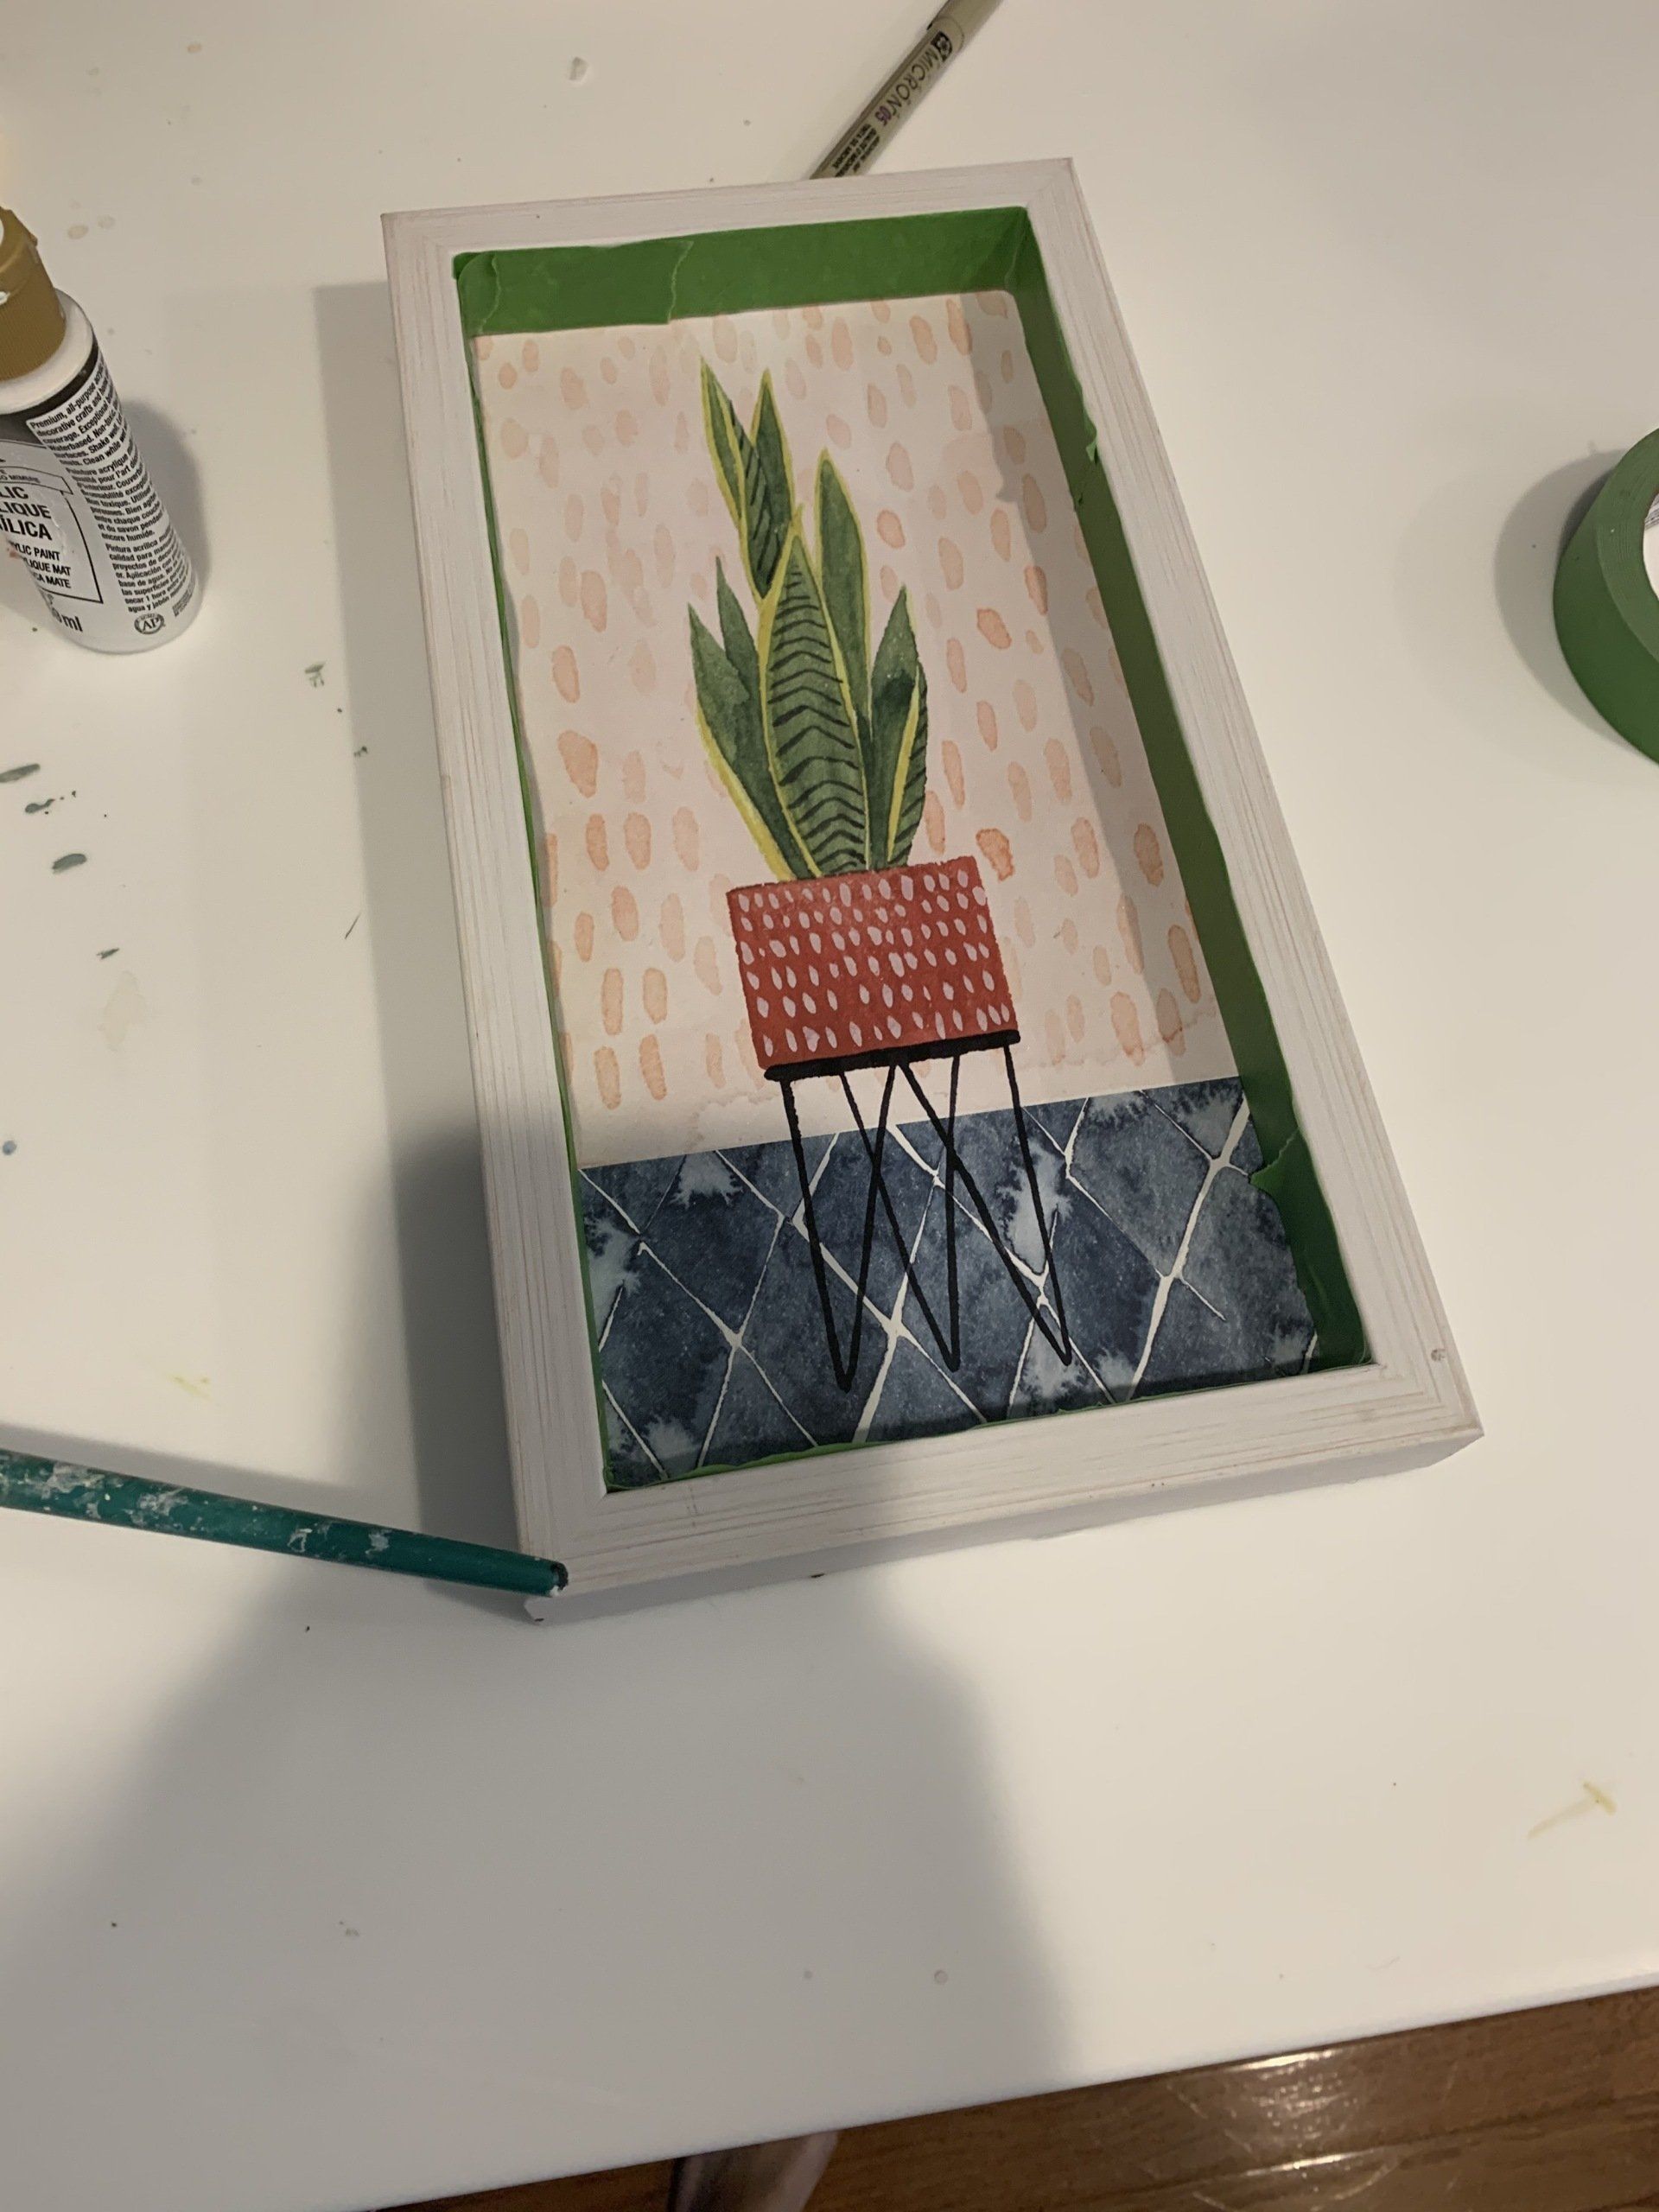
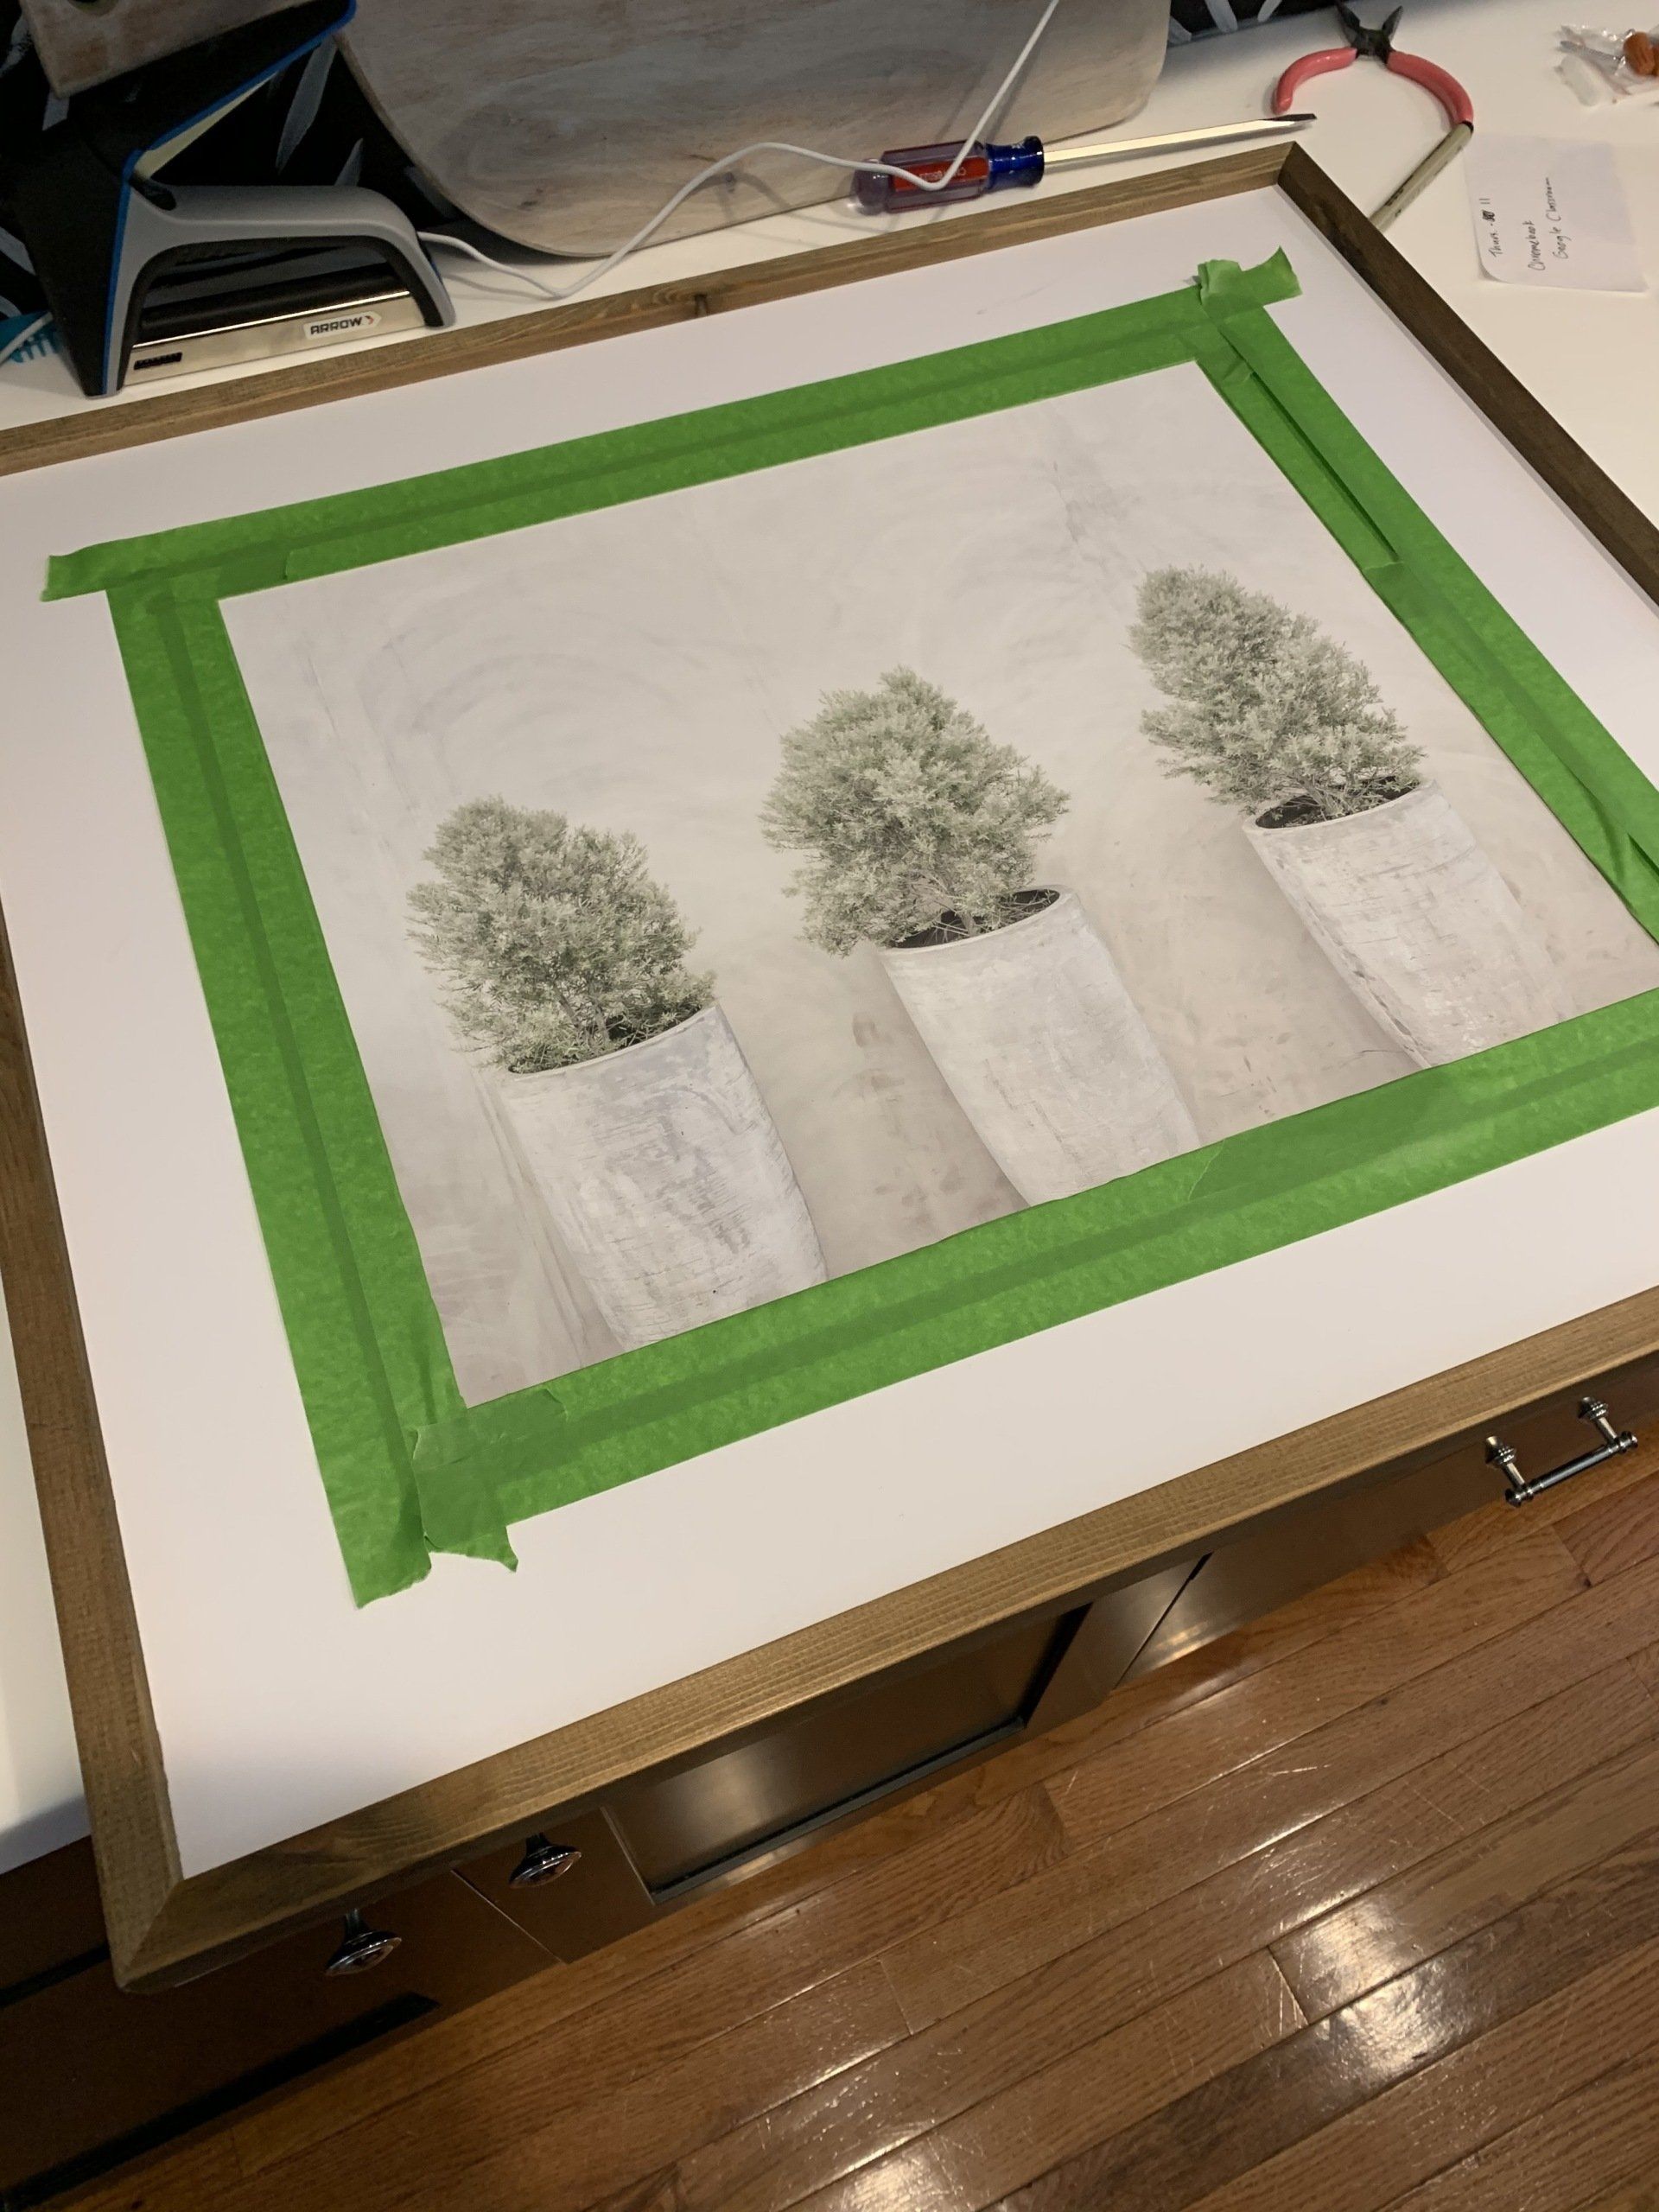
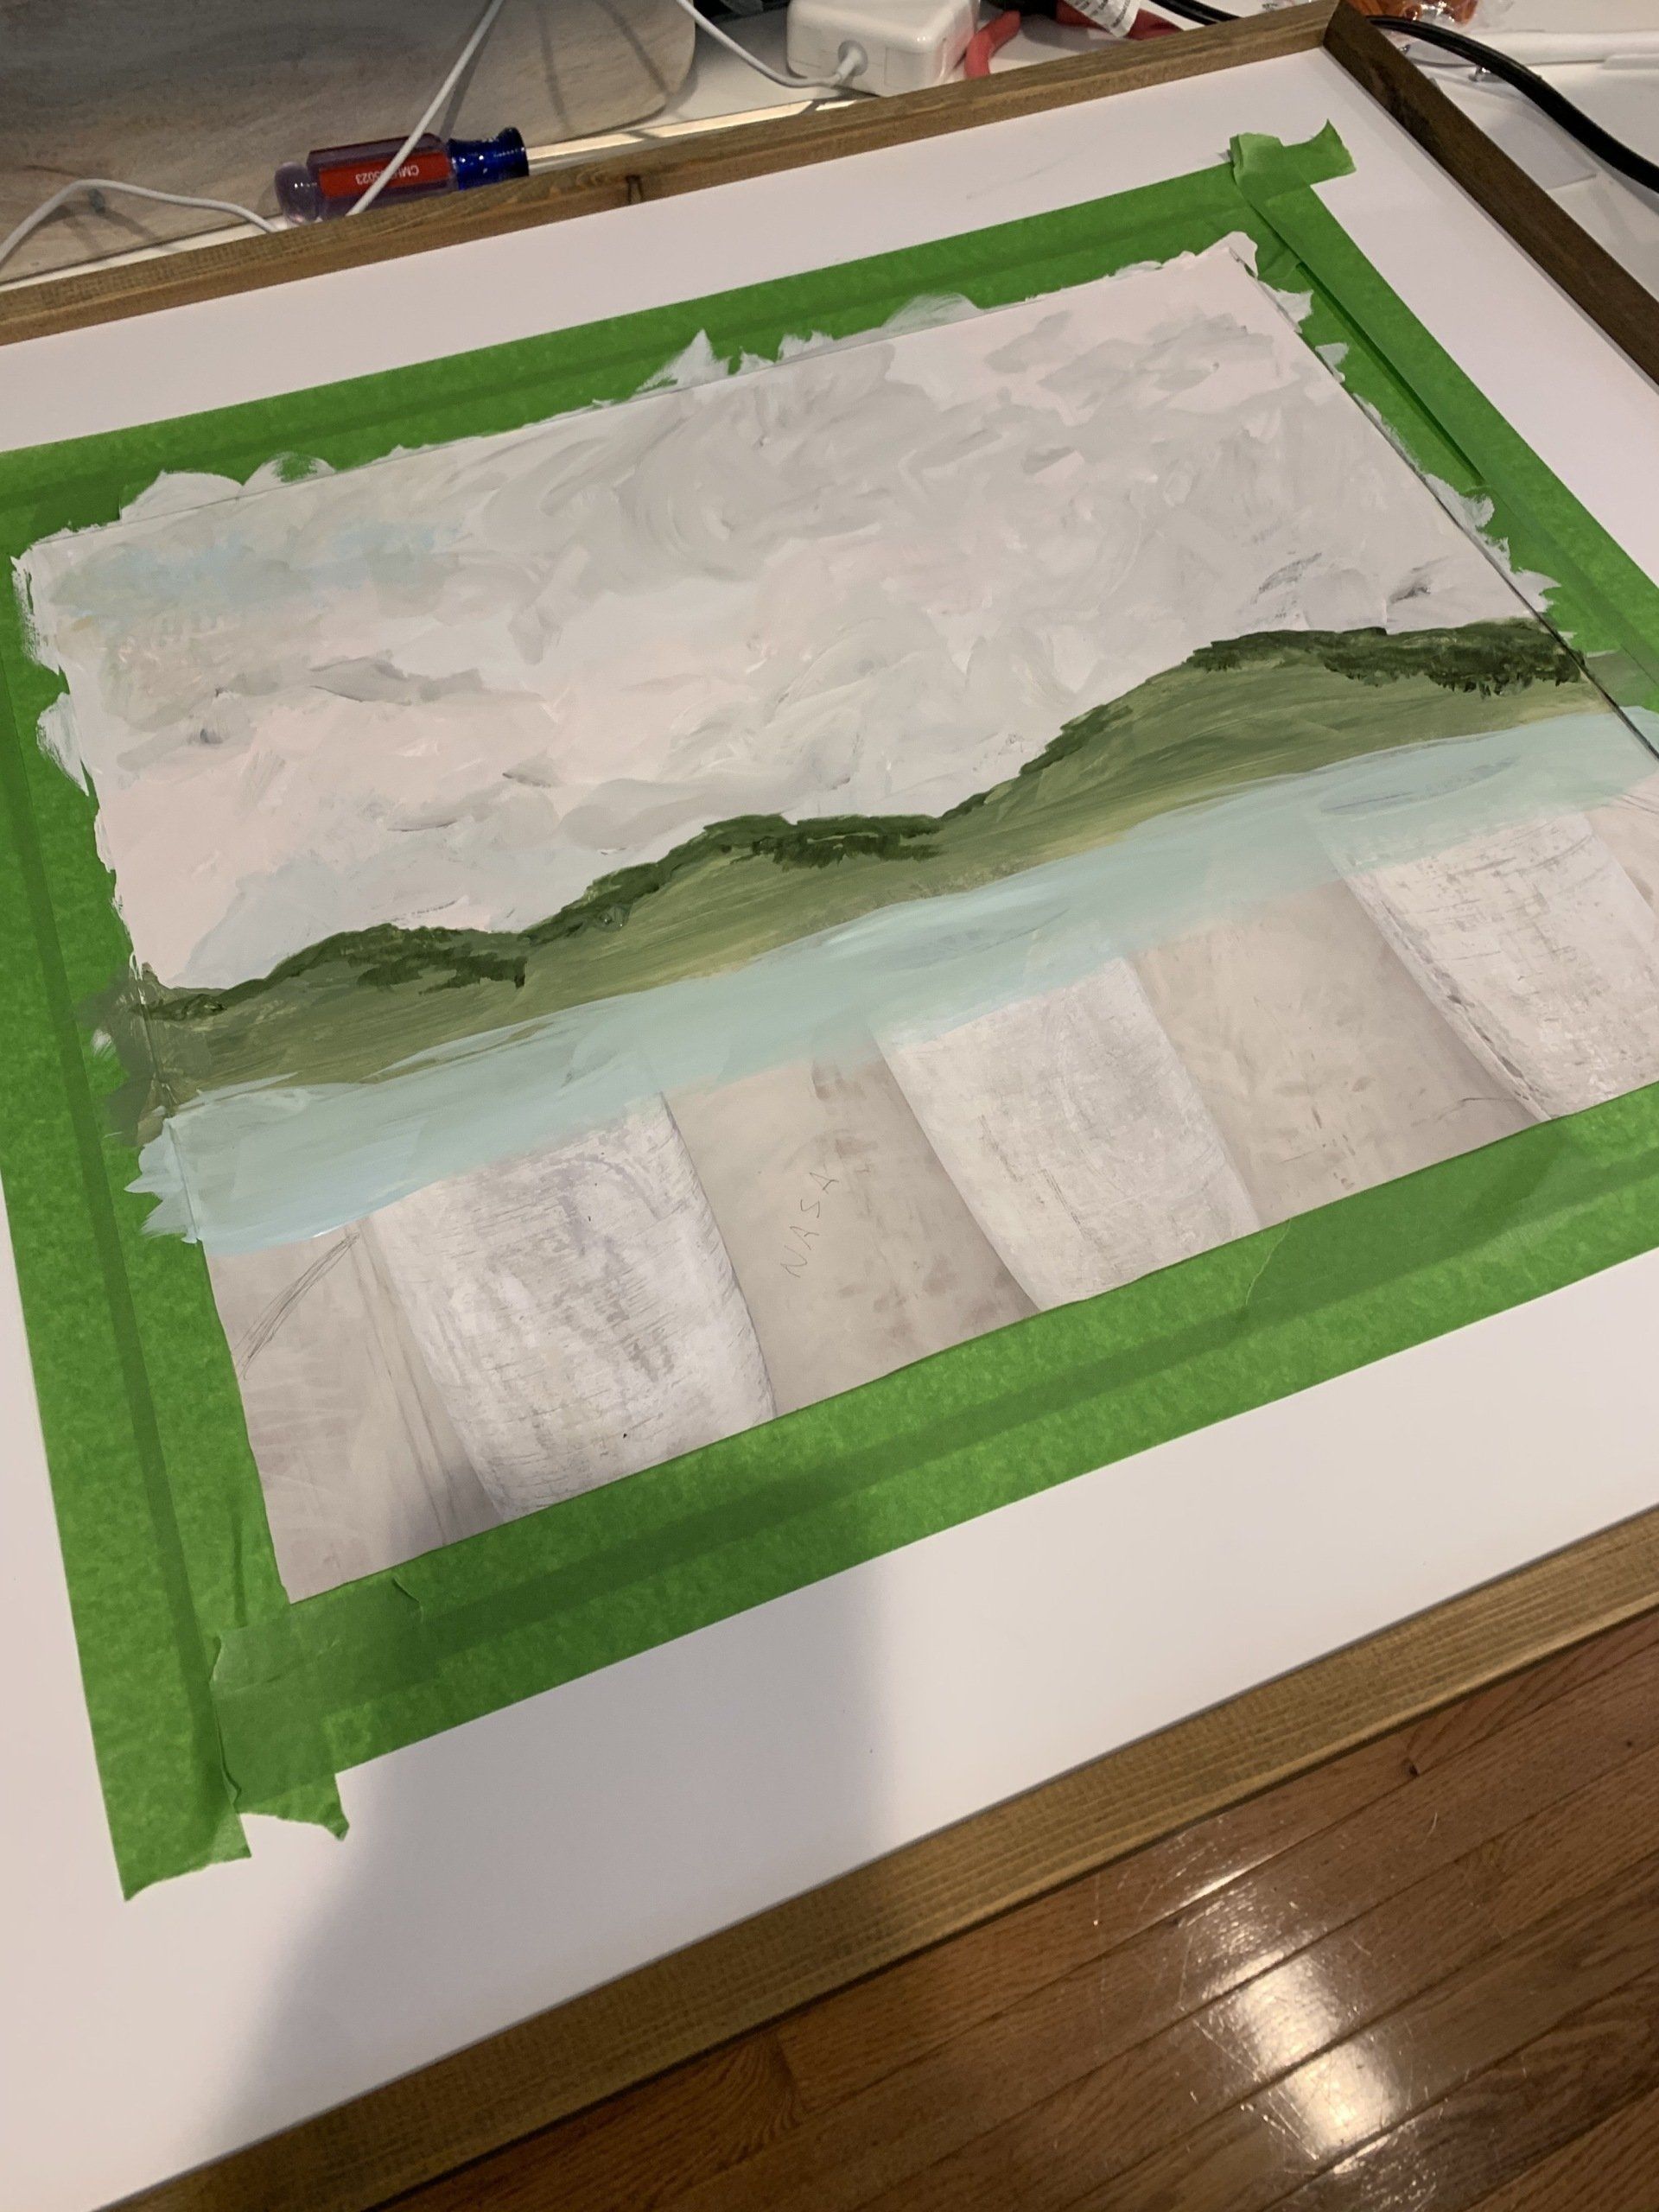
Painting Over Existing Art
The only challenge to painting over existing art is keeping the mat clean and not getting too much water on the painting, so the paper doesn't bubble. Don't ask me how I know. Actually, I painted an entire mat white because I dripped paint on it!
I use Frog Tape to tape off the mat opening. The delicate kind would be best. You'll want to be sure to do this carefully and maybe tape a couple layers so you don't get the mat accidentally when you get too excited painting! You can also do this on paintings without a mat by just taping off the frame.
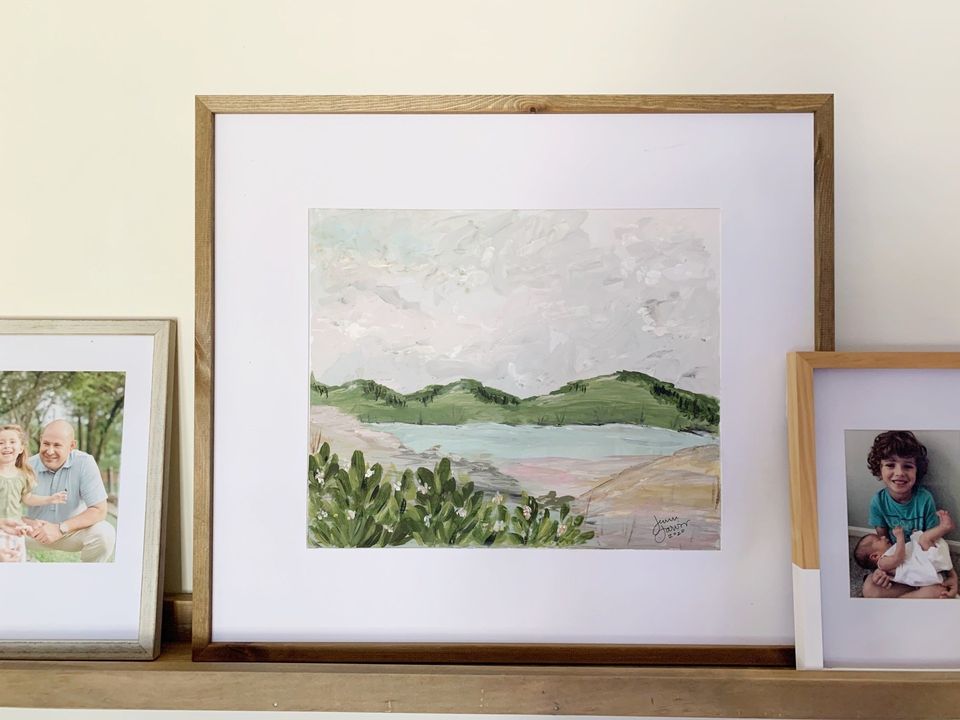
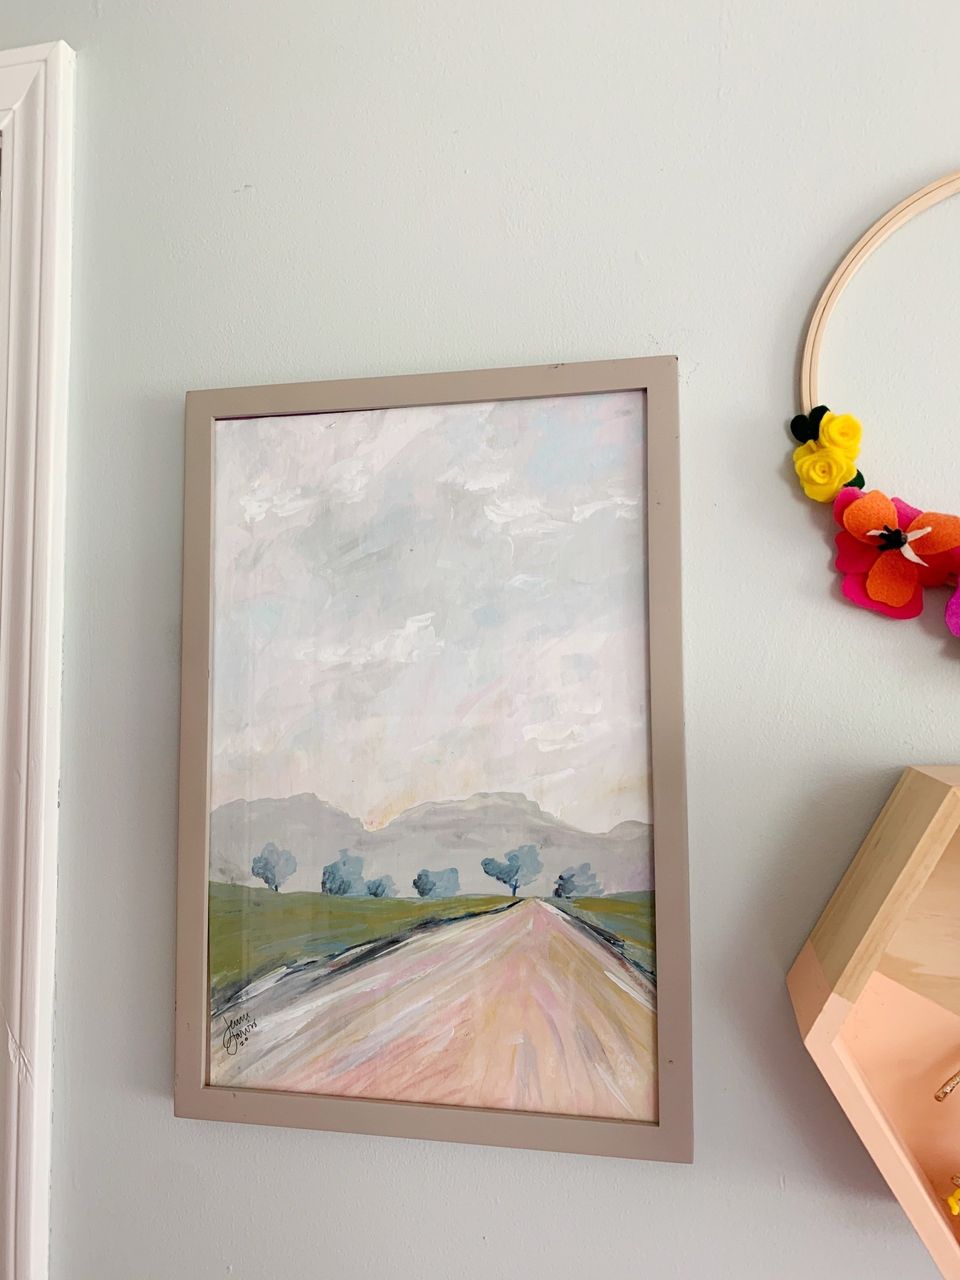
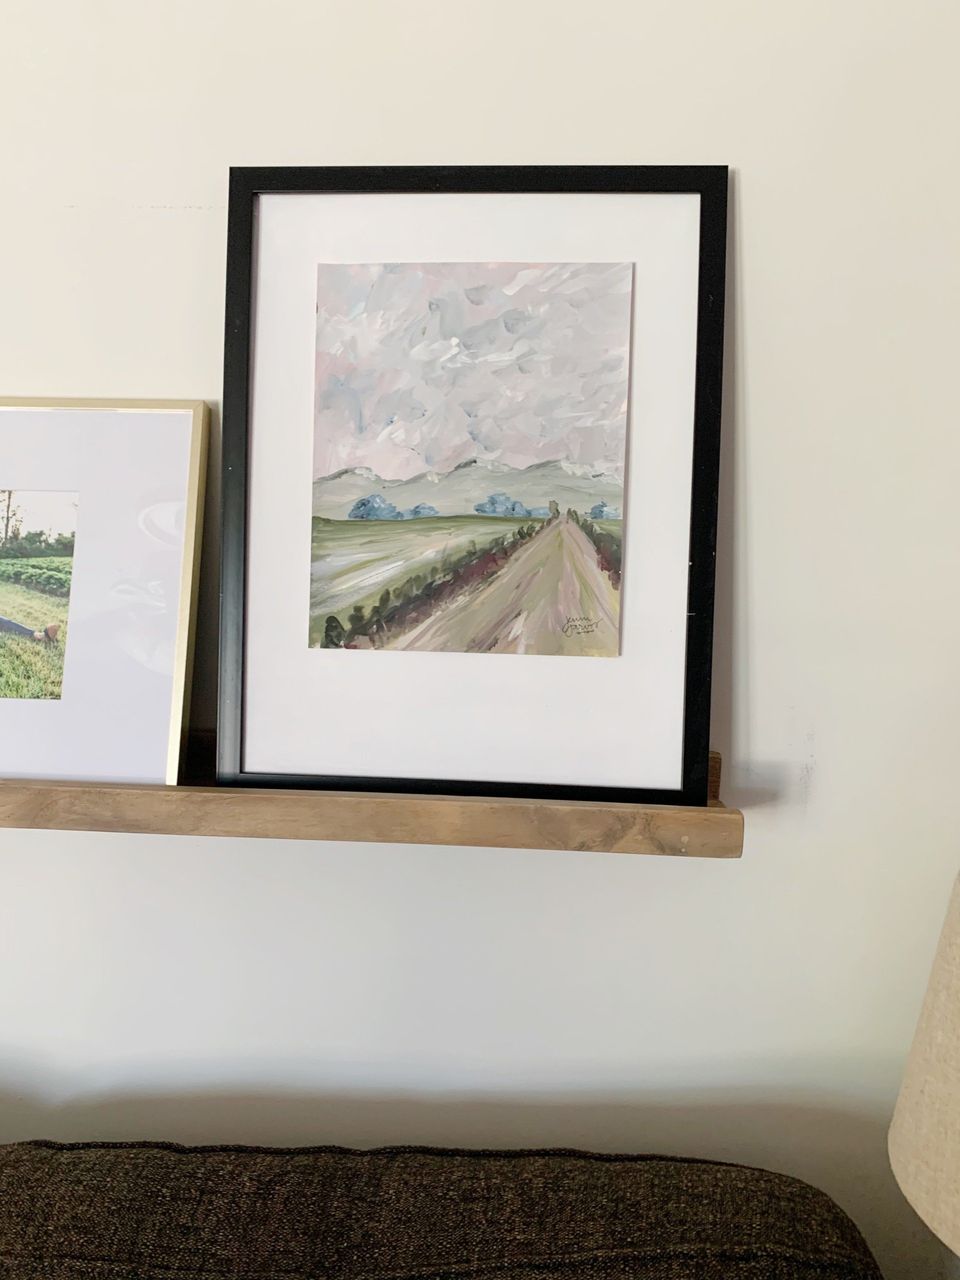
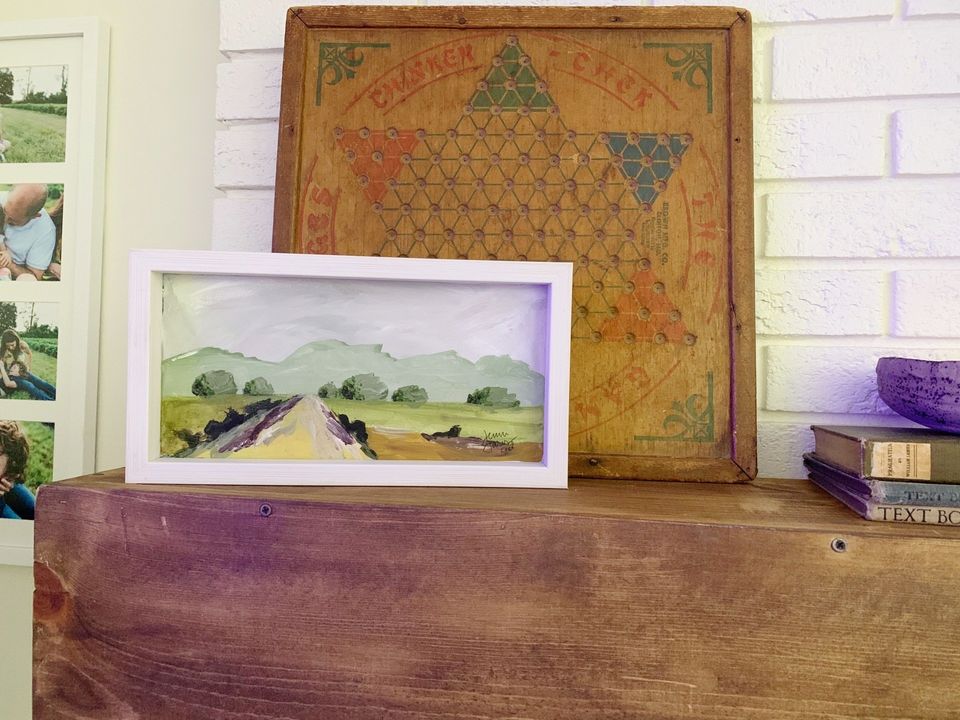
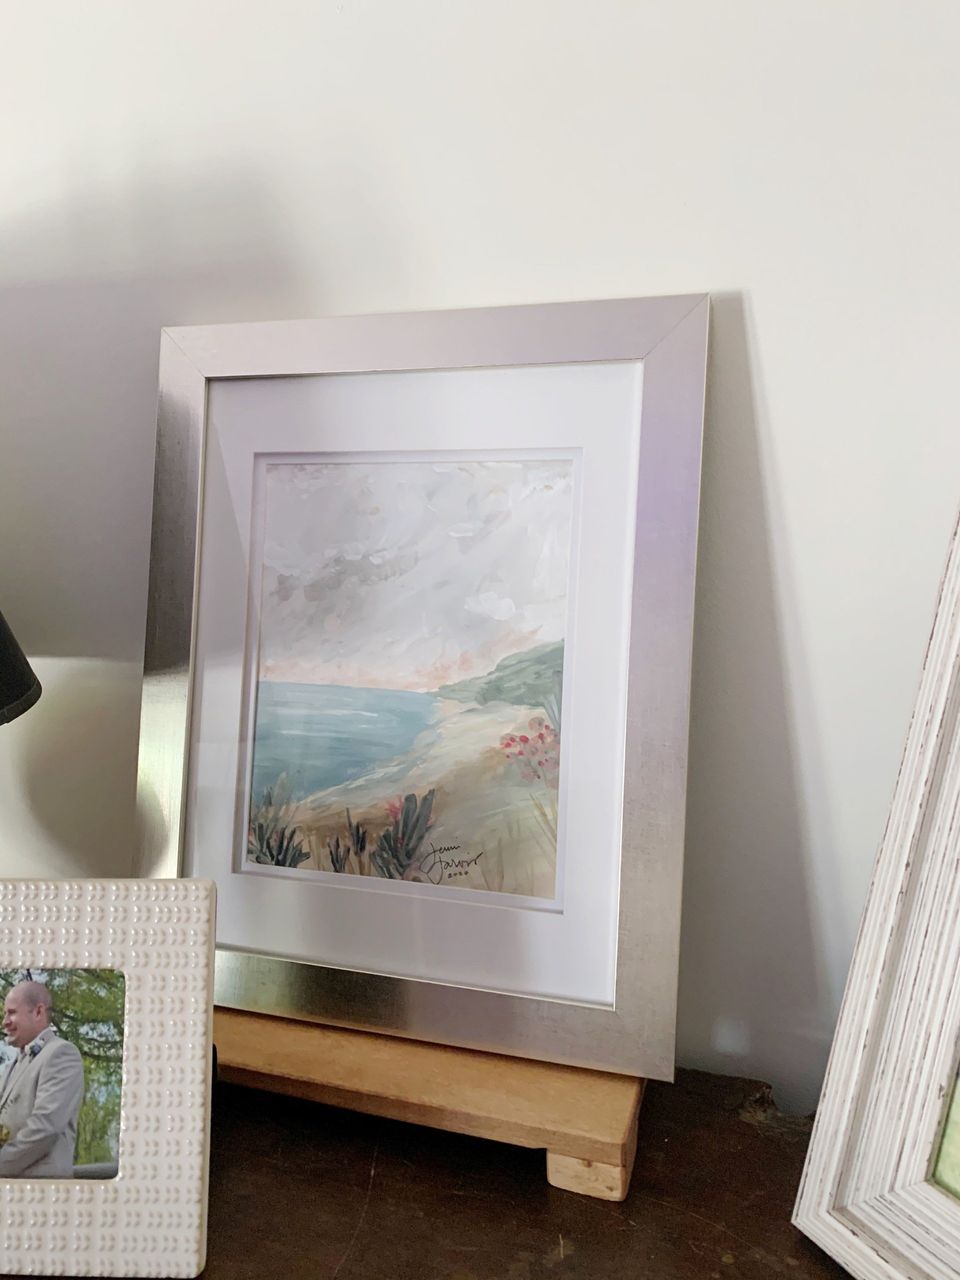
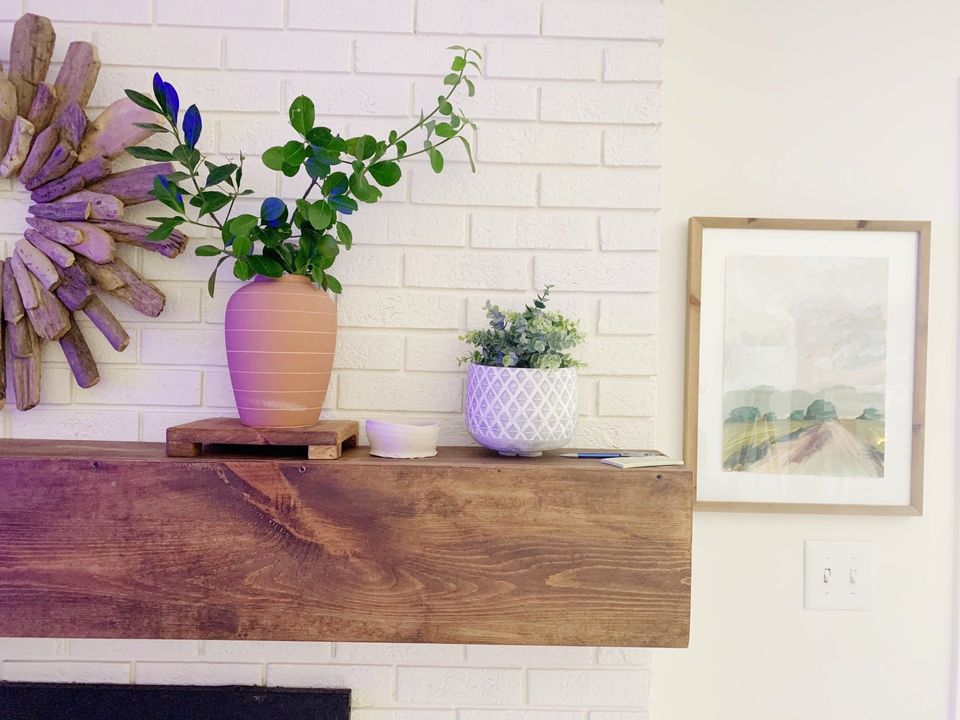
I used kind of the same formula for most of the landscapes I did, altering the colors and orientation for what I needed. I did a rough, blended sky of different colors, some mountains or large distant formations in the background, trees/bushes on top, then usually some details in the middle ground and sometimes a more detailed plant in the foreground. It was fun to mix up colors to fit the frames and the rooms I planned to use them.
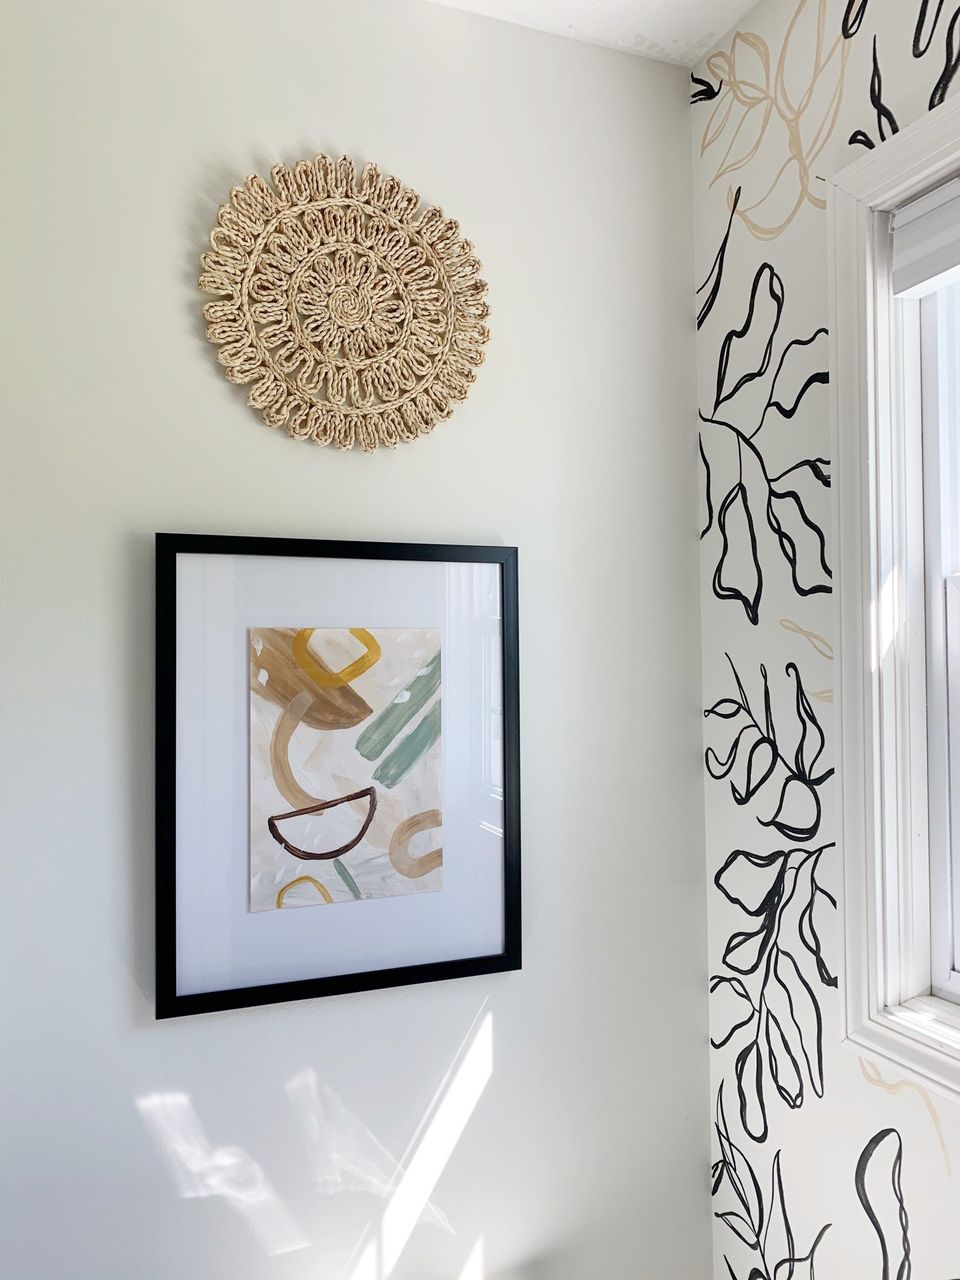
Abstracts
If abstracts are more in your comfort zone, by all means, use this method and create something! Shapes, colors, patterns. My best advice is to pick your colors BEFORE you start painting, so there's a method to your madness.
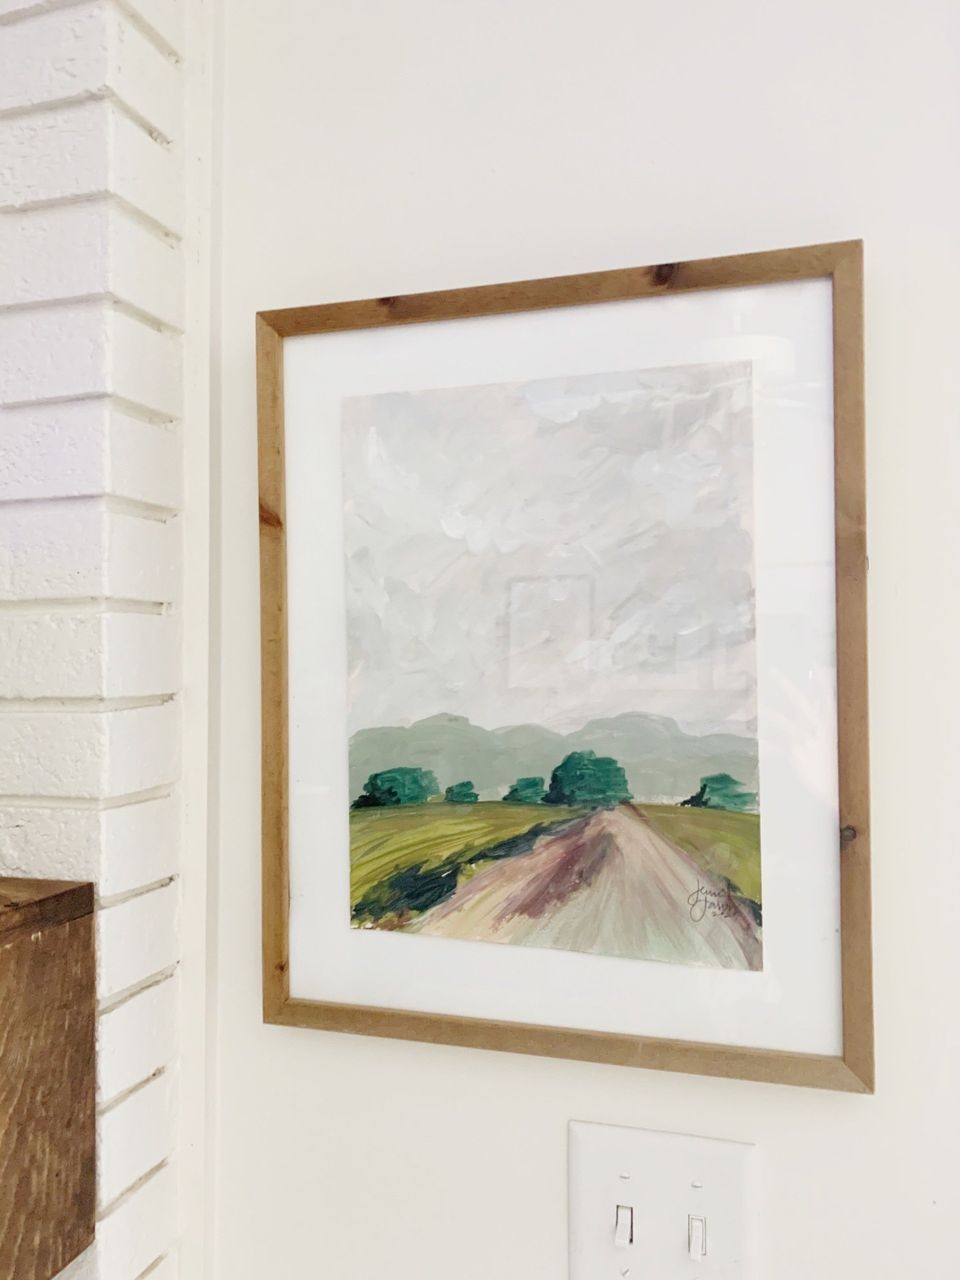
You can do it!
Don't forget, you can also mix in some family photos to replace old prints! That's a great way to get a really cool frame and mat without having to spend a ton. I love having a new mix of photos, abstracts and landscapes to freshen up our home. And don't forget to sign your work--it shows it's original art!!
Pin for Later!