
Found Pot DIY
Found Pots
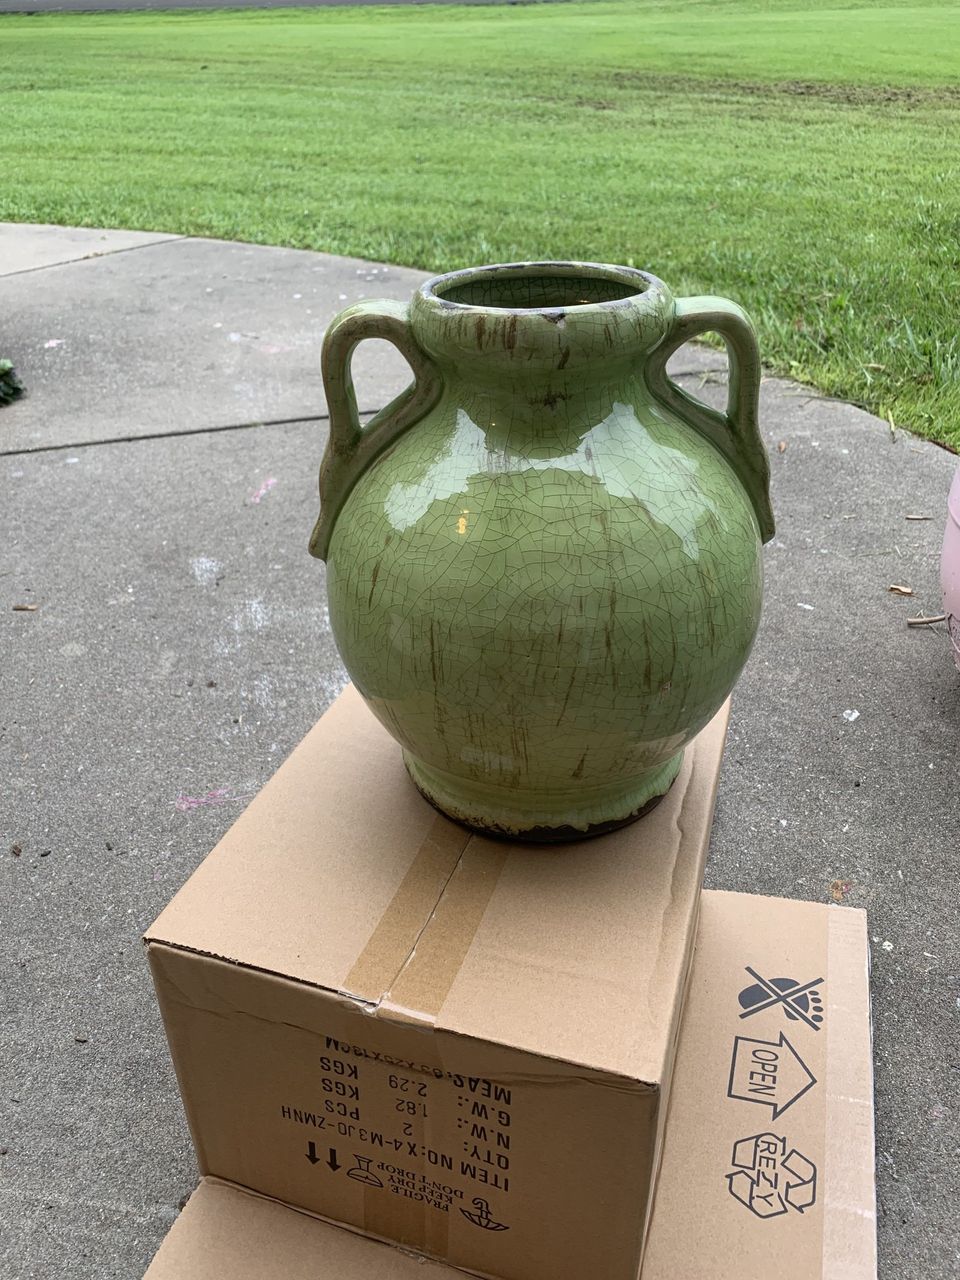
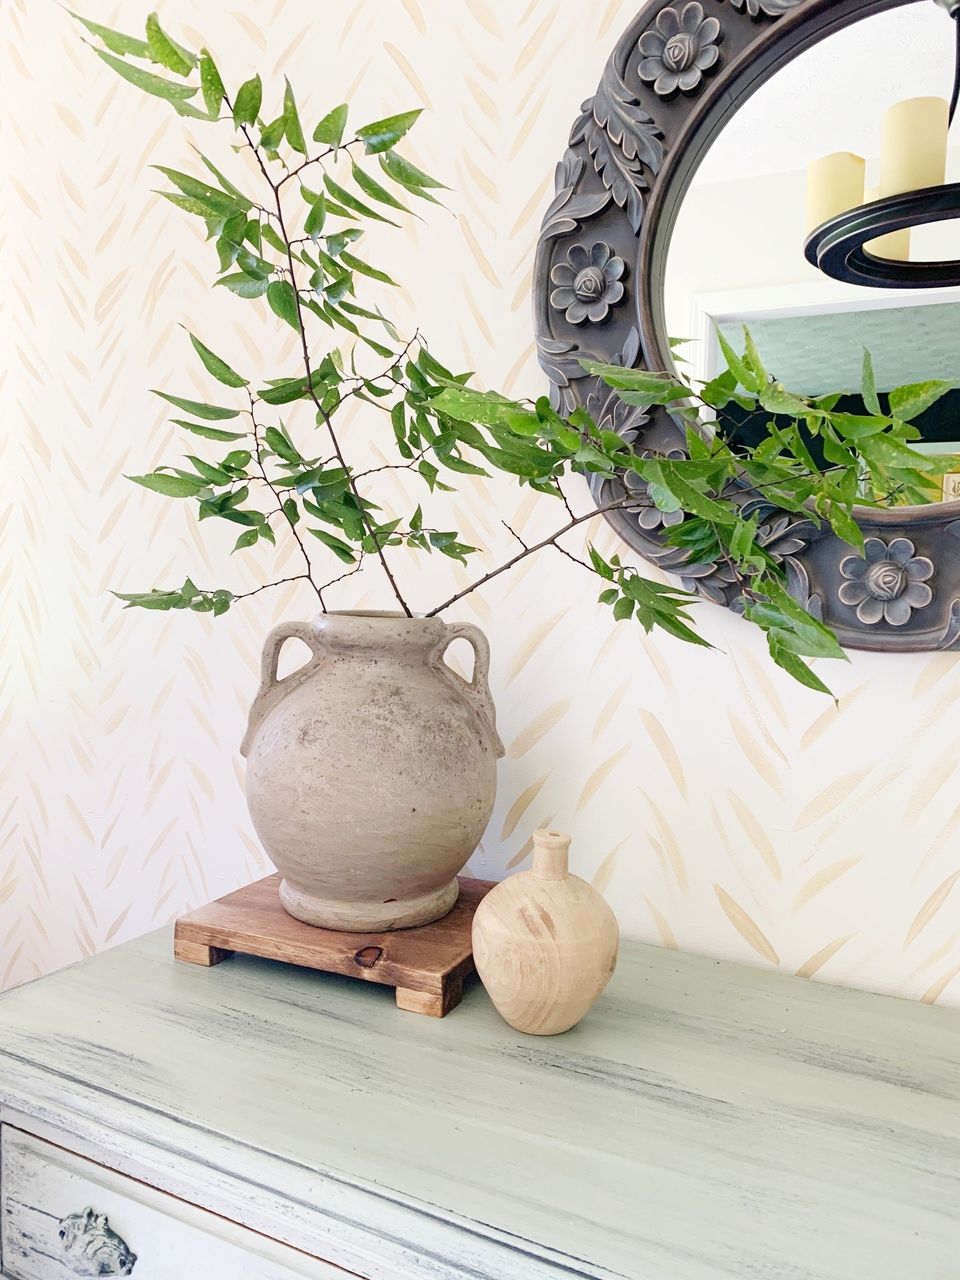
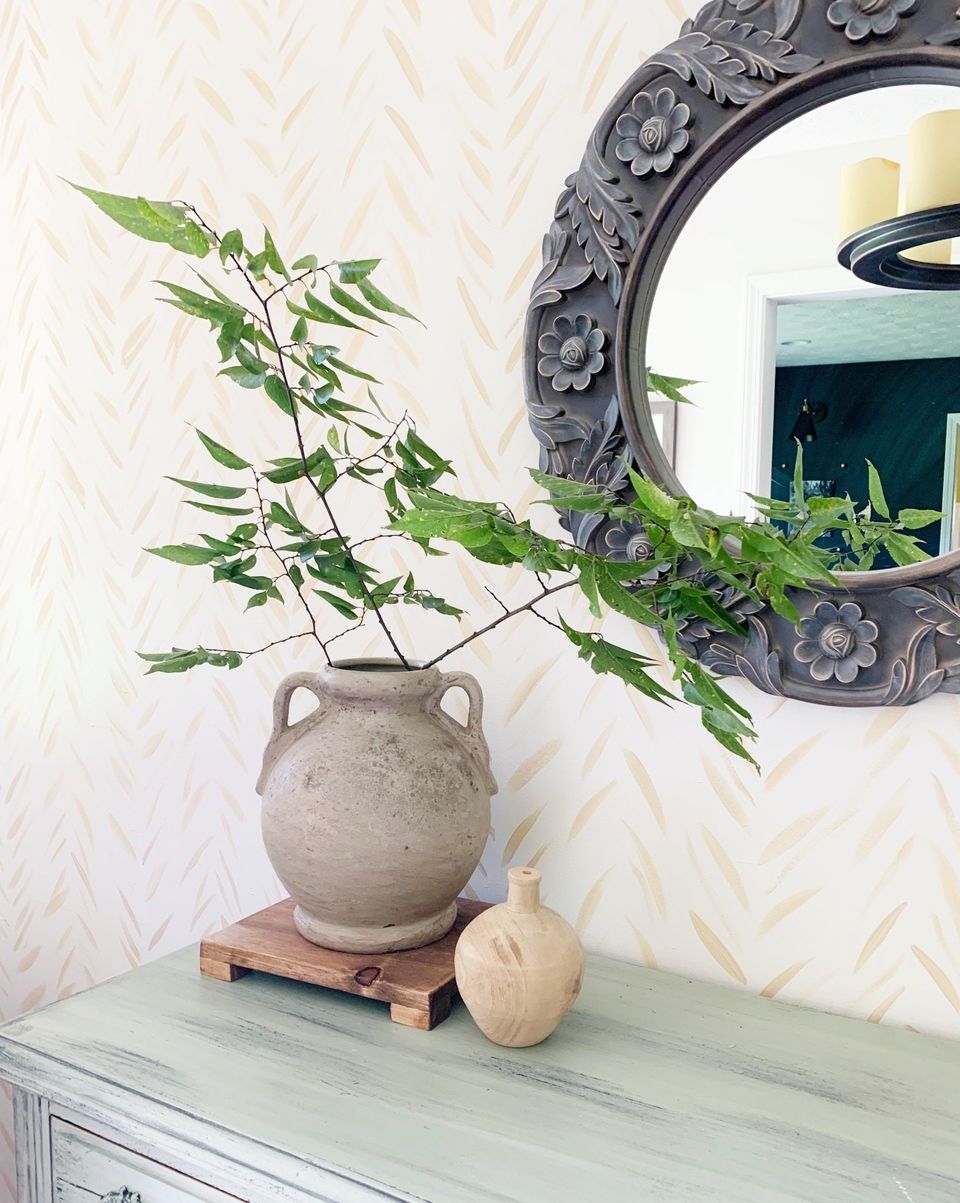
Old Vase
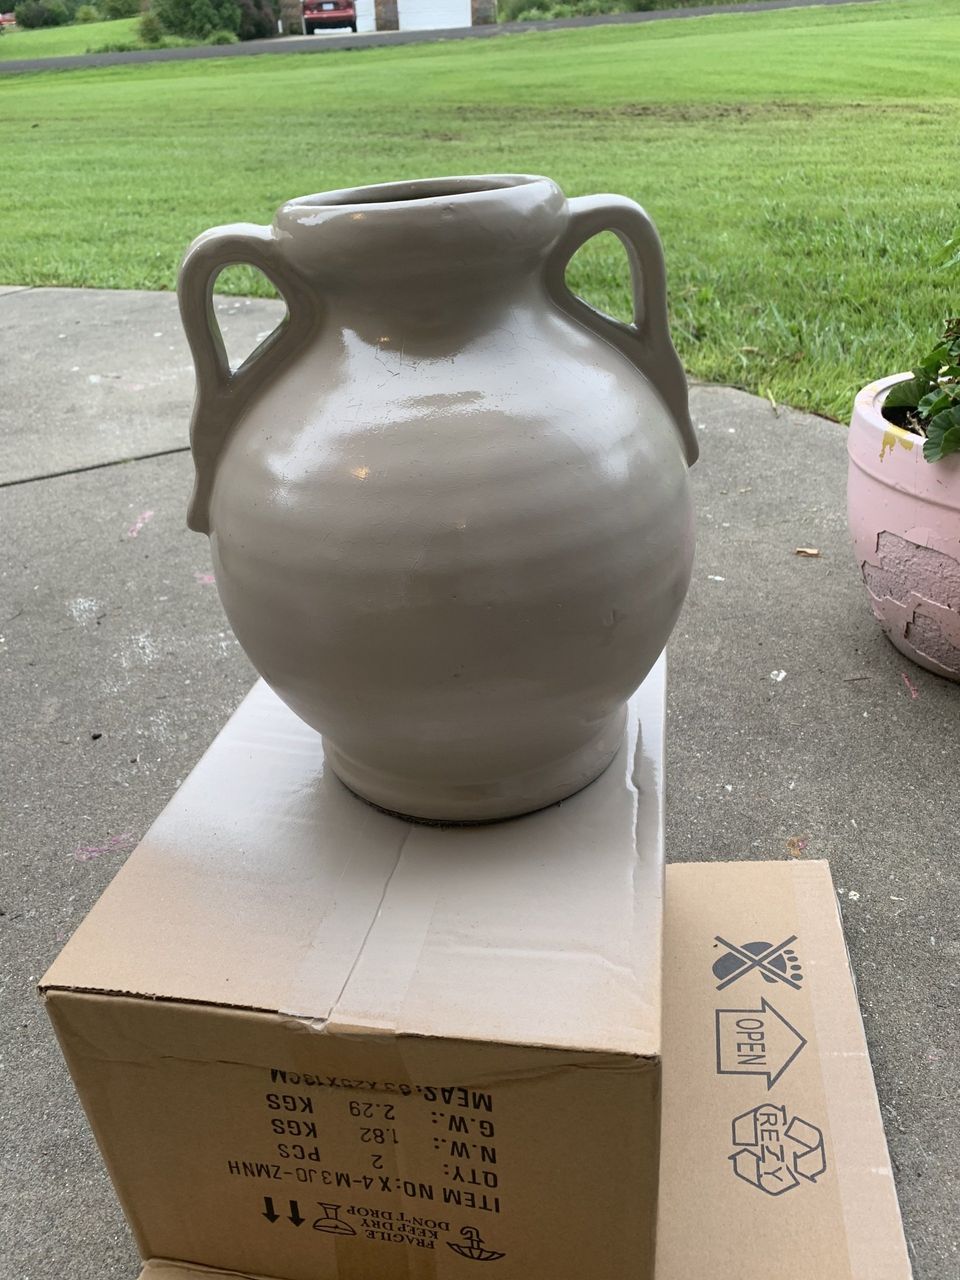
I decided to try it out again with a different color on a large, chunky vase I've had for years. It came from some flowers my husband got for me and I've always loved it. This time, I chose a matte tan spray paint, covered it with two coats and waited for it to dry. I rubbed wet dirt (not slimy mud) all over and let it dry. After it dried in the sun for several minutes, I buffed off the excess.
Every time I've done this technique, I've had a couple spots where the paint rubbed off where you could see the original pottery. It's pretty easy to fix. You can either spray a small stream of paint directly on the spot, let it dry, and then gently pat some dirt over it to blend it, OR you can spray the paint in a plastic cup and dab it on the chips with your finger or a q-tip, then pat the dirt in. The key is to be gentle when you're rubbing to avoid having the problem in the first place.
Pin for Later!


