
Right and Wrong Way to Paint a Tile Floor
June 11, 2020
This post is a little different than the usual. For a couple days after painting our tile bathroom floor, I thought it was going to turn out to be a great project, but it didn't. So, here I want to share what I did right and wrong, and don't worry, I actually have a good way to paint a tile floor--this method just isn't it. So do as I say, not as I do!
Old Tile Bathroom Floor
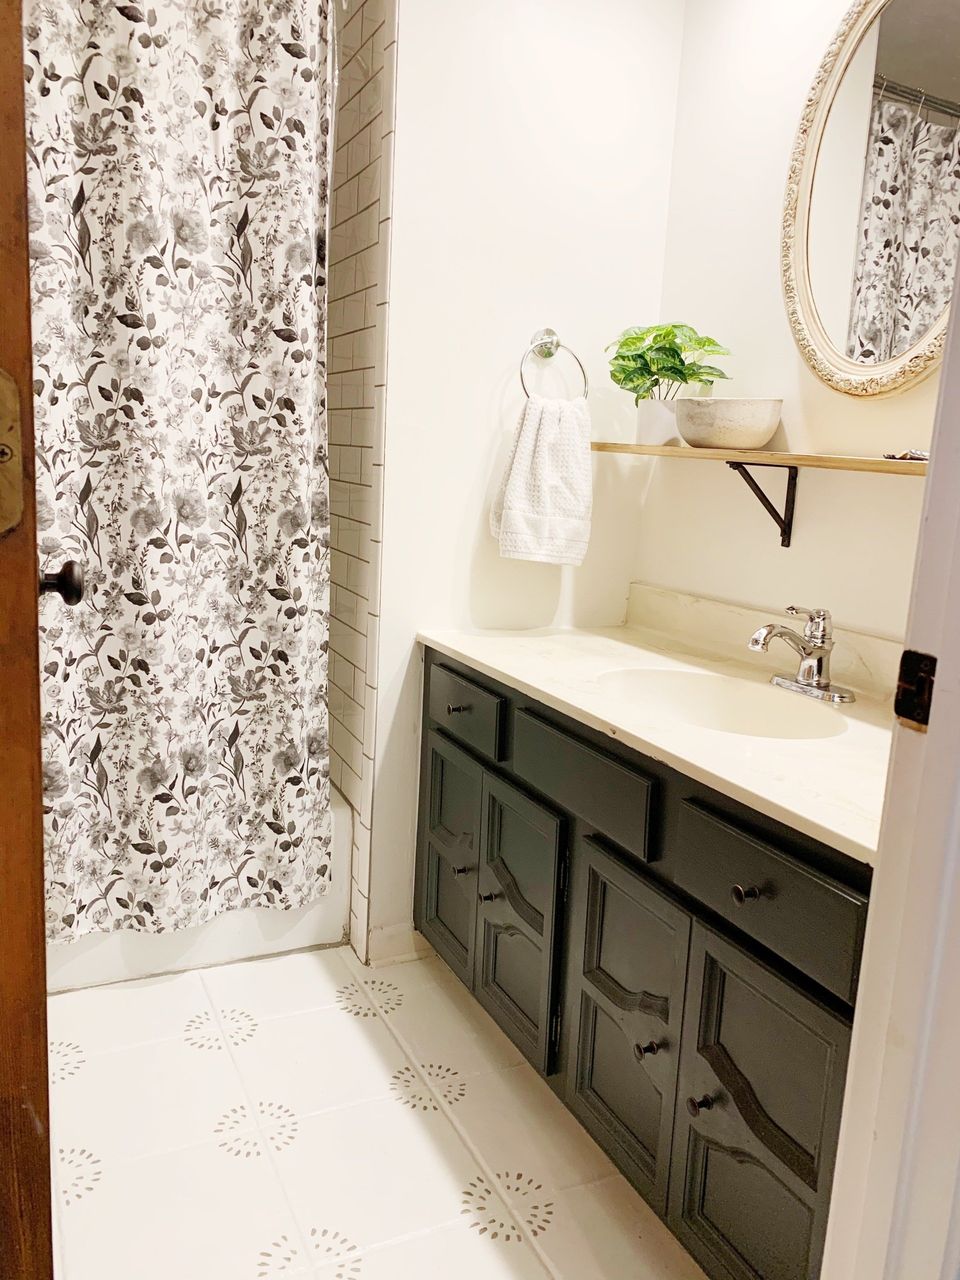
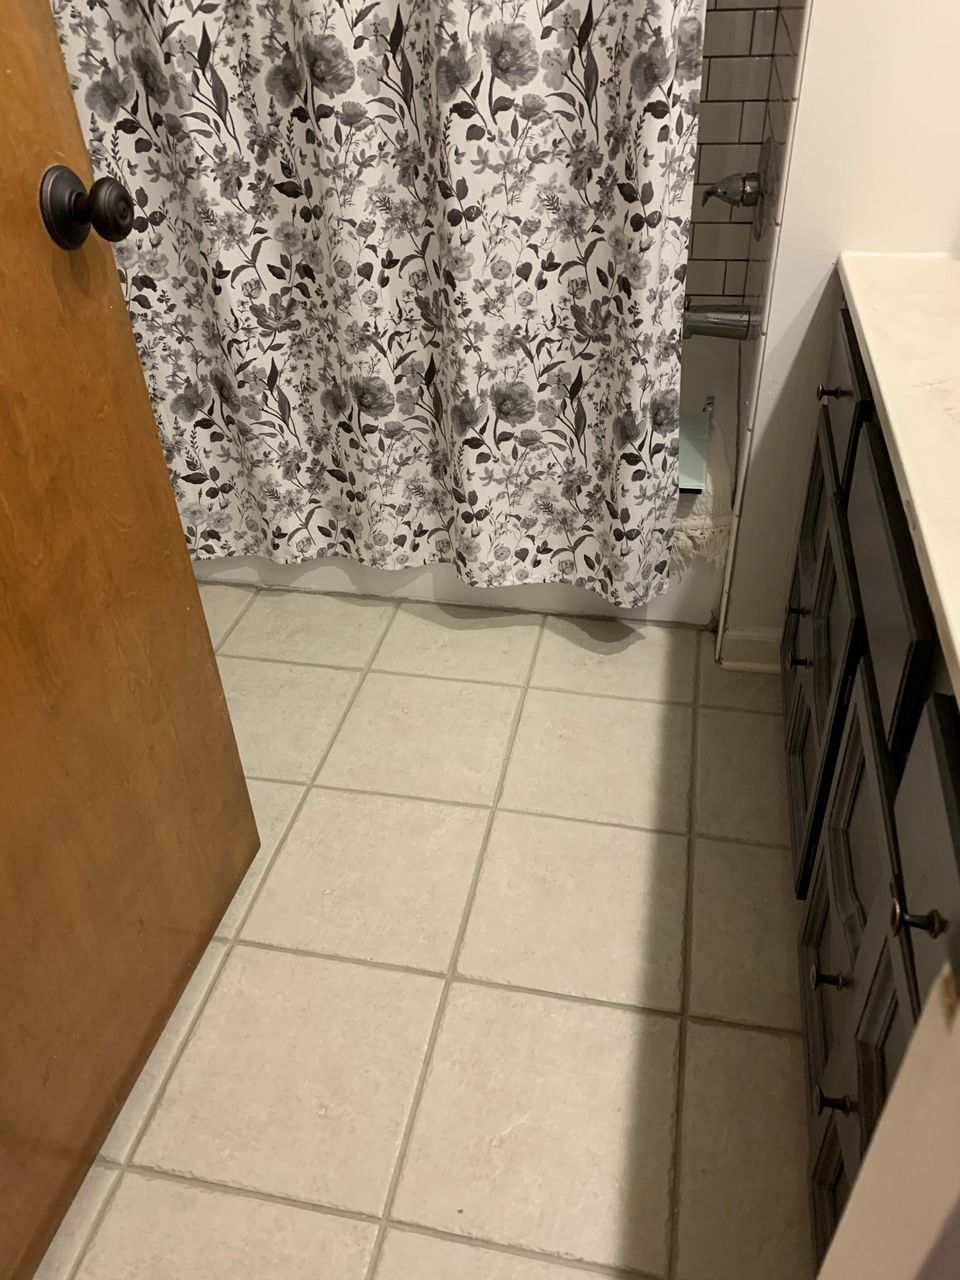
The only flooring we didn't replace when we moved into our house was the tile in our bathrooms. It's about 12x12" beige textured tile. It's probably something that got put in between 2000-2010 and really isn't THAT offensive. It's totally functional, but not what I would personally pick out now. However, changing tile is a complicated, expensive and messy job, so it still stands. I actually LOVE having tile in both baths, because you don't have to worry at all about water getting on the floor.
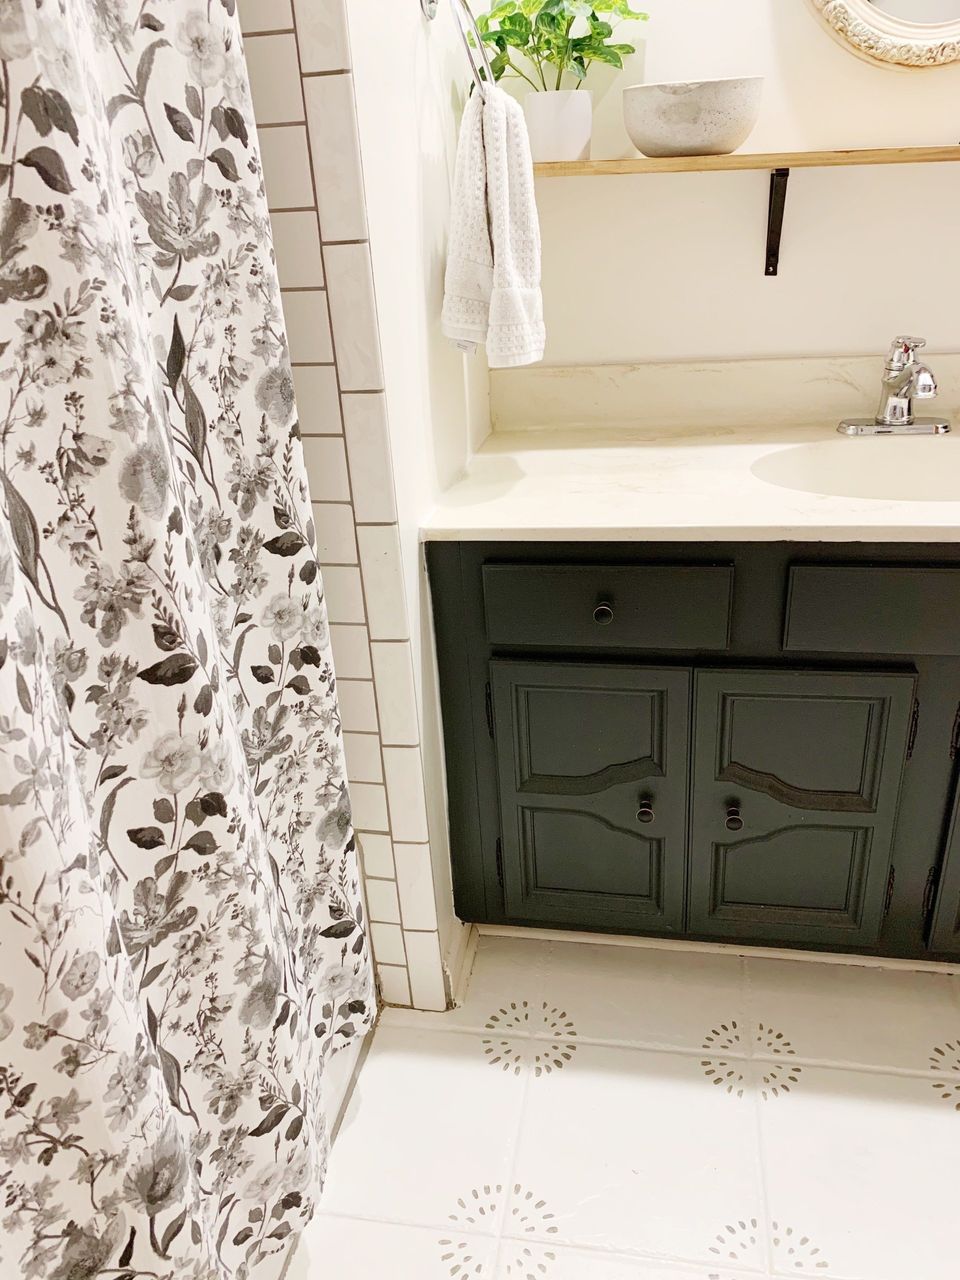
Another reason I don't just want to replace the existing tile in our master bath is because I really want to do a larger bathroom update at some point. We have what I call a "hotel-style vanity" in our bedroom, just outside the shower/toilet/sink room. It's between our bath and walk-in closet in a little alcove and has a sink, vanity and mirror. I'd like to knock out the wall between the two and put a sliding door between the bathroom area and our bedroom, so we could have a larger bathroom.
Chalk Painting Tile
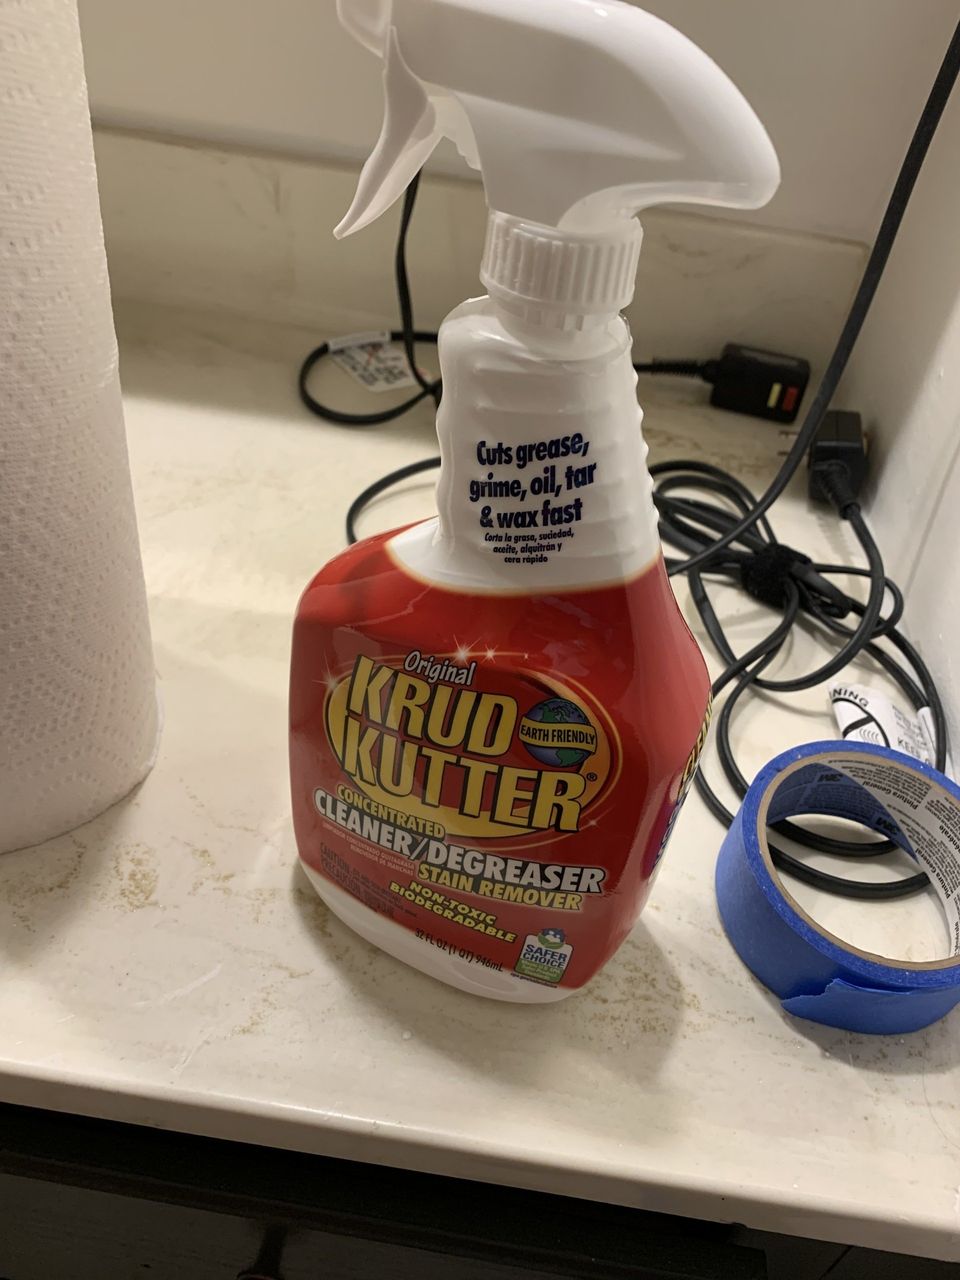
I've read numerous tutorials online about chalk painting your tile floors, all with mixed reviews. I already had leftover white chalk paint and polyurethane on hand, so I decided to go for it. I used Krud Kutter to clean and degrease the floor. It prepares the surface for painting. Another important thing to have on hand is a hairdryer to blow off any dirt or hair, because, inevitably, it keeps finding it's way into the room. Also, wear clean socks while working. It helps if you don't wear them anywhere else so they don't bring in any dirt or dust.
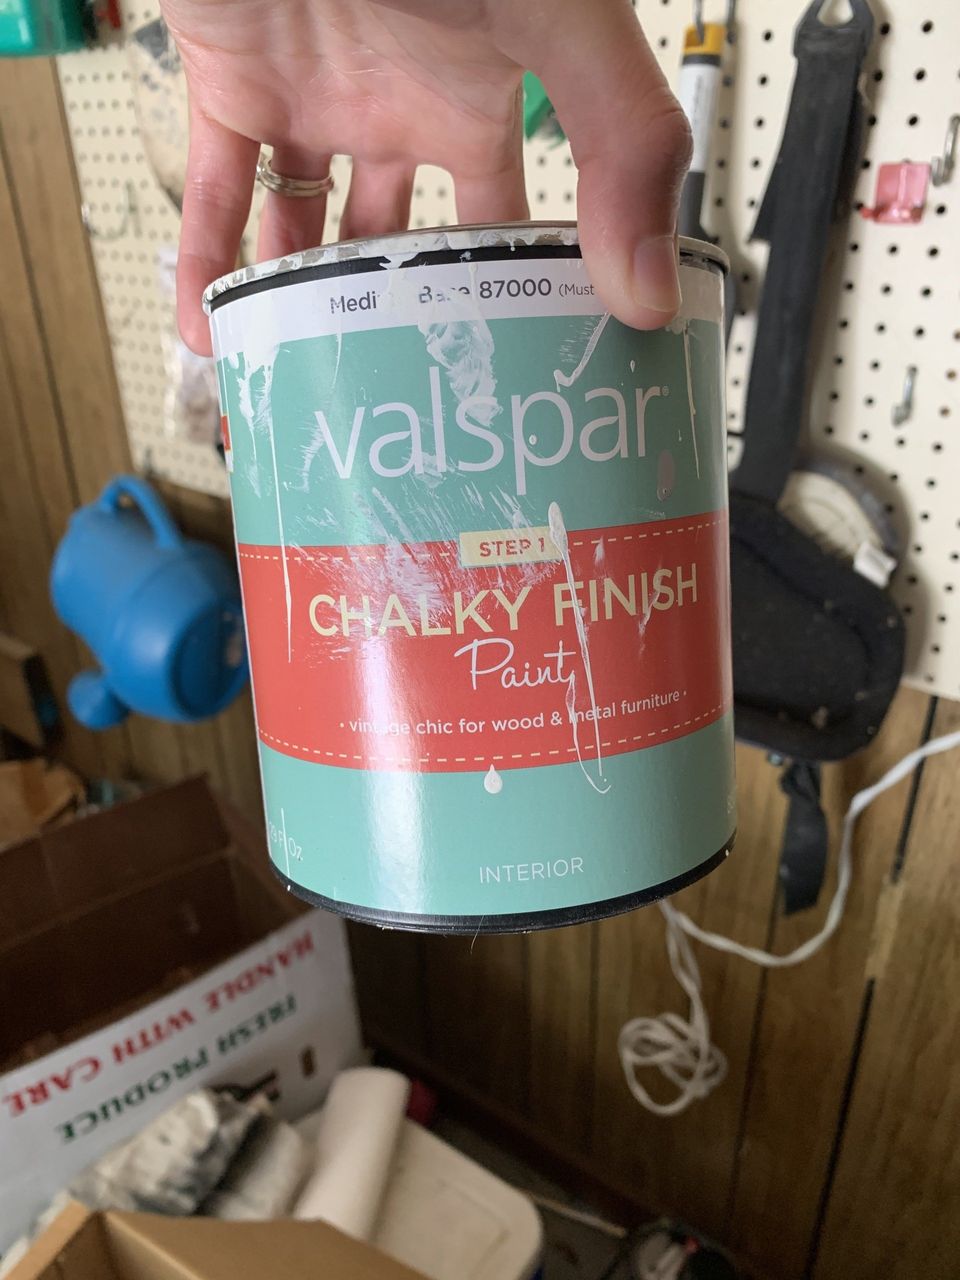
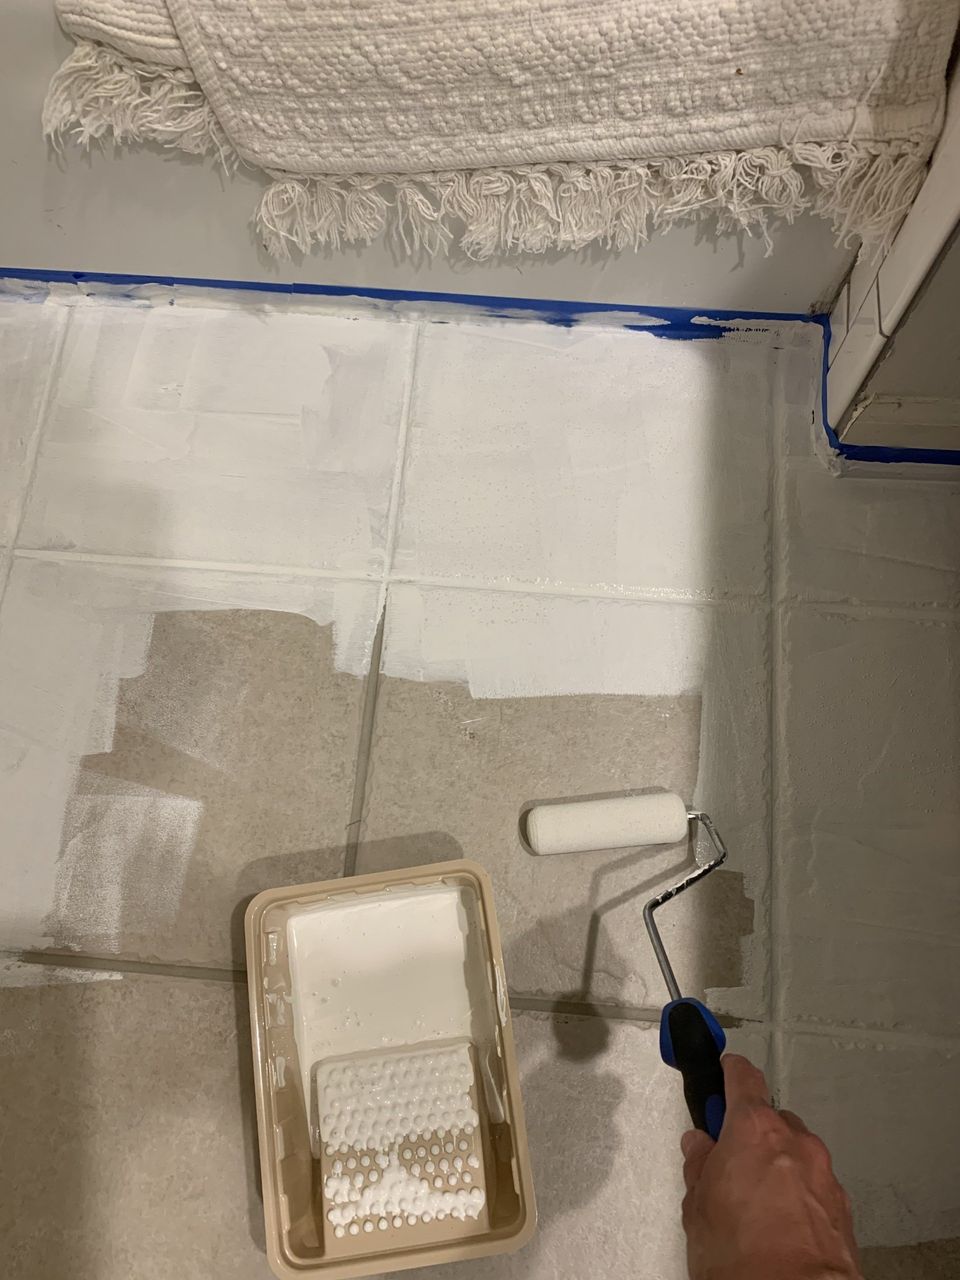
After taping off the baseboards, I put on two coats of Valspar Chalky Finish paint with a small foam roller. You can see the first and second coats below. It took a couple hours to dry between coats.
Making your pattern
I wanted a pattern on this floor, but knew a stencil wouldn't work, because these tiles are textured and the paint would bleed under the stencil. There are about a million at Cutting Edge Stencils
I would love to use, though! I had also tried (unsuccessfully) a sample of a removable tile decal, but it just doesn't work because of the textured edges. That would be a great option if you have smooth tiles--they can be custom-made to size. Hexagon Decor and BleUcoin on Etsy both have awesome designs.
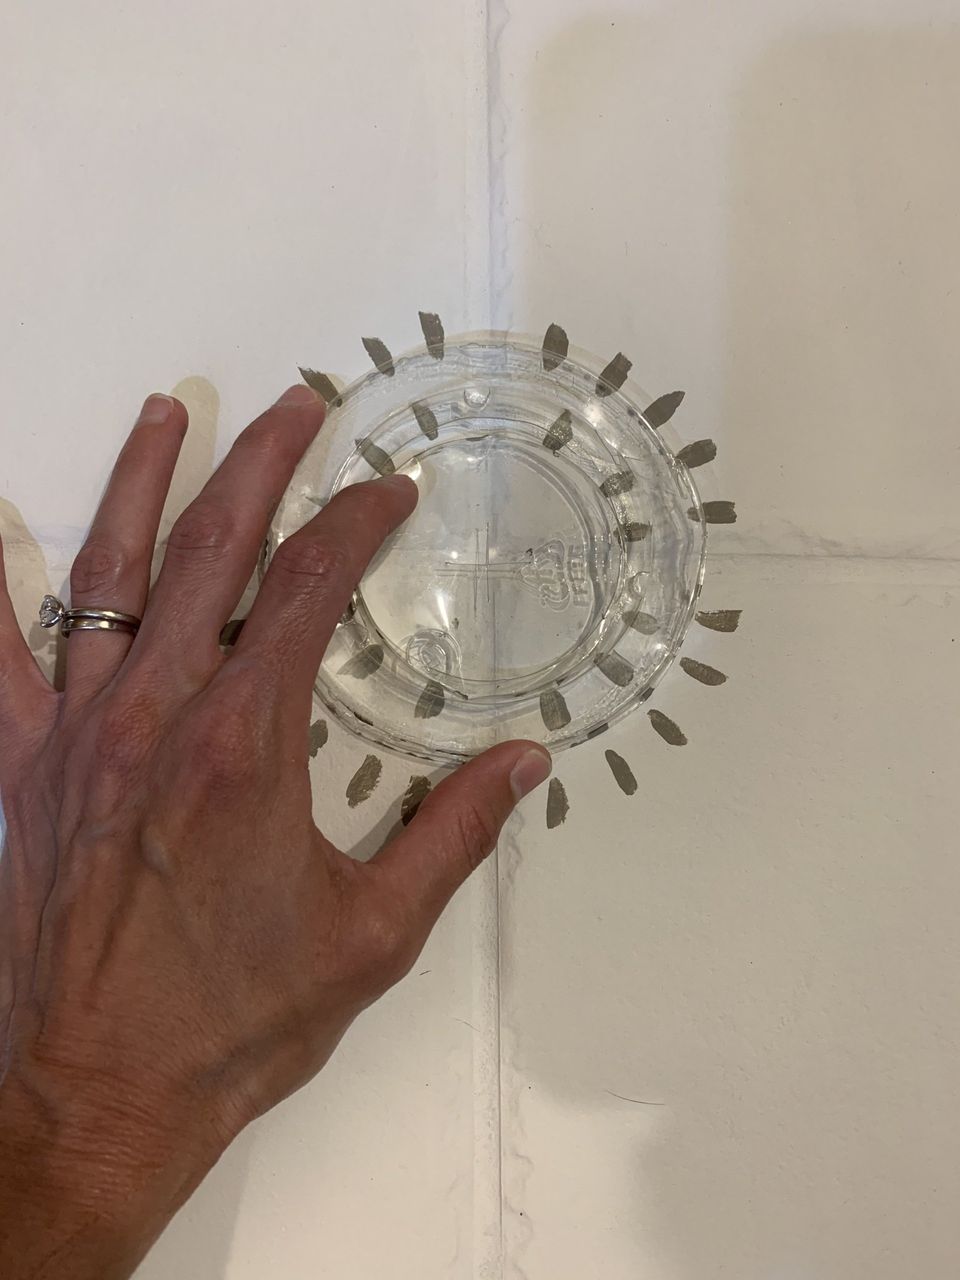
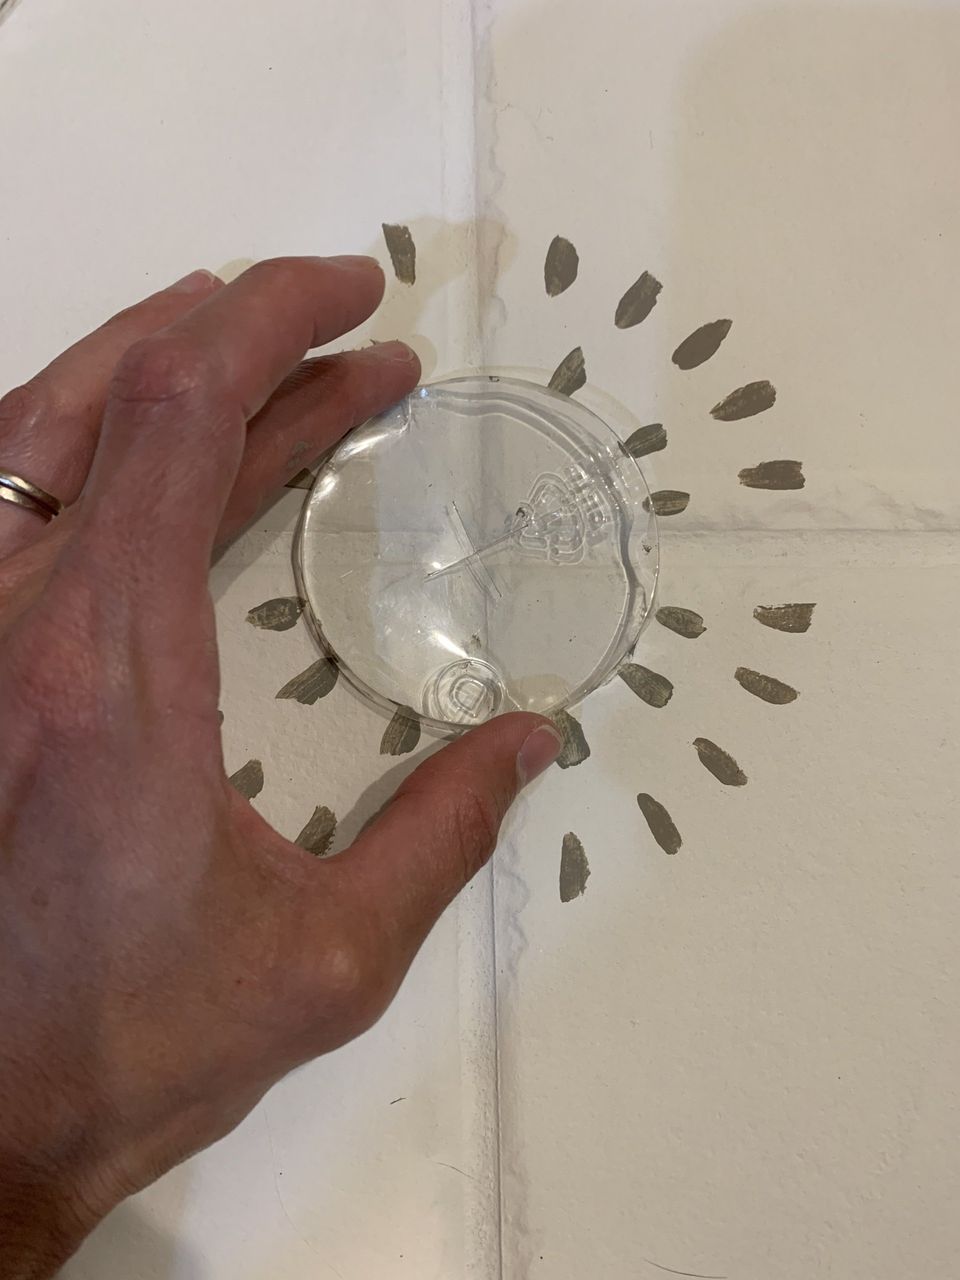
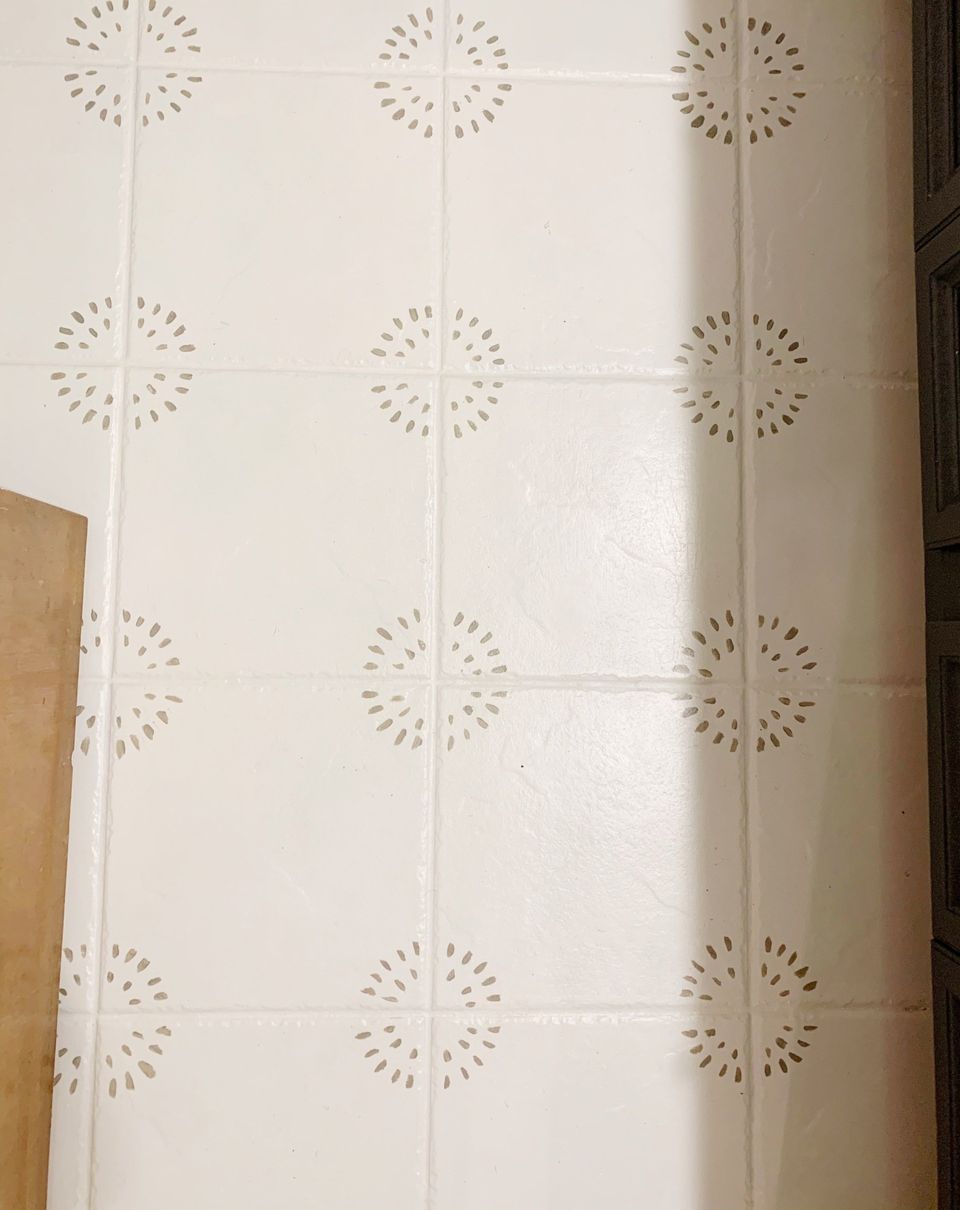
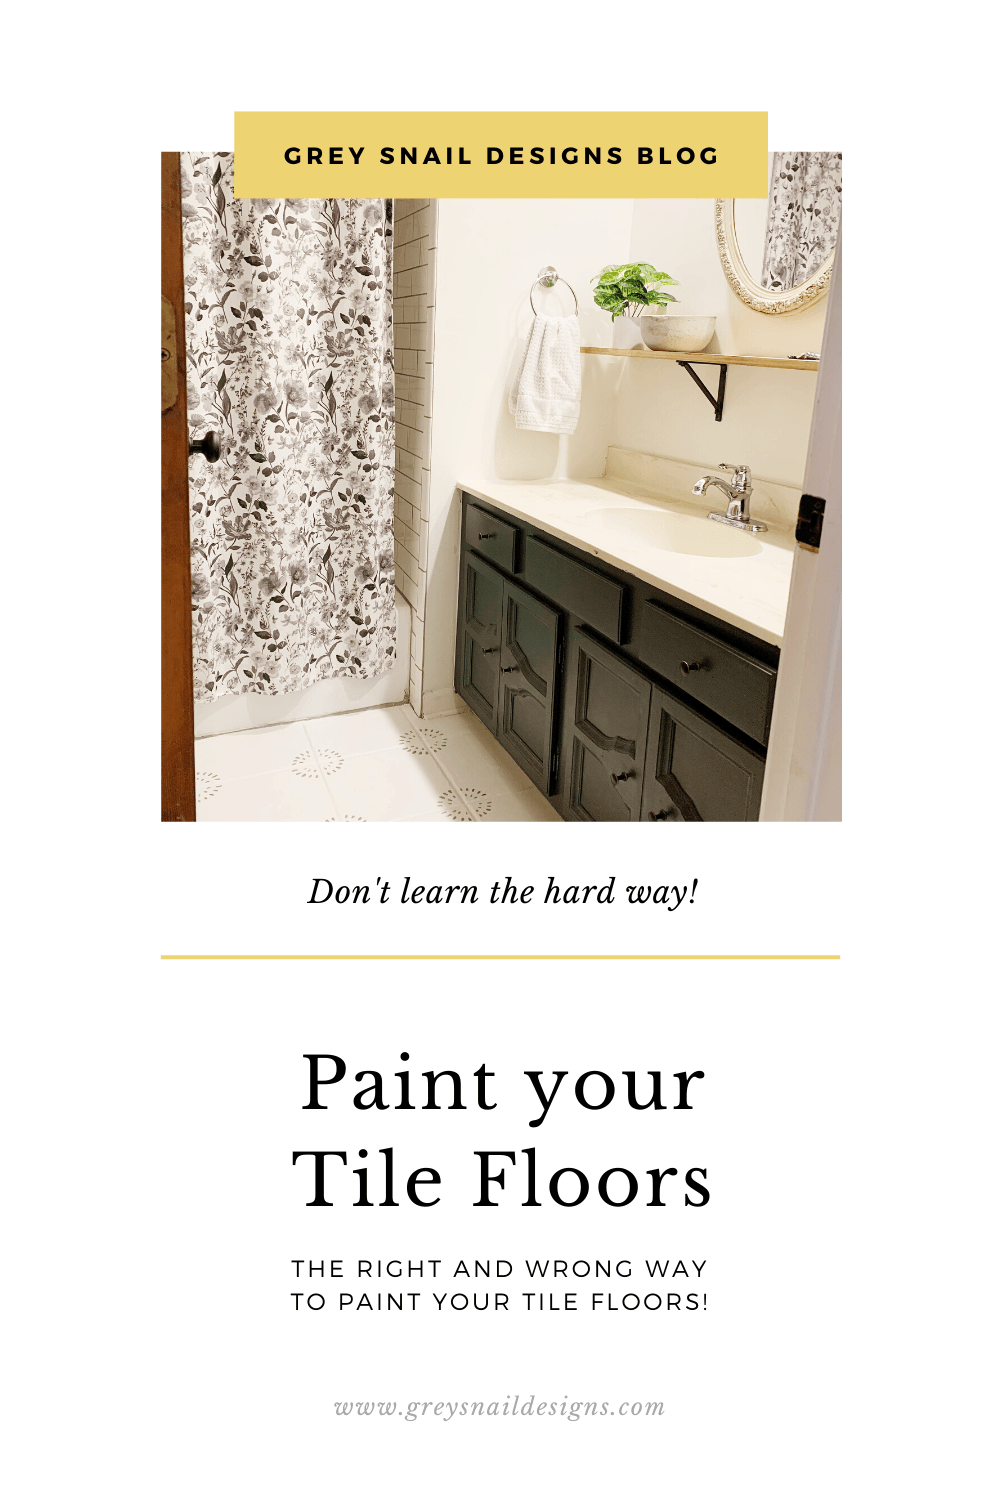
I chose to do something simple, so I found a round object to do my circles. I actually used a drink lid for my guide and it worked great! I used a greige chalk paint with a small round brush to make the design on all the grout intersections, keeping all paint off the grouted area, so it looked like actual tile.
Sealing
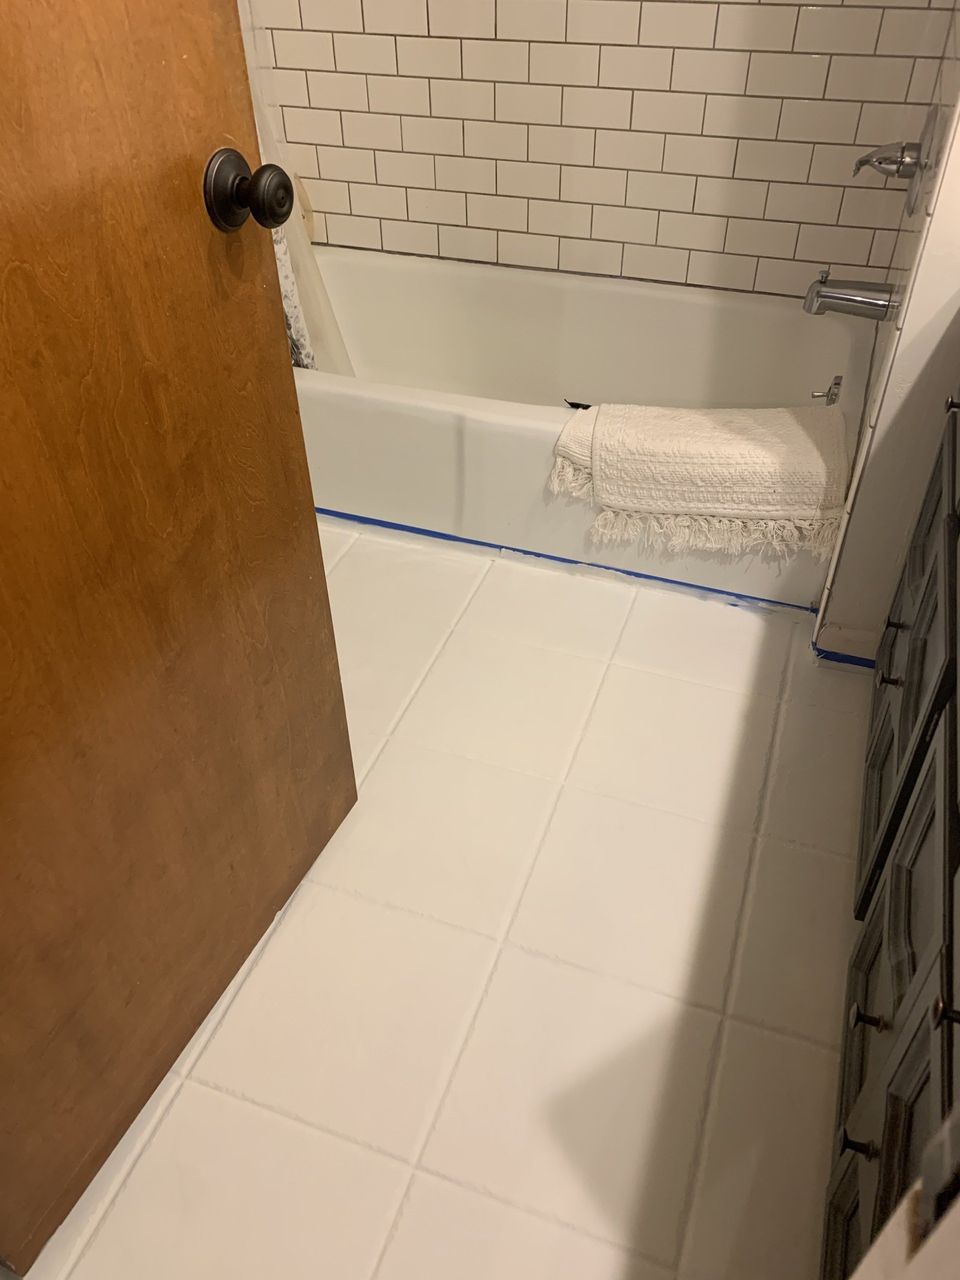
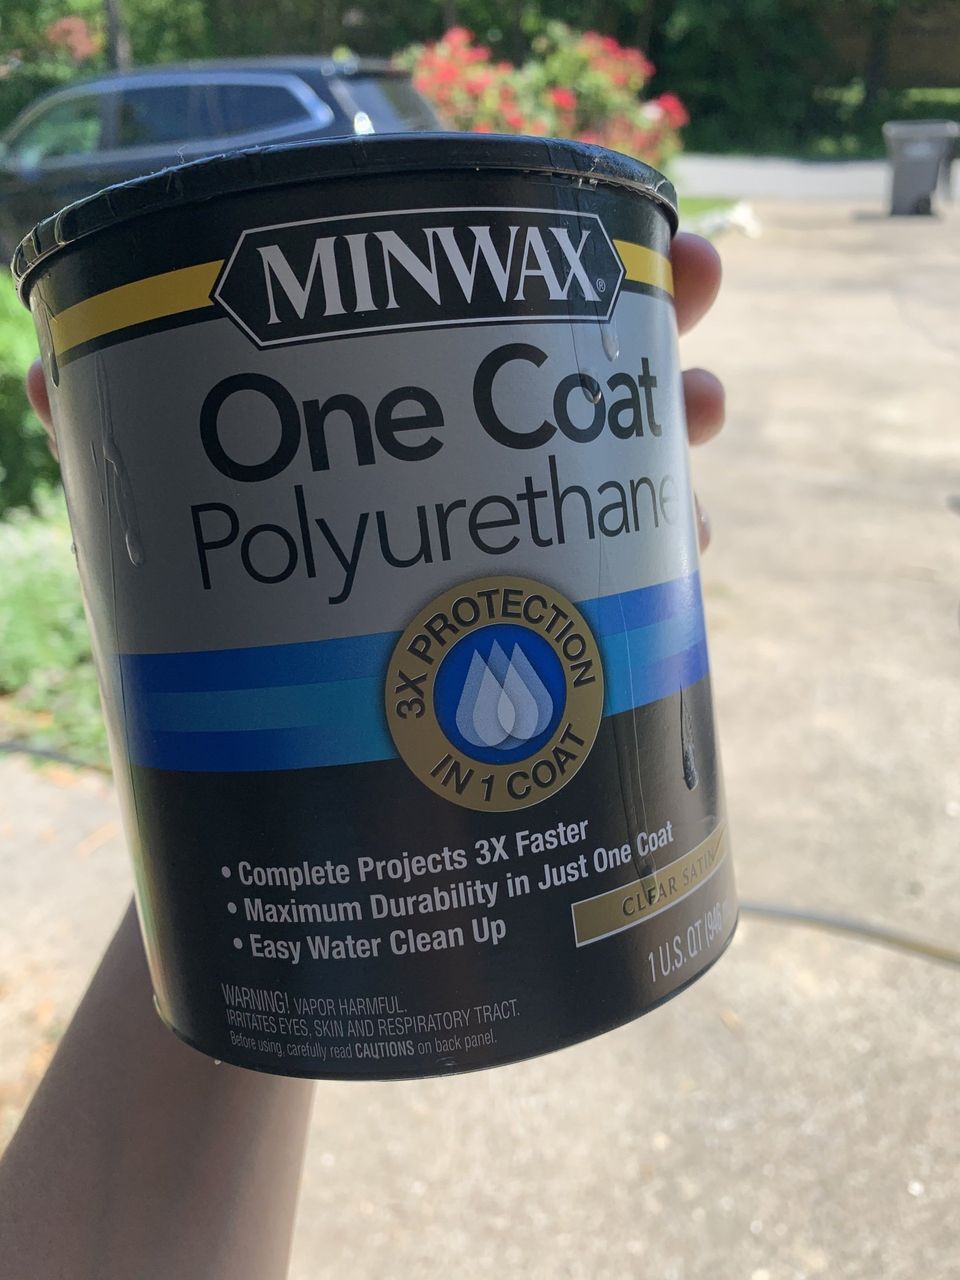
Once the paint was all dry, I brushed on three coats of Minwax One Coat Polyurethane, letting it dry well between coats.
Problems I Encountered
I had quite a bit of trouble removing the tape. I hadn't really worried about the paint and sealer getting thick and puddling around the edges and behind the toilet, so when I removed it, it started to peel up all layers in some areas. I remedied some of the problem by using a razor blade to cut along the edges of the baseboard before pulling up the tape. I touched up any areas that needed it with some chalk paint and sealer.
I knew this wasn't going to work after a large chunk of paint peeled off after a small amount of water got on the floor next to the shower. I can't say what exactly the problem was, but I knew it wasn't durable enough for use. I am actually installing luxury vinyl in there now. I just think it's important to share when something doesn't work out, too, since not all projects are without problems.
The CORRECT way to paint your tile floors
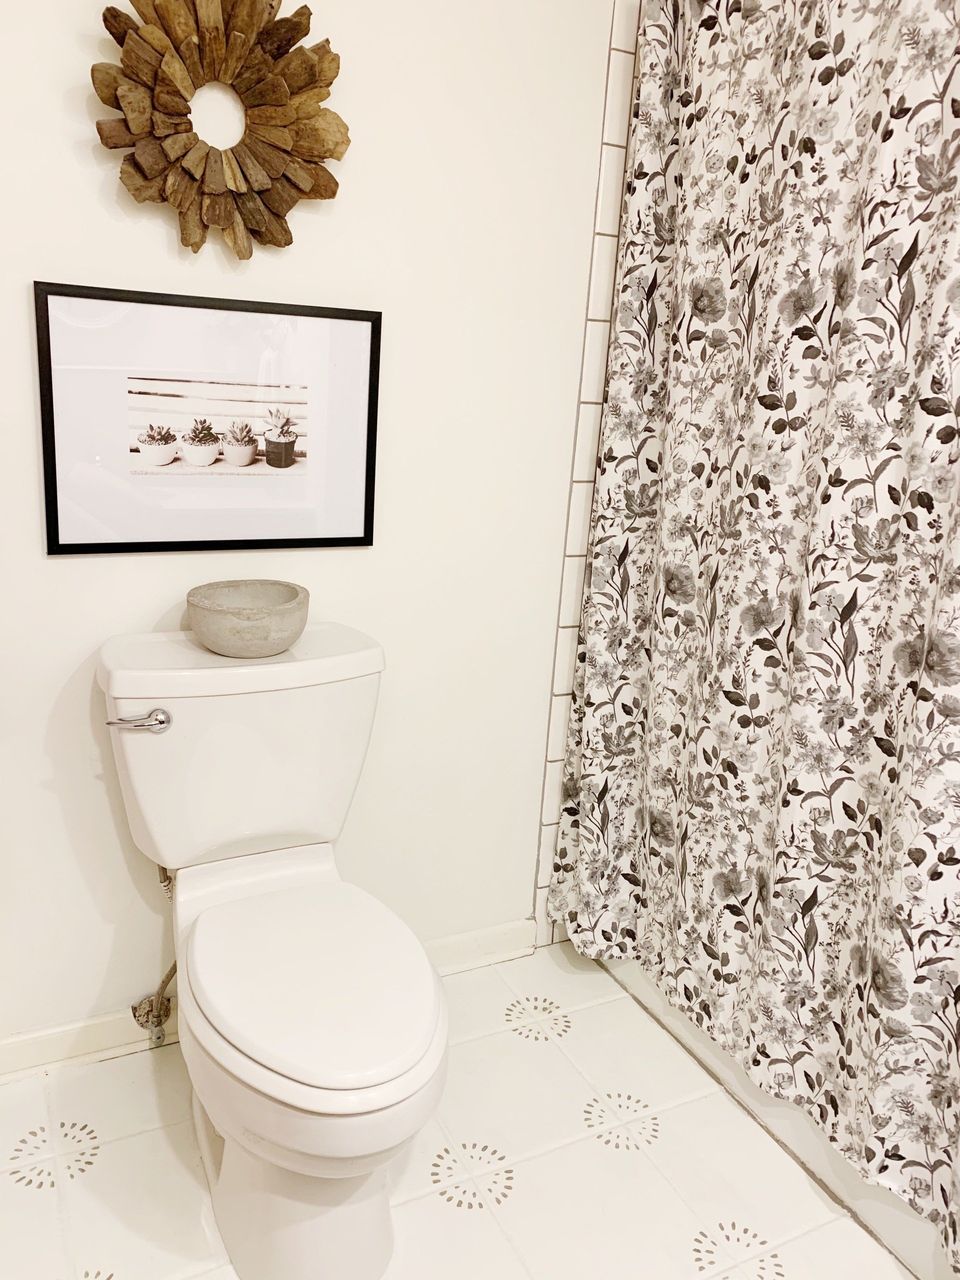
All-in-all, the result of painting the tile was beautiful. I just wish I had read my post first and realized there was a right and a wrong way to do it. Don't despair--I actually have a terrific way to get the same look of painted tile at the same price (if not cheaper) that actually WORKS!!!! Enter,
Rust-Oleum Home Floor Coating. I have a post of the entire process here! What I hope you'll take away from this post is an easy method for free handing a pattern and understand that painting tile can look great, but it's important to use the right products.
Pin for Later!

Rifle Paper Co Wallpaper

Space Planning

Rifle Paper Co Wallpaper

Designer Drapes

Rug Roundup January 2024

Booth at Christmas Market
Grasscloth

What not to do

Romabio Velatura Mineralwash

I can't remember the first example of fluted wood furniture I saw, but it was probably either this gorgeous custom wood bathroom vanity from Chris Loves Julia , or the DIY fluted coffee table Fariha shared on Pennies for a Fortune . The custom cabinetry was done professionally using a router for each line, which isn't something I possess the skills to do. This did help inspire the colors I used in our bathroom remodel, though! I really connected to the method Fariha used to build the coffee table--wooden dowels. What a fabulous idea!